
Welke materialen en gereedschappen zijn nodig voor het installeren van tegels?

I once tore out old flooring and felt lost. I needed the right tools and materials. Then the job became easy. Now I share how to get ready before you start.
You need tools for cutting and placing tiles, proper adhesive for the tile type, stable underlayment if needed, and safety gear.
Let me guide you step by step so you can avoid mistakes and get neat results.
Which tools are essential for cutting and laying tile?
I set up my workspace and felt excited to start. Then I realized I forgot the right cutter and the project stalled. That taught me how vital tools are.
For tile cutting and laying, essential tools include a tile cutter or wet saw, trowels, spacers, rubber mallet, and level.
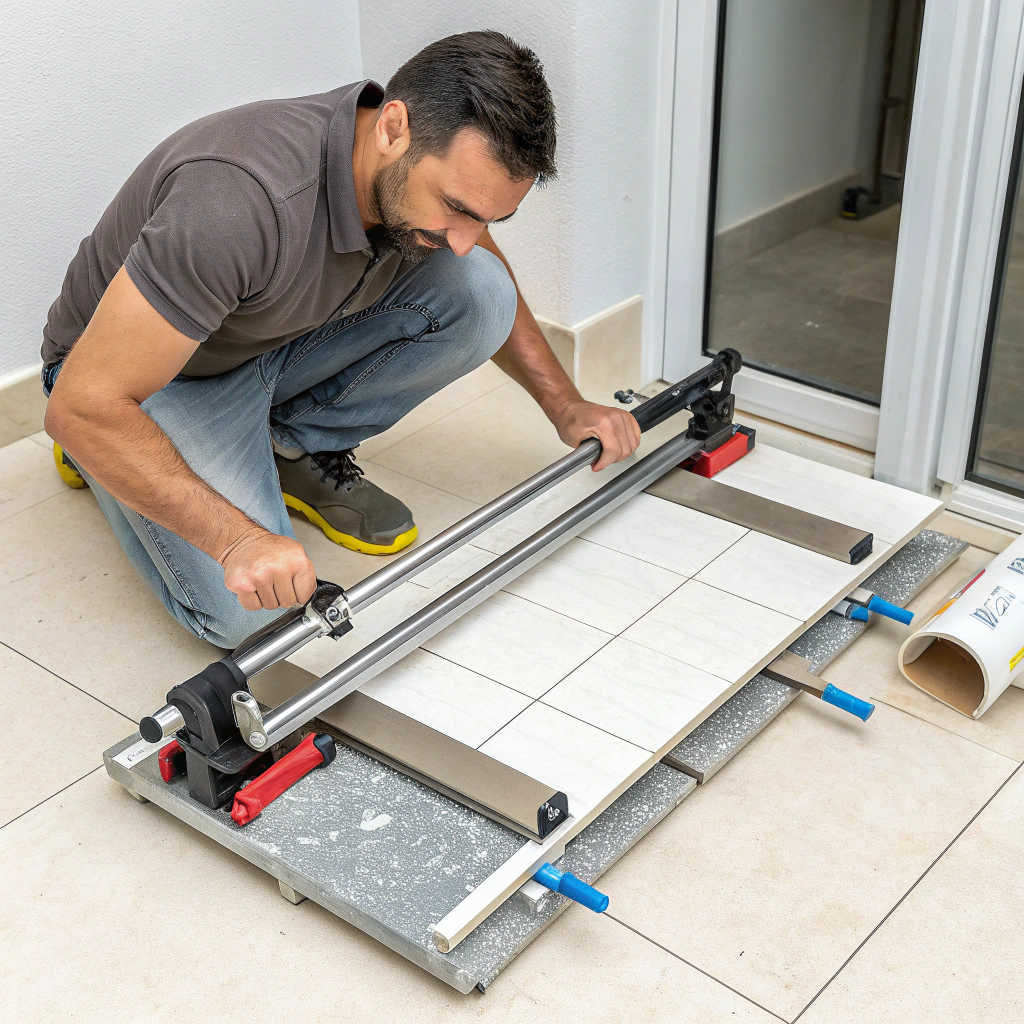
I always begin with a good tile cutter or wet saw. Cutter is great for straight cuts on ceramic. Wet saw handles tough materials like porcelain or stone and gives smooth edges. I also use a notched trowel to spread adhesive evenly. Tile spacers keep grout lines consistent. A rubber mallet helps me gently tap tiles flush. A level ensures every tile lies flat and aligned.
I learned to measure often with a tape measure and mark tiles with pencil before cutting. My favorite tools also include a grout float, sponge, bucket, and knee pads for long jobs. I prepare adhesive in a mixing bucket with a paddle drill for big areas. A small angle grinder with diamond blade is useful for odd shapes or trimming.
When I first used just a basic knife and a hand trowel, I saw how uneven cuts and gaps hurt the finish. Then I upgraded. Now each tool makes the job faster and cleaner.
Tools Comparison Table
| Gereedschap | Gebruikscasus |
|---|---|
| Manual tile cutter | Straight cuts in ceramic |
| Wet saw | Cutting porcelain, stone, large tiles |
| Notched trowel | Even adhesive application |
| Tile spacers | Consistent grout lines |
| Rubber mallet & level | Leveling and positioning tiles |
| Grout float & sponge | Grouting and clean‑up after installation |
A wet saw is essential for cutting porcelain or stone tiles cleanly.Echt
Wet saws handle hard materials with precision by keeping cuts cool.
You only need a knife to cut all types of tile.Vals
A knife can’t cut hard or thick tiles accurately; proper tile cutters or saws are needed.
What type of adhesive is best for different tiles?
I once glued porcelain tile with regular thinset meant for ceramic. The bond failed, and grout cracked within days. That mistake taught me to match adhesive to tile.
Use modified thin-set mortar for porcelain and stone. Use unmodified thin-set for glass or resin-backed tiles, and mastic for wall ceramic tiles.
Porcelain and natural stone are dense and heavy. I use polymer-modified thin-set mortar because it sticks better and resists bending. For glass tile or tiles on tricky surfaces, I go with unmodified thin-set. It needs the tile manufacturer’s backing and cures with water, creating a strong bond. For small wall ceramic tiles, mastic works fast—room temperature drying speeds up the project, but I don’t use it in wet areas or floors.
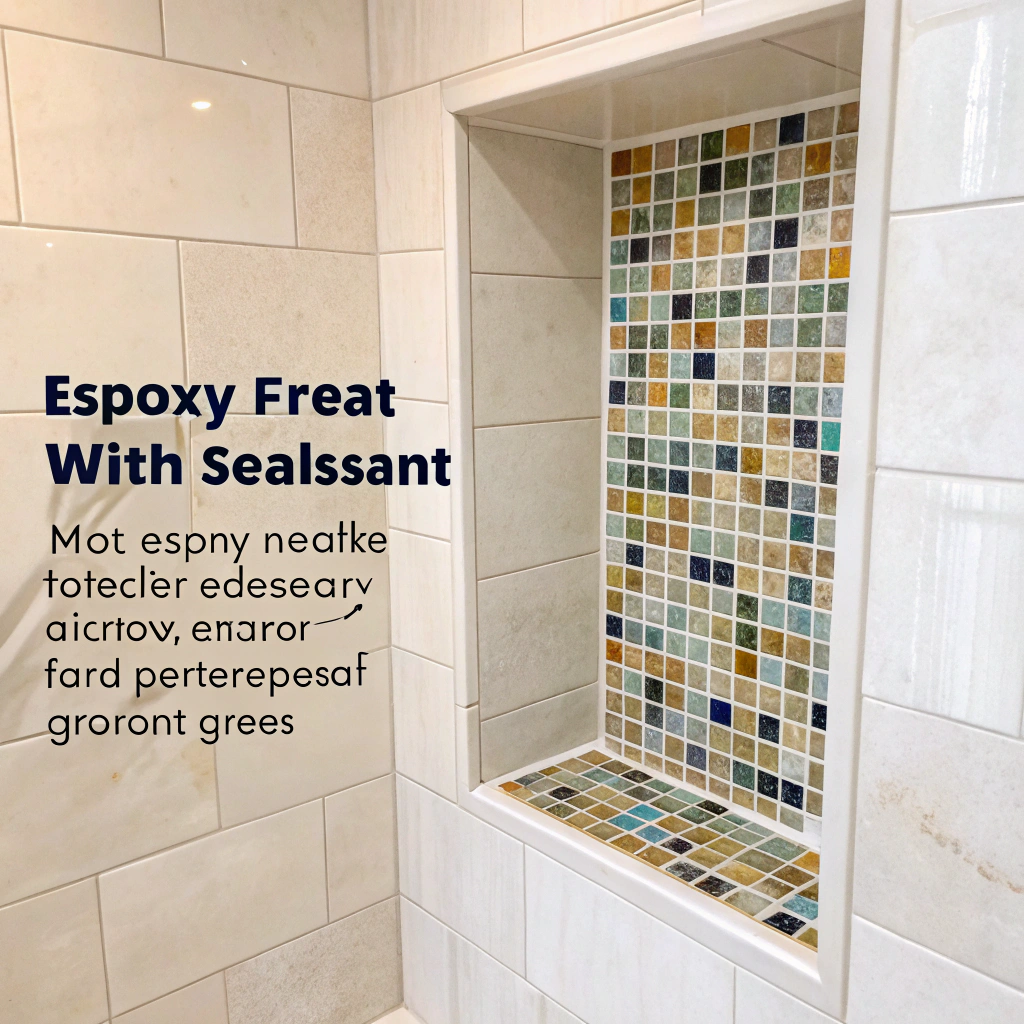
I once tested epoxy adhesive for mosaic tiles in a shower niche. It was messy but waterproof. I only use epoxy for high-moisture areas or acid-wash floors. The cost is higher, but the result is durable.
Here’s what I keep in my toolkit:
- Modified thin-set for floors, showers, dense tiles
- Unmodified thin-set for glass, backer-board installations
- Mastic for indoor walls away from water
- Epoxy for areas exposed to water or chemicals
I mix thin-set to peanut butter consistency. I check manufacturer guidelines on pot life and open time. When I rushed the mix without checking, the bond weakened. Now I follow timings closely.
Adhesive Comparison Table
| Tile Type / Area | Best Adhesive Type |
|---|---|
| Porcelain / Stone | Polymer‑modified thin‑set |
| Glass / Resin‑backed | Unmodified thin‑set |
| Wall ceramic (dry areas) | Mastic |
| Wet or high‑moisture | Epoxy mortar |
Modified thin‑set is the best choice for porcelain floor tiles.Echt
It has polymers that improve bonding on dense tiles under stress.
Mastic works well for floor tiles in wet areas.Vals
Mastic is not water‑resistant enough for wet areas or floors; thin‑set or epoxy is needed.
Do you need underlayment before tile installation?
I tiled directly on old vinyl once. The result cracked. I learned that underlayment is key for a solid floor.
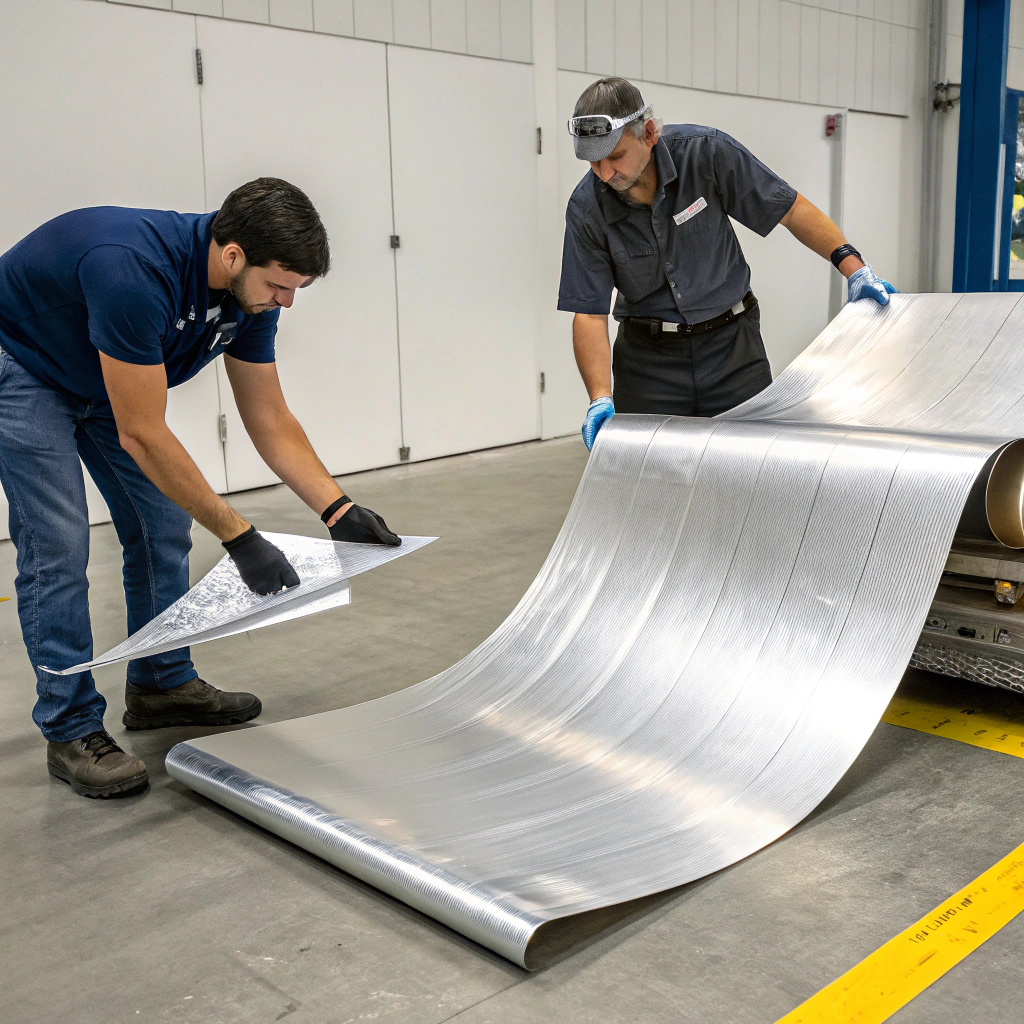
Yes, you often need underlayment like cement backer board, membrane, or decoupling layer. It gives stability, water protection, and crack prevention.

I always prep my floor or wall first. On floors, I install cement backer board screwed over flat plywood. It gives a strong underlayer that won’t flex. On timber floors, I sometimes add an uncoupling membrane like Schluter Ditra. It absorbs movement and keeps tiles from cracking.
For wet areas like showers, I waterproof with a membrane or mud. I lay waterproof backer and then a bonded waterproof membrane. That keeps water from reaching the structure below. When I skipped this, grout turned black with mold after a few months.
In simple dry wall cases, I tile directly over cement board or greenboard. I know the wall won’t move, so tiles stay intact.
Underlayment also helps prevent hollow-sounding tiles. If the surface is too smooth or soft, tiles don’t stick well and sound dull under foot.
I check the substrate. If it feels springy or shows seams, I fix it first. Otherwise my tile work will fail over time.
Cement backer board is recommended as underlayment for most floor tile installations.Echt
It provides a stable, water‑resistant surface that supports the tiles.
You can skip underlayment on any surface as long as it looks smooth.Vals
Even smooth surfaces may flex or trap moisture without proper underlayment.
What safety equipment should you use when installing tile?
I cut tile without goggles once. A shard flew into my eye. That moment made me never skip safety again.
Wear safety glasses, gloves, a dust mask, and knee pads. These protect your eyes, hands, lungs, and body during cutting and laying tile.
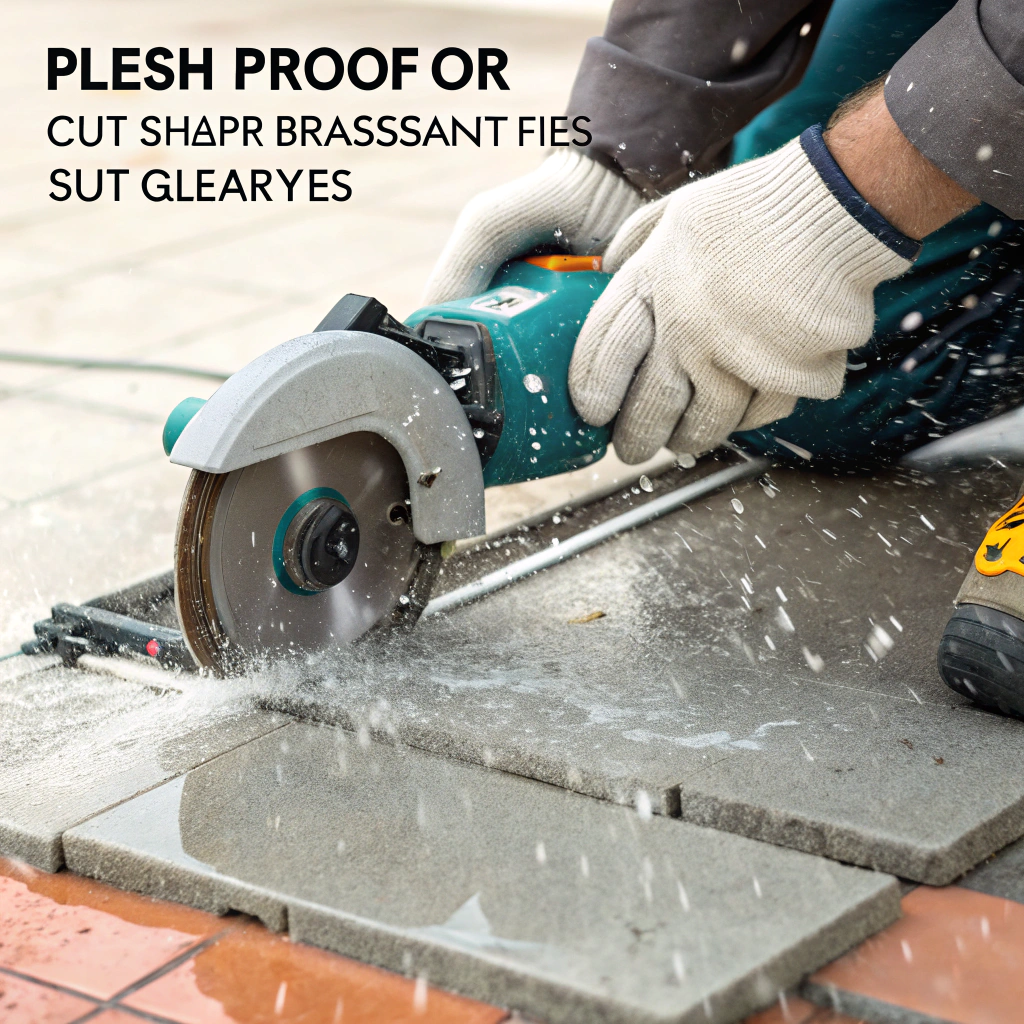
Tile cutting makes dust and sharp fragments. I always wear safety goggles. And when using a wet saw or grinder, water splashes—so splash‑proof eyewear is best. I use cut‑resistant gloves for gripping tiles and spreading mortar. Tiles are sharp, and mortar is rough.
Thin-set and grout dust irritates lungs and skin. I put on a dust mask or respirator if I’m dry-cutting or mixing adhesive. That saves me from coughing and rash later. I learned the hard way when I ignored this on my first job—my throat burned for days.
For floor work, I kneel a long time. Knee pads protect joints and let me work comfortably without damage. On long jobs, I also use ear protection when grinding or using loud tools.
Sometimes I’m in a messy spot. I wear old clothes or a coverall. I rinse off mortar and dust as soon as I finish. It helps my skin and tools stay clean.
Safety Equipment Table
| Uitrusting | Doel |
|---|---|
| Safety glasses/goggles | Protect eyes from dust and tile fragments |
| Gloves | Protect hands from cuts and chemicals |
| Dust mask | Prevent inhaling adhesive and grout dust |
| Knee pads | Protect knees during prolonged floor work |
Wearing safety glasses is essential when cutting or mixing tile materials.Echt
It protects your eyes from flying shards and splashes.
Gloves and masks are optional if you work carefully.Vals
Chemicals and fine dust can harm skin or lungs, even when you are careful.
Conclusie
Installing tile well takes more than just glue and tiles. I gather my tools, choose the right adhesive, prepare the underlayment, and wear safety gear. Following these steps gives me smooth, lasting tile work every time.


