Wat zijn de beste afstandhouders voor tegels?
Tiling is all about precision. But even with the best tiles, one mistake in spacing can ruin the finish.
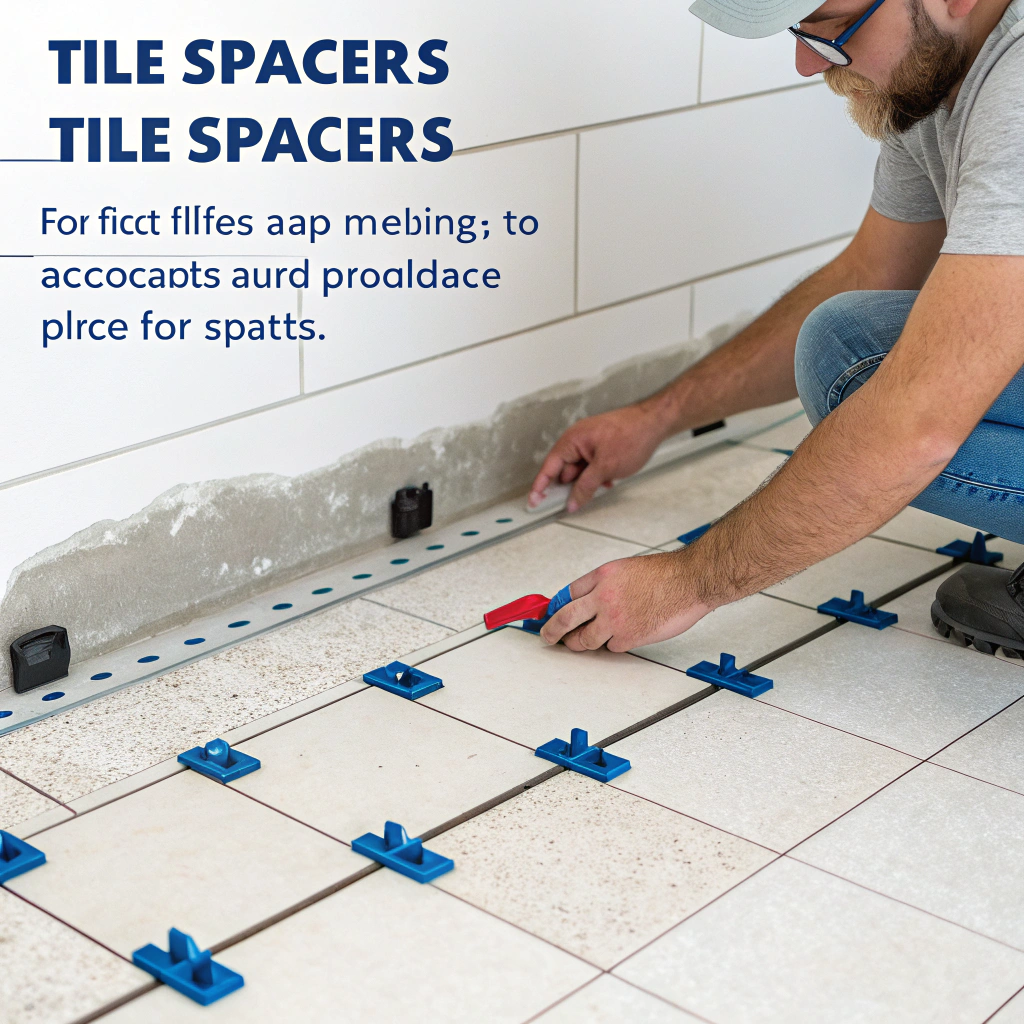
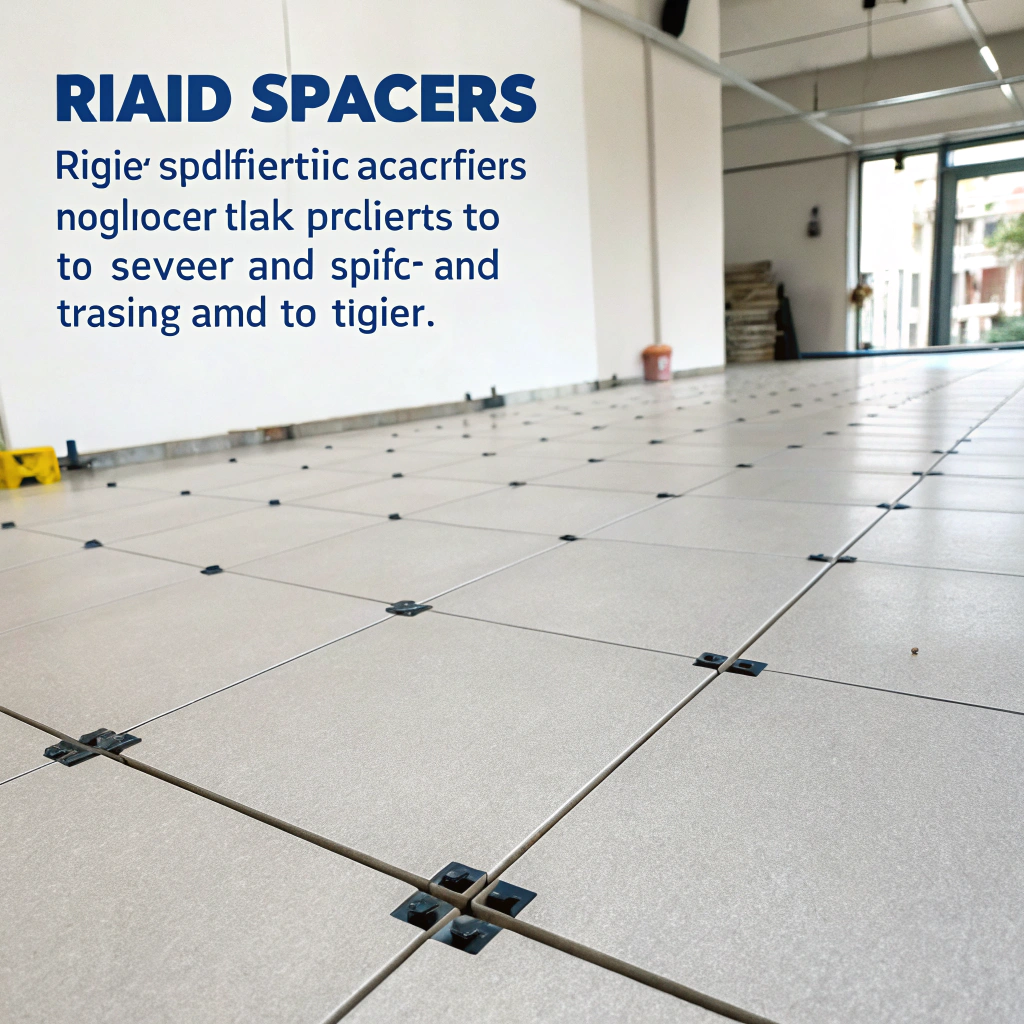
The best tile spacers are rigid, precisely molded, easy to remove, and match the tile type and installation pattern.
You can’t just pick any spacer from the shelf. To get a clean, professional tile layout that won’t fail over time, you need to understand the materials, sizing, and purpose behind spacers.
What Materials Are Tile Spacers Made From, and Why?
Tiling often fails not from poor tiles, but poor control of spacing. Flawed grout lines or misaligned corners are common signs of bad spacer choices.
Most tile spacers are made from plastic polymers like polypropylene or nylon because they offer precision, strength, and cost-efficiency.
When I first started tiling, I didn’t realize how much difference spacer material made. I once used some cheap, soft rubber ones on a floor project. They compressed under the tile weight, which left my grout lines inconsistent and visually off. Never again.
Common Tile Spacer Materials
| Materiaal | Belangrijkste kenmerken | Voordelen | Nadelen |
|---|---|---|---|
| Polypropylene (PP) | Hard, injection-molded | Cheap, precise, stiff | Can snap under pressure |
| Nylon | Semi-flexible, durable | Long-lasting, strong | Iets duurder |
| PVC | Soft, rubbery | Flexible for uneven surfaces | Compresses too easily |
| Metal (rare) | Extremely rigid | Reusable, strong | Expensive, harder to use |
I now always use rigid plastic spacers for floor tiles, especially where traffic is heavy. For wall tiles, a slightly flexible type works well when surfaces aren’t perfect.
Nylon tile spacers are softer than polypropylene spacers and allow for more flexibility during uneven tile installation.Echt
Nylon is semi-flexible and can compress slightly, which helps when tiles or substrates are uneven.
Metal tile spacers are widely used in modern tile installations due to their low cost and flexibility.Vals
Metal tile spacers are rare, costly, and not flexible, making them unsuitable for most tile jobs.
How Wide Should Tile Spacers Be for Different Tile Types?
You can ruin a beautiful tile with the wrong spacer width. I’ve seen tight joints used with handmade tiles—and the results were uneven, crooked, and cracked.
Tile spacer width should match tile type, tile size, and whether it’s wall or floor installation—ranging from 1/16” to 1/4”.
Here’s what I’ve learned after tiling different rooms and helping clients troubleshoot disasters:
Recommended Tile Spacer Sizes
| Tile Type / Size | Recommended Spacer Width | Waarom |
|---|---|---|
| Mosaic / Small Ceramic (<6") | 1/16” to 1/8” | Keeps look clean, minimal grout lines |
| Medium Tiles (12×12, 18×18) | 1/8” | Standard spacing, supports structural grout |
| Large Format Tiles | 3/16” or wider | Compensates for flatness issues |
| Handmade / Natural Stone | 3/16” to 1/4” | Allows for edge irregularities |
| Wandtegels | 1/16”–1/8” | Thin joints for aesthetics |
| Vloertegels | 1/8”–1/4” | Wider joints for durability and flex |
Choosing Based on Grout Type
If you’re using unsanded grout, stick to 1/8” or narrower. Sanded grout needs wider than 1/8”. That’s another critical detail most DIYers miss.
I made that mistake once—used unsanded grout on 3/16” joints. The grout cracked within weeks. Lesson learned.
Sanded grout is suitable for narrow joints smaller than 1/8 inch.Vals
Sanded grout requires joints of 1/8 inch or wider to avoid shrinkage and cracking.
Mosaic tiles typically use smaller spacers because their visual appeal depends on tight, clean lines.Echt
Smaller tiles benefit from narrow joints to avoid a cluttered look.
Can Tile Spacers Help Prevent Grout Issues?
I’ve had clients ask why their grout keeps cracking even though they “followed the rules.” The answer often lies in spacer use.
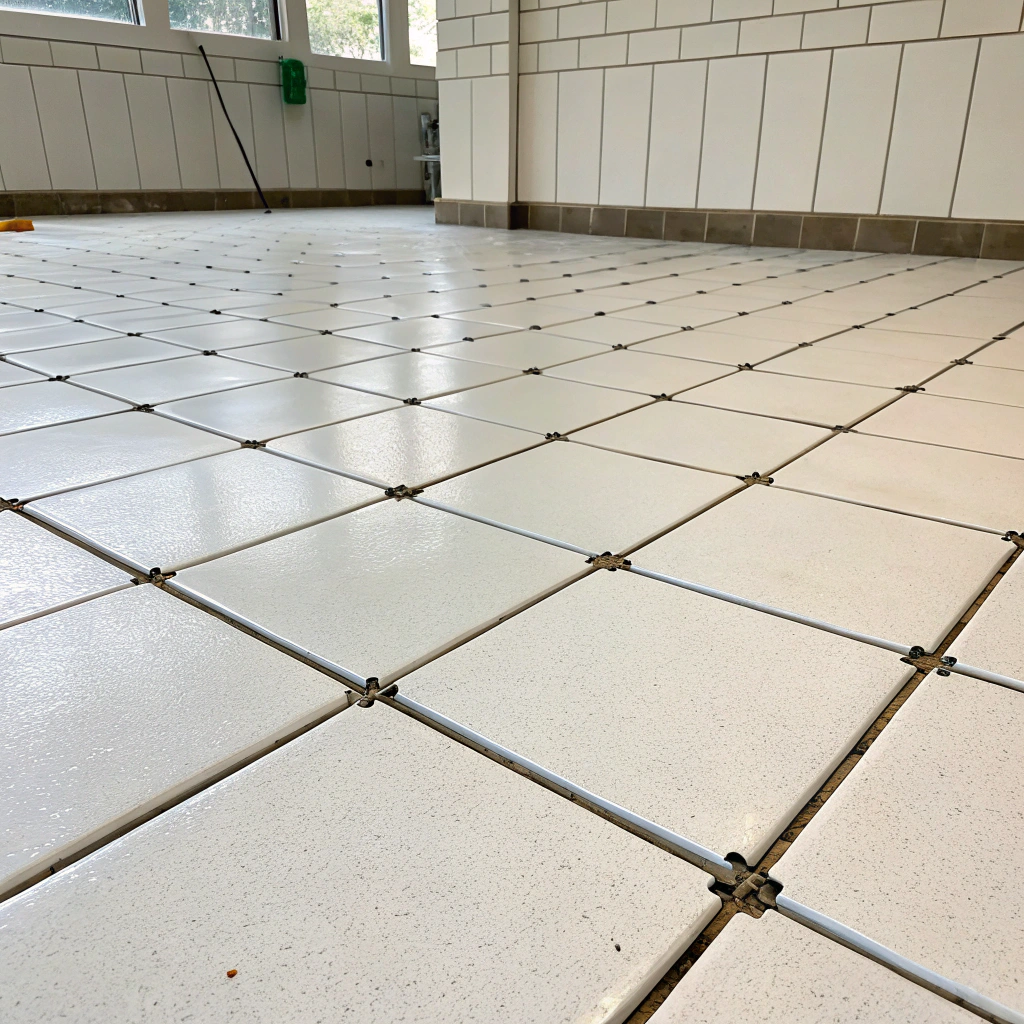
Yes, tile spacers prevent grout issues by ensuring uniform joints and minimizing stress points.
If you don’t control the space between tiles, grout depth varies. That weakens the bond and encourages cracking. Spacers make sure the joint is even across the floor or wall.
How Spacers Affect Grout Quality
- Consistency: Even joints mean even grout.
- Stress Distribution: Right joint size absorbs structural movement.
- Cure Time: Proper joints allow grout to cure fully and evenly.
- Appearance: Uniform lines are easier to clean and look more professional.
When Spacers Cause Problems
- If you leave spacers in too long, especially the cross-type ones, they may become stuck in the mortar.
- Soft spacers deform, giving inconsistent gaps.
- Misplaced spacers skew the tile angle or grout path.
That’s why I remove mine when the tile has set but before the mortar fully cures—usually within 6–10 hours.
Leaving tile spacers in place permanently improves the long-term strength of the grout joints.Vals
Spacers block grout penetration and create weak spots, leading to cracks and visible marks.
Tile spacers help prevent grout from cracking by keeping joint widths consistent and aligned.Echt
Uniform joint widths distribute stress and support proper grout curing.
How to Choose Tile Spacers for Large Format or Uneven Tiles?
Large tiles are tricky. Uneven floors make it worse. You can’t just drop a cross spacer and hope for the best.
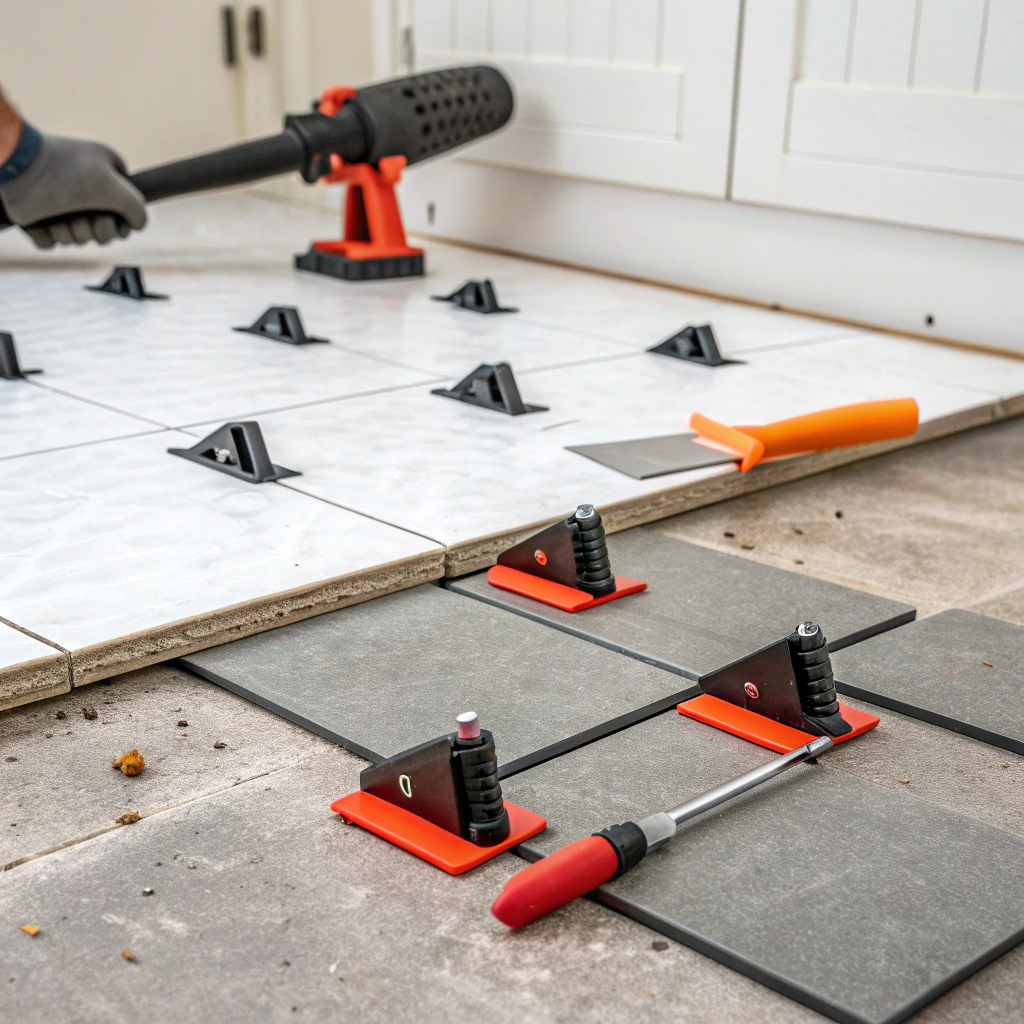
For large or uneven tiles, use wider spacers combined with a leveling system to prevent lippage and ensure joint uniformity.
I’ve worked with tiles over 24 inches long on slightly uneven concrete. Without a tile leveling system and proper spacers, it would’ve been a disaster.
Tips for Large or Uneven Tile Projects
1. Use Clip-and-Wedge Systems
Leveling systems like Raimondi, Spin Doctor, or T-Lock include:
- Spacer base clips that go under the tile
- A wedge or cap to press tiles into plane
- Integrated spacing from 1/16” to 3/16”
These hold tiles flat during curing, preventing lippage.
2. Pick Stiff, High-Strength Spacers
Large tiles are heavier. You need spacers that won’t compress under pressure. I use thick polypropylene spacers or the ones built into leveling kits.
3. Check Subfloor First
If your surface isn’t flat, consider:
- Zelfnivellerende pasta
- Cement backer board
- Grinding high spots
Don’t rely on spacers to “fix” a bad substrate.
4. Consider Wider Gaps
Even with rectified edges, a minimum of 1/8” is smart. If the floor is uneven or tile varies, go up to 3/16” or 1/4”.
5. Know When to Adjust
Sometimes, I stack two 1/8” spacers to get 1/4”. Or I use wedge spacers to tweak alignment when edges dip. Flexibility in the field matters.
Large format tiles require very narrow grout joints for best performance.Vals
Large tiles need wider joints to handle lippage and prevent stress cracking.
Tile leveling systems combine spacing and leveling to improve large tile installations.Echt
These systems reduce lippage and maintain even spacing for large format tiles.
Conclusie
Tile spacers may seem small, but they make a big difference. From choosing the right material to matching spacer width to tile type, every detail matters. For large tiles or uneven surfaces, spacer choice becomes even more critical. Get it right, and your tiles will look better and last longer.


![High-Performance Laptop - Model XYZ Product image of [describe the product briefly, e.g., 'a sleek black laptop with a backlit keyboard']](https://sinoextrud.com/wp-content/uploads/product-image-of-describe-the-product-briefly-eg-a-sleek-black-laptop-with-a-backlit-keyboard.webp)


![Productafbeelding van [Beschrijving van het product, inclusief belangrijkste kenmerken of esthetische details].](https://sinoextrud.com/wp-content/uploads/product-image-of-description-of-the-product-including-key-features-or-aesthetic-details.webp 1024w, https://sinoextrud.com/wp-content/uploads/product-image-of-description-of-the-product-including-key-features-or-aesthetic-details-768x768.webp 768w, data:image/webp;base64,UklGRpoAAABXRUJQVlA4II4AAAAwAgCdASoMAAwAAQAaJZQCdAEUuTFsD+XmYAD+2EV1d8fVpbzx3XU3cUn8pkxycQSL/uC/91/YxrxSC9WP+PrZ28m7gvO1J6kP95mwggbOprj2OkpOWzWoT2NTKtsXhYjWNagMhz7BkK5H0fxfBf4Nc7Z59KfJd8Tfp+ei2UR9VsE1VlsIc4U+bhvl5gAA 12w, https://sinoextrud.com/wp-content/uploads/product-image-of-description-of-the-product-including-key-features-or-aesthetic-details-600x600.webp 600w)