
Der ultimative Leitfaden für Bodenübergangsstreifen?

Hässliche Bodenfugen ruinieren selbst die schönste Renovierung. Ohne die richtige Übergangsleiste leiden sowohl die Sicherheit als auch der Stil.
Fußbodenübergangsleisten überbrücken unterschiedliche Bodenbeläge und Ebenen und schaffen glatte, sichere und optisch ansprechende Übergänge zwischen Räumen oder Oberflächen.
Sie werden oft übersehen, aber wenn man einmal gelernt hat, wie vielseitig und unverzichtbar sie sind, wird man sie nie wieder auslassen.
Welche Arten von Übergangsstreifen gibt es?
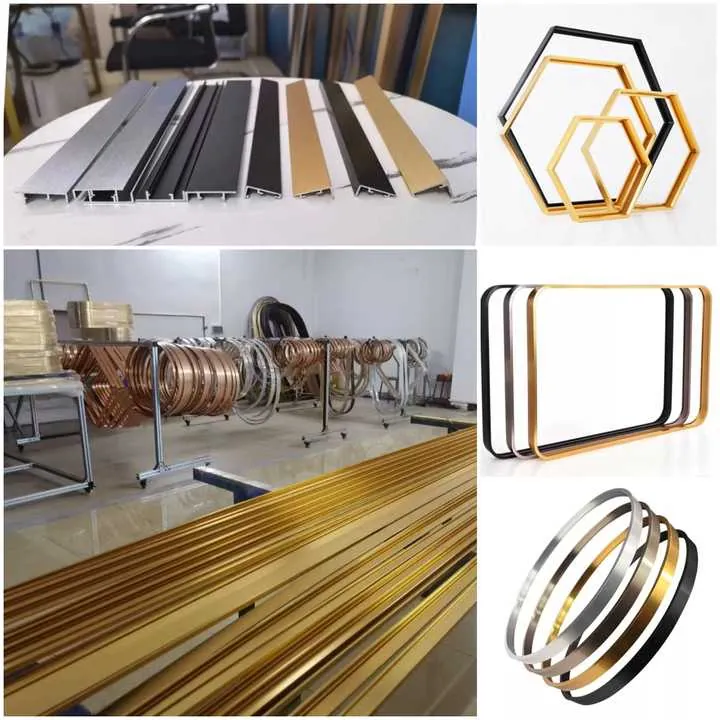
Bodenbelagsübergänge sind keine Einheitsgröße, die für alle passt. Unterschiedliche Materialien, Dicken und Anwendungen erfordern spezifische Leistenarten.
Zu den gebräuchlichsten Arten von Übergangsleisten gehören T-Profile, Reduzierstücke, Schwellenleisten, Endkappen, Teppich-zu-Fliese-Leisten und Multifunktionssysteme.
Jeder dieser Typen erfüllt einen bestimmten Zweck, der von den Bodenbelägen, ihren relativen Höhen und der Raumaufteilung abhängt.
T-Molding
Am besten geeignet für die Verbindung von zwei gleich hohen Hartböden, wie Laminat auf Laminat oder Holz auf Holz. Es ist wie ein "T" geformt und passt genau zwischen die Oberflächen, lässt aber eine Ausdehnung zu.
Reduzierstücke
Entwickelt für die Überbrückung von Böden aus ungleiche Höhewie z. B. Hartholz auf Vinyl oder Fliesen auf Beton. Sie schaffen ein leichtes Gefälle, um Stolperfallen zu vermeiden.
Schwellenwert-Streifen
Häufig verwendet in TüröffnungenDiese überbrücken Lücken zwischen verschiedenen Bodenbelägen. Einige sind flach, andere sind abgeschrägt, um Höhenunterschiede auszugleichen.
Endkappen
Wird verwendet, um Böden an vertikalen Flächen wie Kaminen, Schiebetüren oder Wänden zu verlegen, ohne dass ein weiterer Boden daneben liegt.
Übergangsstreifen für Teppichböden
Diese Streifen werden verwendet, wenn Verbindung von Teppich mit Fliesen oder Hartholz. Sie haben in der Regel Zähne oder Schienen, die den Teppichrand fest an seinem Platz halten.
Multifunktions-Streifen (4-in-1 oder 5-in-1)
Einige Systeme bieten mehrere Funktionen in einem Profil, so dass Sie die Verlegeart je nach Situation anpassen können. Diese sind nützlich für Heimwerker oder Projekte mit vielen Bodenarten.
Zusammenfassende Tabelle
| Übergangstyp | Idealer Anwendungsfall | Höhe Niveau | Verbundene Materialien |
|---|---|---|---|
| T-Molding | Gleiche Höhe, harte Oberflächen | Gleiche | Laminat, Holz |
| Reduzierstück | Höhenunterschied | Ungleiche | Hartholz zu Vinyl/Fliesen |
| Schwellenwert | Übergang Türöffnung | Entweder | Beliebig bis beliebig |
| Endkappe | Bodenkanten (Kamin, Wand, etc.) | K.A. | Holz, Laminat |
| Teppich-Streifen | Teppich auf harter Oberfläche | Variiert | Teppichboden auf Fliesen/Hartboden |
| 4-in-1-Streifen | Vielseitige, mehrflächige Lösung | Beide | Gemischte Materialien |
Reduzierstreifen werden für den Übergang zwischen gleich hohen Etagen verwendet.Falsch
Reduzierstücke sind für Übergänge zwischen Etagen mit Höhenunterschieden vorgesehen.
T-Profile sind ideal für die Verbindung zweier harter Böden mit gleicher Dicke.Wahr
T-Molding überbrückt harte Bodenbeläge auf gleicher Höhe und ermöglicht gleichzeitig Bewegung.
Wie wähle ich die richtige Leiste für meinen Boden?

Die Wahl eines Übergangsstreifens ohne Kenntnis der Anforderungen Ihres Bodens ist wie der Kauf von Schuhen ohne Überprüfung der Größe. Sie könnten Geld verschwenden oder die Sicherheit gefährden.
Um die richtige Bodenübergangsleiste zu wählen, müssen Sie die Höhenunterschiede zwischen den Böden, die Materialarten, die Verkehrsbelastung und die Kompatibilität mit dem optischen Design berücksichtigen.
Schritt 1: Materialtypen prüfen
Verschiedene Böden verhalten sich unterschiedlich. Zum Beispiel:
- Laminat und Hartholz sich ausdehnen und zusammenziehen.
- Fliese ist starr und in Mörtel gesetzt.
- Teppichboden braucht mechanischen Halt.
- Vinyl ist dünn und flexibel.
Wenn Sie wissen, womit Sie es zu tun haben, können Sie ein Band mit der richtigen Funktionalität und Stärke auswählen.
Schritt 2: Höhenunterschied messen
Übergangsleisten sind entweder für gleich hohe Flächen (z. B. T-Profile) oder für unterschiedliche Höhen (z. B. Reduzierstücke, Schwellenleisten) konzipiert. Messen Sie vor dem Kauf beide Seiten aus.
| Boden Typ A | Boden Typ B | Höhe Lücke | Streifentyp |
|---|---|---|---|
| Laminat | Laminat | 0 mm | T-Molding |
| Hartholz | Vinyl | 6 mm | Reduzierstück |
| Teppichboden | Fliese | 5-10 mm | Teppich Übergang |
| Fliese | Beton | 12 mm | Schwellenwert-Streifen |
Schritt 3: Über den Stil nachdenken
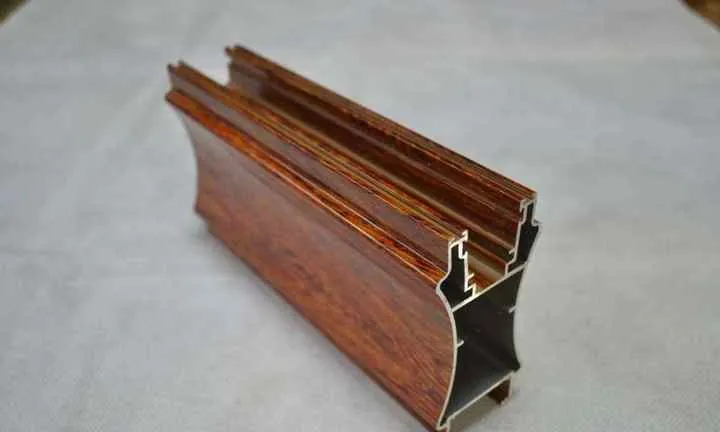
- Verwenden Sie Holzton-Ausstattung für Holzböden.
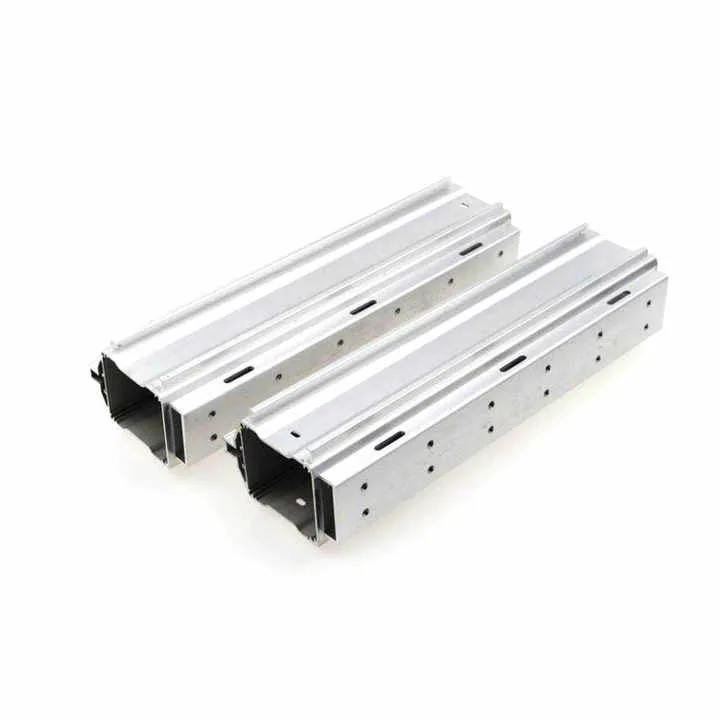
- Wählen Sie Metall für moderne, stark frequentierte Bereiche.
- Verwenden Sie PVC oder Vinyl für kostengünstige, verdeckte Installationen.
Schritt 4: Anpassung an Verkehr und Feuchtigkeitseinwirkung
Stark beanspruchte Türöffnungen benötigen haltbarere Materialien wie Aluminium oder eloxierte Oberflächen. Bäder oder Küchen benötigen korrosionsbeständige Materialien wie Vinyl oder Edelstahl.
Die Auswahl des Übergangsstreifens sollte ausschließlich auf ästhetischen Gesichtspunkten beruhen.Falsch
Praktische Faktoren wie Bodenhöhe, Materialart und Verkehrsaufkommen sind wichtiger als das Aussehen.
Übergangsleisten aus Aluminium oder PVC sind ideal für stark beanspruchte oder feuchtigkeitsanfällige Bereiche.Wahr
Diese Materialien sind langlebig und korrosionsbeständig.
Welche Installationsschritte sind erforderlich?

Schlampige Verlegung führt zu verrutschenden Streifen, Sicherheitsrisiken und hässlichen Lücken. Doch um es richtig zu machen, sind nur ein paar wichtige Schritte nötig.
Zur ordnungsgemäßen Verlegung gehört das Ausmessen der Übergangsfuge, das genaue Zuschneiden des Streifens, das Befestigen der Grundschiene und das Einplanen von Spielraum für Bodenbewegungen.
Schritt 1: Messen und Markieren
Markieren Sie die genaue Stelle zwischen den beiden Bodenbelagsarten. Verwenden Sie zum Ausrichten Kreide oder Bleistift. Überprüfen Sie die Bodenhöhe.
Schritt 2: Schneiden des Streifens
Schneiden Sie den Streifen mit einer Gehrungssäge oder einer Bügelsäge auf Länge. Seien Sie präzise - ungleiche Enden können die Verbindung schwächen oder Lücken hinterlassen.
Schritt 3: Montage der Befestigungsschiene (falls erforderlich)
Bei einigen Leisten wird ein Metall- oder Kunststoffkanal verwendet, der zwischen den Böden sitzt und die Leiste an ihrem Platz hält. Befestigen Sie diese mit Schrauben oder Klebstoff auf dem Unterboden.
Schritt 4: Einrasten oder Anbringen des Streifens
Je nach System:
- Einrastbar ins Gleis
- Verschraubung (für hochbelastbare Streifen)
- Press-in-Place mit Klebstoff
Schritt 5: Expansion zulassen
Lassen Sie bei Holz und Laminat 10-12 mm Spielraum für die Ausdehnung des Bodens. Verschrauben Sie die Verkleidung nicht direkt mit den Dielen, sondern nur mit dem Unterboden.
Schritt 6: Reinigen und versiegeln
Entfernen Sie Verschmutzungen, tragen Sie bei Bedarf eine Versiegelung für nasse Bereiche auf und prüfen Sie die Stabilität des Streifens. Achten Sie darauf, dass er bündig ist, um Stolperfallen zu vermeiden.
Erforderliche Werkzeuge
| Werkzeug | Zweck |
|---|---|
| Gehrungssäge/Bügelsäge | Streifen zuschneiden |
| Bandmaß | Genaue Längen- und Spaltmessungen |
| Bohrer | Sichere Montageschiene |
| Gummihammer | Streifen ohne Beschädigung einschlagen |
| Kleber | Sichere Schiene oder Streifen (optional) |
Sie sollten Übergangsleisten direkt auf schwimmende Böden schrauben.Falsch
Schwimmend verlegte Böden brauchen Platz zum Ausdehnen; schrauben Sie nur in den Unterboden oder verwenden Sie Montageschienen.
Die Verwendung einer Montageschiene verbessert die langfristige Stabilität von Übergangsleisten.Wahr
Die Schienen sorgen für einen sicheren, gleichmäßigen Halt und ermöglichen einen einfacheren Austausch der Streifen.
Wie können verschiedene Übergangsstreifen beibehalten werden?
Übergangsstreifen sind nur nützlich, wenn sie an Ort und Stelle bleiben, sauber bleiben und sicher sind. Werden sie ignoriert, führt dies zu kostspieligen Reparaturen - oder schlimmer noch, zu Unfällen.
Um die Bodenübergangsleisten zu pflegen, sollten Sie sie regelmäßig reinigen, auf Bewegungen oder Beschädigungen überprüfen und die Verbindungen bei Bedarf neu abdichten oder festziehen.
Tipps zur Reinigung
- Für Holz: Verwenden Sie ein trockenes oder leicht feuchtes Tuch. Vermeiden Sie scharfe Chemikalien.
- Für Aluminium oder Metall: Mit nicht scheuerndem Reinigungsmittel abwischen und trocken, um Korrosion zu vermeiden.
- Für Vinyl oder PVC: Verwenden Sie milde Seife und warmes Wasser.
Monatlich inspizieren
Prüfen Sie auf:
- Lose Kanten
- Rissige oder verzogene Abschnitte
- Rost oder Schimmel (in feuchten Bereichen)
- Lücken durch Expansion
Wenn Sie ein Problem feststellen, setzen Sie den Streifen wieder ein oder tauschen Sie ihn aus. Eine Verzögerung der Reparatur erhöht die Verletzungsgefahr.
Neuversiegelung und Reparaturen
In Bädern, Küchen oder Kellern kann Feuchtigkeit die Klebestreifen schwächen. Dichten Sie die Fugen mit wasserfestem Dichtungsmaterial ab oder ersetzen Sie sie durch ein geeigneteres Material (z. B. eloxiertes Aluminium).
Beispiel für einen Wartungsplan
| Aufgabe | Frequenz | Anmerkungen |
|---|---|---|
| Reinigung der Oberfläche | Wöchentlich | Vermeiden Sie übermäßige Feuchtigkeit |
| Visuelle Kontrolle | Monatlich | Suchen Sie nach Lücken oder hochstehenden Kanten |
| Kontrolle des Verschlusses | Alle 3-6 Monate | Lose Schrauben nachziehen |
| Ersatz/Nachrüstung | Alle 2-5 Jahre | Aufgrund von Verkehr und Verschleiß |
Übergangsleisten aus Aluminium müssen jeden Monat neu versiegelt werden, um Rost zu verhindern.Falsch
Eloxiertes Aluminium ist korrosionsbeständig und muss nicht monatlich neu versiegelt werden.
Beschädigte Übergangsleisten sollten umgehend ersetzt werden, um Stolperfallen zu vermeiden.Wahr
Lose oder gerissene Streifen können gefährlich sein und sollten schnell repariert werden.
Schlussfolgerung
Übergangsleisten sind mehr als nur dekorativ - sie schützen Ihren Boden, erhöhen die Sicherheit und vervollständigen Ihr Design. Entscheiden Sie sich für die Funktion, nicht nur für das Aussehen. Installieren Sie sie mit Sorgfalt, dann halten sie jahrelang, selbst in stark frequentierten Räumen.

