
Why is my heat sink not improving thermal performance as expected?
Have you fitted a bigger heat sink and still seen high device temperatures rising?
Yes — it often comes down to hidden factors in the thermal path and system environment.
In the rest of this article I’ll walk through what affects heat‑sink efficiency, why good contact matters, how you can troubleshoot poor heat dissipation, and what innovations are improving overall performance.
What factors affect heat sink efficiency?
Have you ever assumed that if the sink is larger then everything will be okay, only to find results under‑whelming?
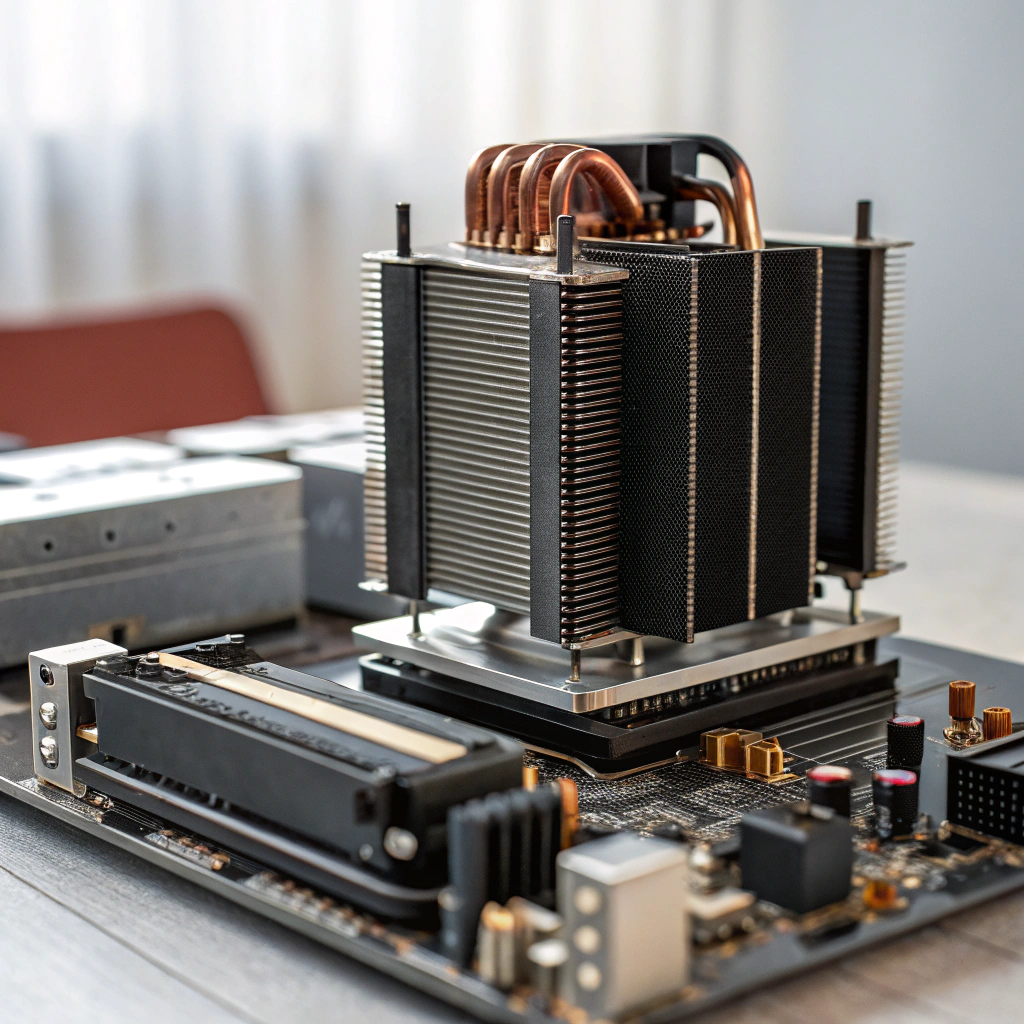
Many things affect a heat sink’s ability to do its job — material, geometry, airflow, interface, mounting and ambient conditions all matter.

When you fit a heat sink and it doesn’t perform as expected, you need to look at the full chain of heat transfer: from the chip’s junction through the case, interface, sink, and finally into the air. Here are the key factors to check:
Material choice
The heat sink must conduct heat efficiently. Aluminium is common, but copper offers higher conductivity. Poor material choices slow heat flow and limit cooling.
Geometry and design
The base thickness, number of fins, their shape, spacing, and surface area affect heat dissipation. Too few fins or poorly spaced fins can trap heat or restrict airflow.
Interface quality
Rough surfaces, loose mounting, missing thermal paste or poor thermal interface material will block heat flow between the chip and the heat sink. A bad interface often ruins an otherwise good sink.
Airflow and ambient temperature
If there’s little airflow or if the system is enclosed with rising ambient temperatures, even a well-sized sink may fail. Forced air works better than natural convection.
Mounting method
Improper mounting pressure, tilt, misalignment, or soft mounting hardware can reduce contact and increase resistance. Poor contact equals poor cooling.
Thermal spreading
If heat is concentrated on one small spot and the base plate is too thin, the heat won’t spread across the sink, leading to localized hot spots.
Application mismatch
Some sinks are rated assuming fans or specific orientation. If you use them differently, the performance may be far lower than expected.
You must consider the whole system, not just the heat sink itself, to get good results.
Heat sink efficiency depends only on the size of the sink.False
Material, contact, airflow, and mounting also significantly affect performance.
A poor thermal interface can make even a large heat sink underperform.True
If contact is bad, the heat cannot flow into the sink effectively.
What are the benefits of optimized heat contact?
Have you ever treated the device‑to‑sink interface as “just metal touching metal” and skipped checking the contact layer?
Optimizing the contact between the device and heat sink reduces thermal resistance and improves heat transfer — bringing better cooling, lower junction temps and improved reliability.
Let’s explore how optimized thermal contact improves your system:
Better thermal conduction
Perfect contact ensures less resistance between the device and the sink. This means more heat moves into the sink faster, keeping the chip cooler.
Efficient use of the sink
If heat can’t enter the sink efficiently, much of the sink’s surface goes unused. Good contact lets the whole sink do its job.
Lower device temperatures
Cooler chips perform better and last longer. Good thermal contact reduces the temperature at the core of your components.
Smaller or cheaper solutions
If your interface is good, you might not need a huge or expensive heat sink. A smaller one may do the job just as well, saving space and cost.
Predictable performance
Inconsistent contact causes inconsistent results. A well‑applied thermal interface makes production results more uniform and reliable.
Always clean surfaces, use a good thermal interface material, and ensure strong, even pressure during mounting.
Improving thermal contact reduces the need for a large heat sink.True
Better heat transfer means less surface area may be needed.
Thermal paste is optional and has no real impact on heat transfer.False
Thermal paste fills microscopic gaps and improves conduction significantly.
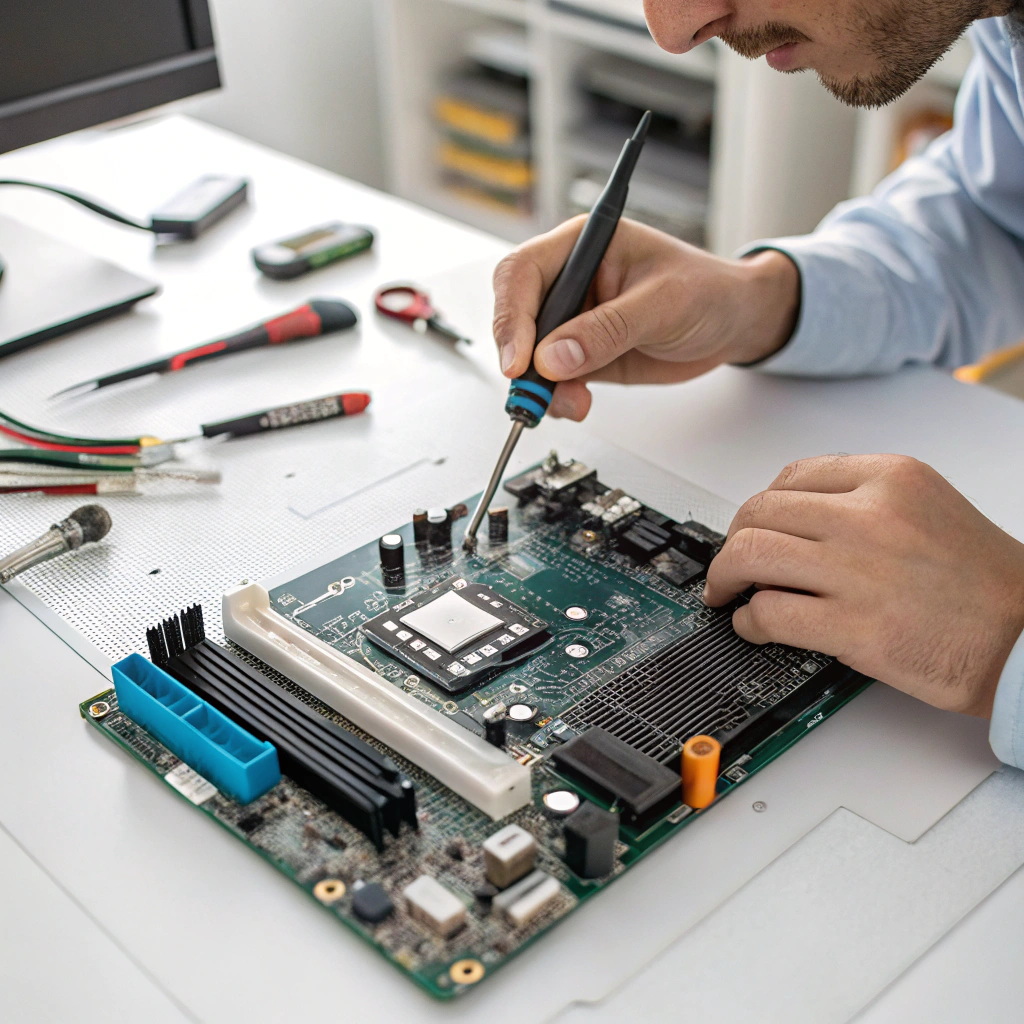
How can I troubleshoot poor heat dissipation?
You installed a heat sink but your component is still overheating — what now?
Start with a checklist and work through each part of the system step by step.
Step 1: Confirm the power
Make sure you know how much power the device is really dissipating. Check datasheets and real-world current draw. Actual power might be higher than expected.
Step 2: Measure temperatures
Use a thermal probe or camera. Check the device case, heat sink base, and fins. If the case is hot but the fins are cool, the contact is likely bad.
Step 3: Check the interface
Remove the sink and look for gaps, air bubbles, dry paste, uneven contact marks. Reapply thermal interface material and remount it firmly and evenly.
Step 4: Inspect airflow
Ensure air can move freely around the sink. Is the fan working? Is the sink orientation helping or hurting airflow? A heat sink buried in a tight case won’t perform well.
Step 5: Recalculate thermal budget
Use this formula:
[
R{\theta total} = \frac{T{max} – T_{ambient}}{Power}
]
Compare this with your sink’s rating. Add margins for interface and case-to-sink resistance.
Step 6: Replace and retest
Try a different sink with lower thermal resistance. Or improve airflow using a fan. If it improves, then the old sink wasn’t good enough for the actual setup.
This step-by-step approach can help isolate where the bottleneck is and fix the problem effectively.
Checking airflow and orientation is a key part of thermal troubleshooting.True
Air movement directly affects the heat sink’s ability to release heat.
If the sink is cold, the system is working perfectly.False
Cold fins and a hot chip suggest poor contact and heat is not reaching the sink.
What innovations improve overall heat performance?
Still struggling with cooling? Let’s explore new ideas that go beyond just bigger blocks of metal.
Modular cooling, better materials, and smarter layouts are changing how we manage heat.
Heat pipes and vapor chambers
These spread heat quickly from hot spots to cooler areas of the sink. They reduce local overheating and make better use of the whole sink surface.
Surface coatings
Black anodizing and other surface treatments improve radiation and convection performance, especially in passive cooling setups.
Optimized fin structures
Modern fins are not just straight lines. Engineers now use pin fins, cross fins, and waved fins to increase air turbulence and cooling efficiency.
Liquid cooling integration
Liquid cold plates are now common in high-density systems. They remove heat directly and transfer it to radiators more efficiently than air cooling.
Modular cooling systems
Clip-on heat sinks, swappable base plates, and standard fan modules allow easier scaling and replacement. These systems are flexible and save time in design.
AI and simulation tools
Designers now use simulation tools to optimize sink shape, fin pattern, and airflow paths digitally before manufacturing. This shortens development time and improves accuracy.
These innovations help meet today’s thermal challenges while saving space, improving reliability, and enabling denser packaging.
Heat pipes help distribute heat across the heat sink more evenly.True
They reduce hot spots and improve sink efficiency.
Liquid cooling is only used in gaming computers.False
It is also common in industrial, medical, and automotive systems.
Conclusion
If your heat sink isn’t working as expected, don’t blame the metal block right away. First, check the thermal interface, airflow, system power, and mounting. A well-sized sink with poor contact performs worse than a small one with great contact. Optimize the full thermal path. Use new materials and smart designs to stay cool under pressure.


