
Можно ли устанавливать окантовку после укладки плитки?
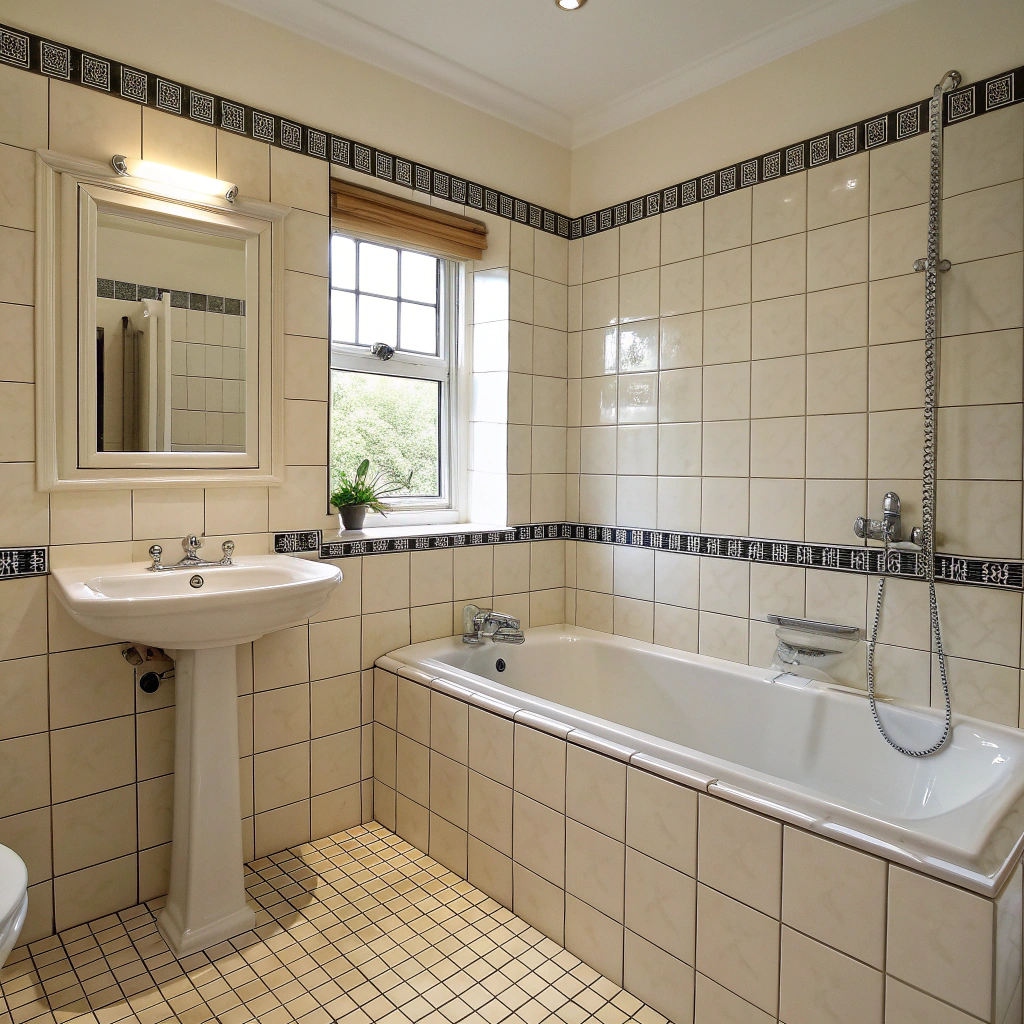
I once didn’t plan well and used sharp tile edges. I felt the worry of using tiles without trim after the work was done. It made me want to fix it fast.
Yes, you can install tile edge trim after tiling. Retrofitting trim is possible. You can use adhesive methods and designs made for after-install trim.
You might wonder how and if you can really add trim once tiles are set. I will walk you through it, step by step.
Is retrofitting tile trim possible?
I felt uneasy seeing the edges without trim. I knew I needed a safe, neat finish.
You can retrofit tile trim. Special trims are made to stick to tile edges later using adhesive or clips.

There is real value in adding trim even after tiling. It improves the look. It protects edges from chipping. It also covers rough cuts at the border.
Why retrofitting trim works
| Выгода | Почему это важно |
|---|---|
| Защита | It shields tile edges from damage. |
| Эстетика | It gives a clean, finished look. |
| Безопасность | It prevents sharp edges from harm. |
Adding trim later is doable. You must choose the right trim and glue. Some trims are made for retrofits. They stick snug to the tile edge with adhesive. Others use clips or trowel-set systems.
What challenges arise when adding trim after tiling?
I saw many people skip trim at first. Later, they find a few issues when they try to fix it.
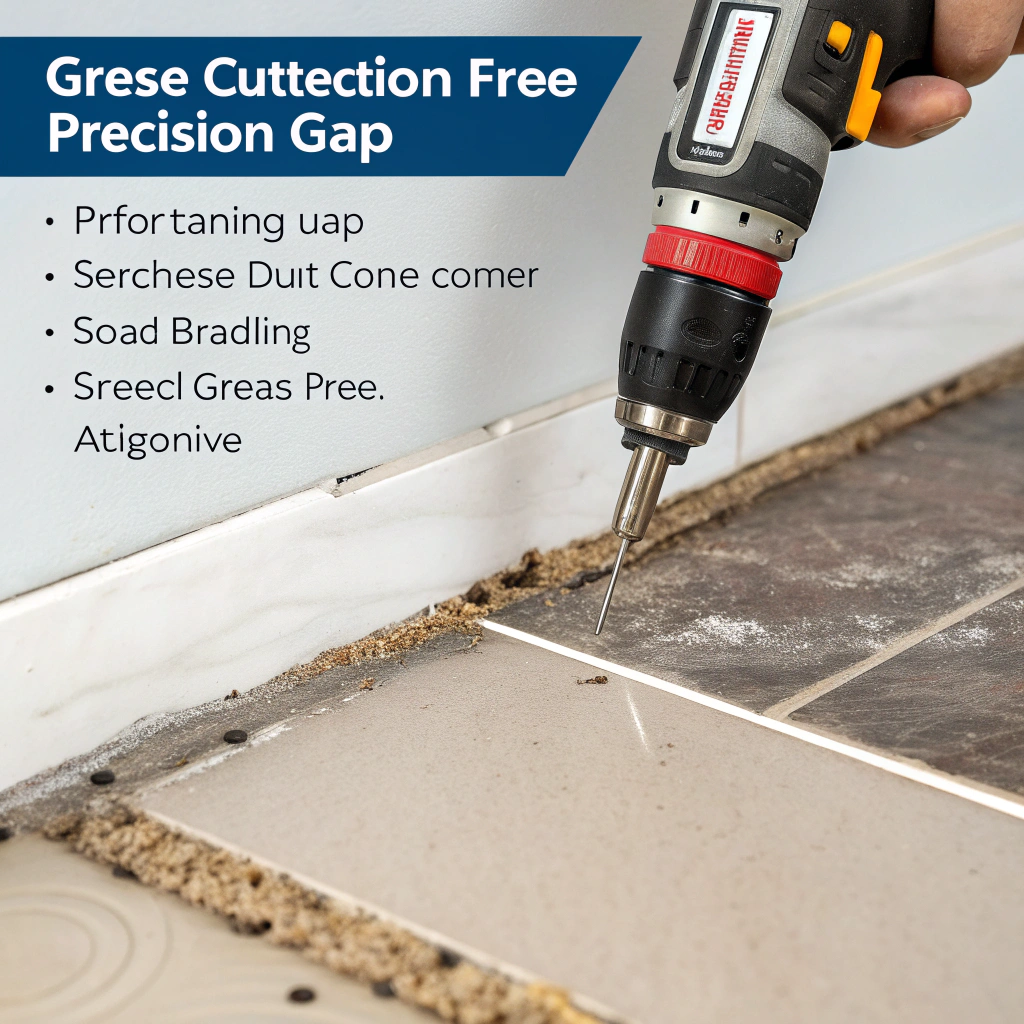
The main challenges are ensuring the trim lays flat against uneven edges, finding the right adhesive, and getting neat cuts for a tight fit.
Those issues may sound small. But they can make the final look sloppy or the trim pop off. Poor glue use can cost time and material.
Common issues table
| Вызов | What can go wrong |
|---|---|
| Uneven tile edge | Trim may not sit flush, gaps may show |
| Inadequate adhesive | Trim may fall off or shift with use |
| Cutting precision | Visible gap or poor alignment at corner |
| Загрязнение поверхности | Dust or grease can stop adhesive from bonding |
If the trim does not seat well, you may need to tweak the tiles. When adhesive fails, it may peel, and you may need to re-glue. Cutting trim after tiles are in place is harder, too.
What retrofit trim types are available?
I was surprised by the variety. You can pick based on your tile thickness, corner type, and finish.
You can find trims that use adhesive tape, thinset-set languages, or clip-on metal designed for after-install attachment.
Here are the main trim types:
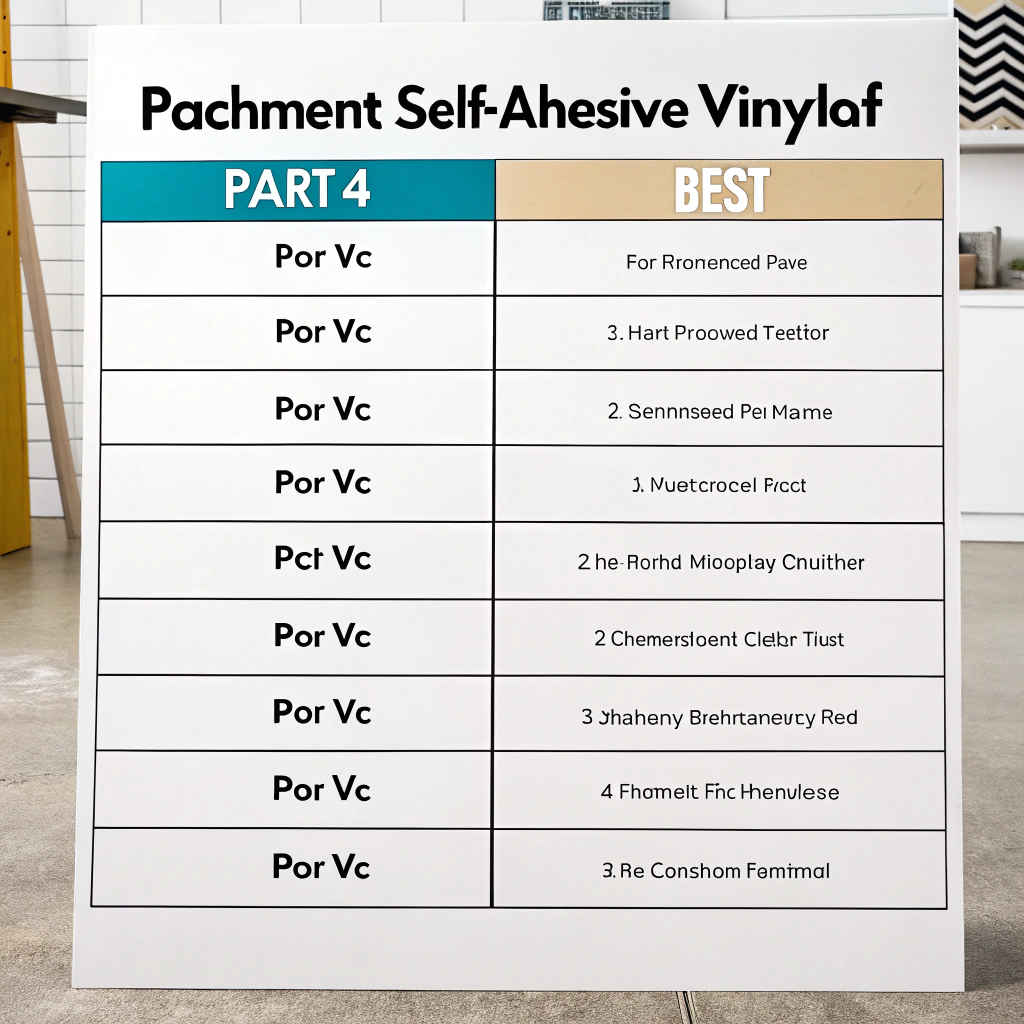
- Self-adhesive vinyl or PVC trim: Easy peel-and-stick method. Works for light-duty edges.
- Thinset or mortar-set metal trims: You apply mortar to the back and press into the grout line.
- Clip-on aluminum trims: These fit over edges with hidden clips or tines.
- End-cap styles: Designed to cap exposed tile edges with adhesive backing.
Trim type comparison
| Тип обрезки | Метод крепления | Лучшее для |
|---|---|---|
| Self-adhesive vinyl/PVC | Peel-and-stick | Quick fixes, low weight |
| Thinset/mortar metal | Thin mortar | Durable, flush finish |
| Clip-on aluminum | Mechanical clips | Strong hold, metal look |
| Adhesive end-cap | Back adhesive | Protective capping |
You should check the product specs. Make sure they fit your tile thickness and are rated for retrofit.
What’s the step‑by‑step process to add trim later?
I once added trim late to a bathroom floor. The steps helped me do it right. No mistakes.
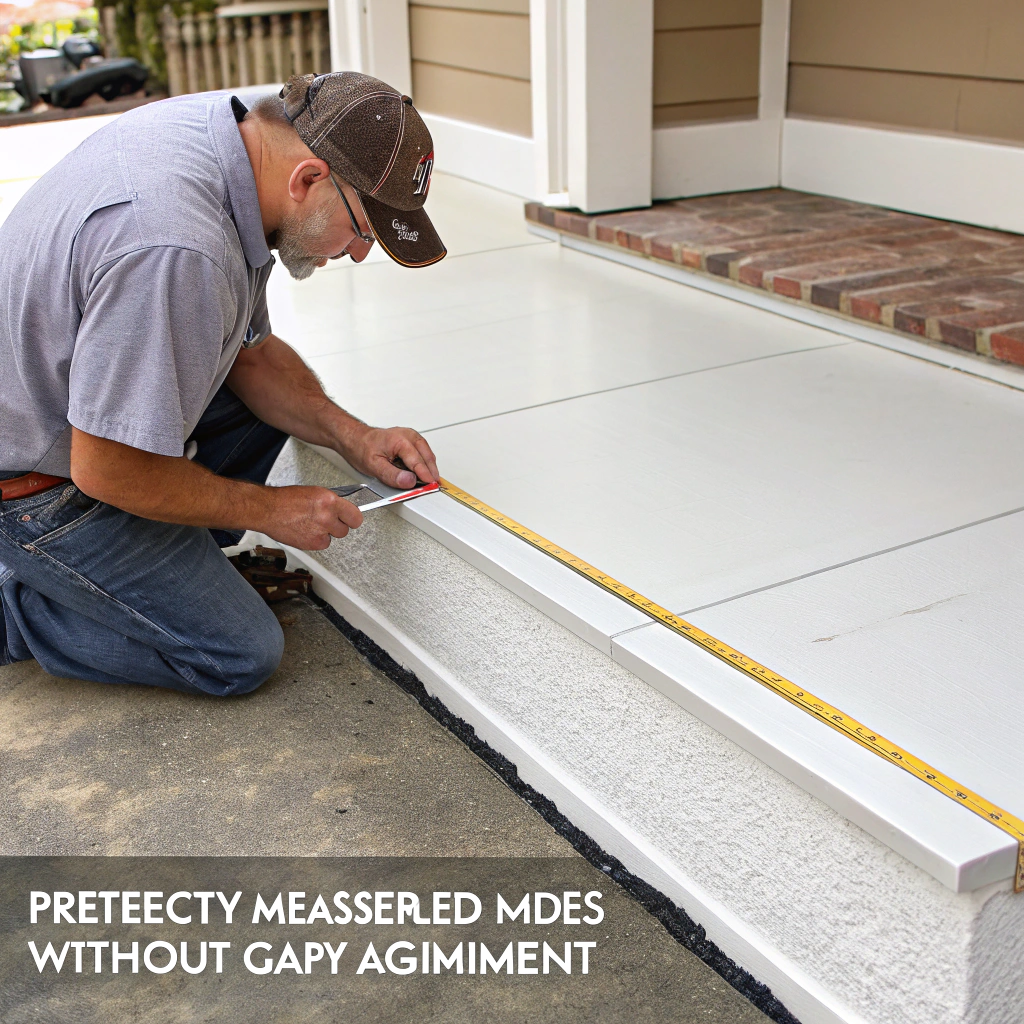
The process is: clean edges, measure and cut trim, dry-fit, apply adhesive or set, install trim, then grout or seal.
Below is a clear plan:
Step‑by‑Step Installation Table
| Шаг | Действие | Почему это важно |
|---|---|---|
| 1 | Clean surface and edges | Ensures trim sticks well |
| 2 | Measure and cut trim pieces | Prevents gaps and misalignment |
| 3 | Dry-fit trim | Checks fit before glue sets |
| 4 | Apply adhesive or mortar | Proper bond and strength |
| 5 | Install trim and press | Ensures good contact and alignment |
| 6 | Wipe excess adhesive/grout | Keeps clean, neat finish |
| 7 | Caulk or seal joints (optional) | Weatherproofing, water protection |
When I did it, I first used a rag to clean off dust. I made small cuts. I then used thinset in small amounts. I rested the trim in place. I tapped gently and checked alignment. I wiped away extra mortar. I waited until set, then grouted for a smooth finish.
Adding trim is easy if you go slow and precise. It can make a big difference in how the job looks and lasts.
Заключение
Adding tile trim after tiling is possible. You just need the right trim, surface prep, and careful installation. It fixes looks, protects edges, and improves safety—all with simple steps.

