
Make Your Own LED Strip Aluminium Profile?

Introductory paragraph that grabs reader’s attention with real need—DIY lighting often fails when heat ruins LEDs fast.
I answer upfront: you need aluminum channel, LED strip, diffuser, end caps, and mounting tools to build a solid DIY LED aluminium profile.
In the next parts, I walk you through materials, cutting and shaping, heat handling, and finishing choices—so you can make smart, functional DIY lighting step by step.
What materials do I need to build a DIY LED aluminium profile?
I start with the urgent problem—making LED look good and last is not easy when hardware fails.
To build a DIY aluminium profile, you need these key materials: aluminum extrusion channel, the right LED strip, a diffuser, end caps, mounting parts, and possibly connectors or accessories for layout.

I list each part below, then explain why it matters:
Materials list
| Item | Purpose |
|---|---|
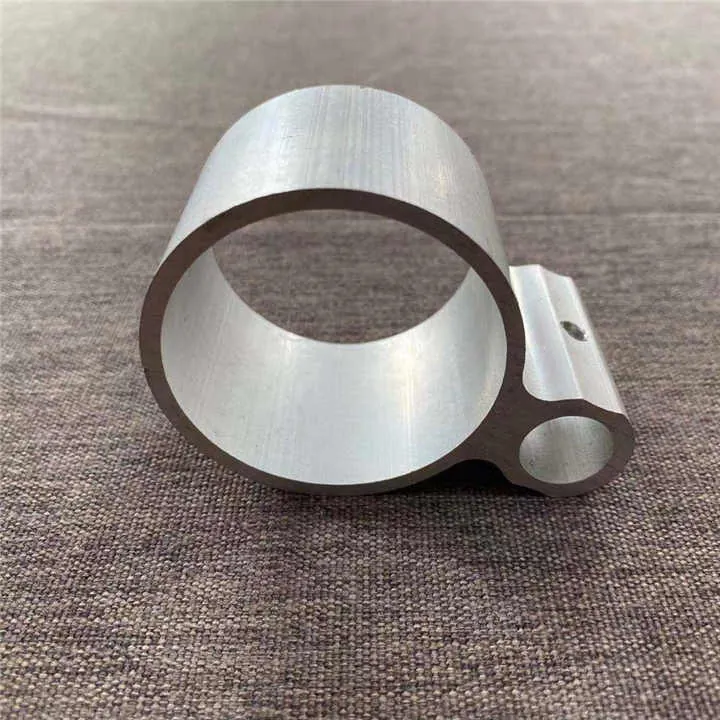
| Aluminium extrusion (mental u-shaped or others) | Acts as housing, protects strip, and works as heat sink :contentReference[oaicite:1]{index=1} |
| LED strip | The actual light source—pick correct voltage, density, and waterproofing if needed |
| Diffuser (PC or acrylic) | Softens light and hides LED dots, reduces glare :contentReference[oaicite:2]{index=2} |
| End caps (with or without cable hole) | Seal the ends, protect from dust and moisture :contentReference[oaicite:3]{index=3} |
| Mounting clips or adhesive | To fix the profile to surface—clips are secure, tape is quick :contentReference[oaicite:4]{index=4} |
| Connectors, brackets, suspension cables | Help build custom shapes, corners, suspended runs :contentReference[oaicite:5]{index=5} |
Then I explain each item more simply:
I choose aluminum channels because they give light a safe, neat home. They protect the strip, hide ugly wiring, and even keep things cool. I pick led strips that match my needs—bright, slim, waterproof if needed. I always add a diffuser to make the light smoother and more comfortable for eyes. End caps keep dust and moisture out. I mount with clips when I may need to adjust things later, or with tape when speed is priority. And if my design needs corners or hangers, I use connectors or cables.
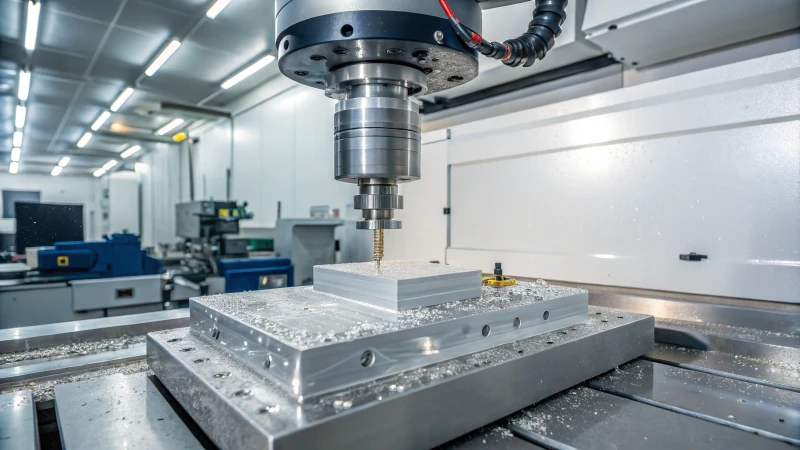
How can I cut and shape aluminium for LED strips?
If you don’t cut well, your build looks rough and may not fit together right.
You cut aluminium with the right saw and blade—measure twice, tape the cut line, smooth edges, fit parts before final assembly.

Here is how I do it step by step:
- Measure and plan the layout and length of channels. Use tape and pencil to mark cut lines.
- Use proper tools: a hacksaw with fine-tooth blade or miter saw with non-ferrous (aluminium) carbide blade to cut channel :contentReference[oaicite:6]{index=6}.
- For diffuser cover, cut it separately with utility knife or scissors to prevent cracking :contentReference[oaicite:7]{index=7}.
- Sand or file the raw edge, so it is smooth and safe to handle.
- Always dry-fit strip, diffuser, caps, and mounting before final glue or snap.
From a community tip:
“Some cutting fluid or machine oil (or even vegetable oil) may help keep the aluminum from heating and gumming the blade” :contentReference[oaicite:8]{index=8}.
That tip saves me time and keeps edges clean.
How to ensure proper heat dissipation in aluminium LED profiles?
Heat can kill LEDs fast. I need to keep things cool so they last.
Aluminum channel draws heat away from LEDs, keeping them cooler and helping light stay bright longer—especially important for high-power or long runs.

I explain why that matters:
LEDs turn most electricity into heat, not light. If heat stays trapped, it reduces light, shifts color, and shortens life. Good heat sinking is critical :contentReference[oaicite:9]{index=9}.
Aluminum is great at moving heat from LED strip to air. Mounting the strip directly on the channel ensures good contact for cooling :contentReference[oaicite:10]{index=10}.
In most normal cases, modern strips run cool, so the aluminium helps but is not absolutely required—but it still improves lifespan and performance :contentReference[oaicite:11]{index=11}.
Better fit means better cooling—thermal paste or adhesive helps too. I leave a tiny gap to allow expansion in long runs :contentReference[oaicite:12]{index=12}.
If I’m mounting on insulating materials like wood, metal channel becomes essential for heat escape :contentReference[oaicite:13]{index=13}.
So I always use metal channel. It helps light last and look steady.
What finishing options enhance LED strip mounting on DIY profiles?
Looks matter, and finishes help performance too.
Finishes like anodizing or powder-coating make the profile look better, resist corrosion. Choosing the right diffuser, end caps, and mounting style also improve appearance and function.
I break it down:
| Finish Option | Benefit |
|---|---|
| Anodized or powder coated finish (silver, white, black) | Boosts corrosion resistance and lets you match room décor :contentReference[oaicite:14]{index=14} |
| Diffuser choice (clear, frosted, opal) | Balance between brightness and soft glow; opal hides LED dots best :contentReference[oaicite:15]{index=15} |
| End caps | Provide a clean look, dust protection, cable access :contentReference[oaicite:16]{index=16} |
| Mounting clips vs adhesive | Clips are removable and strong; adhesive is fast but harder to reposition :contentReference[oaicite:17]{index=17} |
| Profile type (surface, recessed, corner, suspended) | Helps match design intent: flush look, wall corner lighting, hanging pendant glow :contentReference[oaicite:18]{index=18} |
The finish also affects cooling—an anodized surface dissipates heat well. Painted or coated metal can even radiate heat better :contentReference[oaicite:19]{index=19}.
I choose a finish that looks good, fits the space, protects the LEDs, and does not reduce cooling.
Conclusion
In short: you bring together aluminium channel, LED strip, diffuser, end caps, and mounting tools. Cut with proper saw and blade, smooth edges, then assemble. The aluminium channel keeps LEDs cool and lasting longer. Finishing touches—anodizing, right diffuser, caps, and mounting—improve both form and function. This gives you a durable, clean DIY LED lighting solution.
Let me know if you want exact tool picks or sample parts sources next!

