
알루미늄 압출재의 밀링 마킹을 어떻게 제거하나요?

Have you ever looked at your aluminum extrusion and felt stuck with those faint but obvious lines that seem impossible to remove? They distract from the finish and reduce perceived quality.
You remove mill markings on aluminum extrusion by a combination of mechanical and chemical finishing methods — abrasives to erase the lines, progressive sanding to smooth the surface, and optional chemical treatments to restore or enhance the finish.
Let’s walk through the process step by step. I’ll share what tools work best, why sanding progression matters, how to avoid over‑polishing, and when chemical treatments make a difference.
What tools remove mill marks effectively?
If you grab the wrong tool you risk making the marks worse or adding new ones. The pain of starting with poor equipment is real.
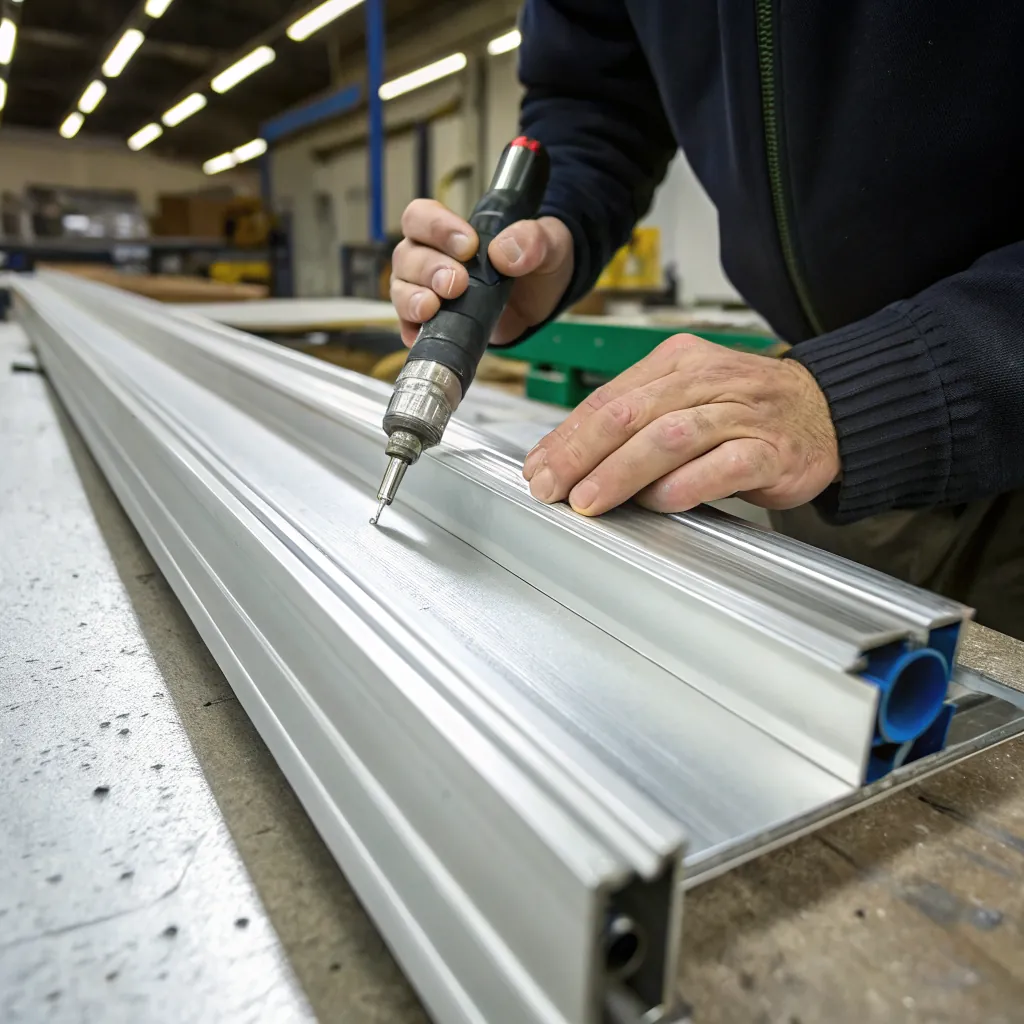
Effective tools for removing mill marks include abrasive discs and pads, blasting media, and brushing/grinding machines suited for aluminum profile surfaces.

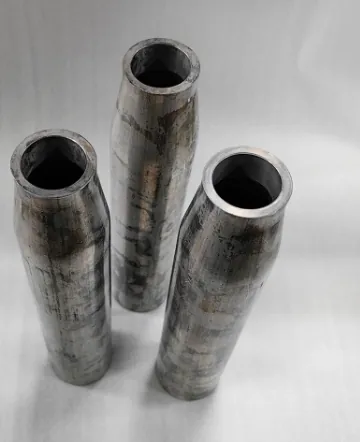
When I first worked in finishing aluminum, I underestimated how much the choice of tool matters. Mill marks are the fine ridges, lines or swirls left on an extrusion after the extrusion die process or machining operations. They are part of what industry calls the “mill finish” surface.
Types of tools
| 도구 유형 | What it does |
|---|---|
| Surface conditioning discs (non‑woven) | These are like pad/disc combinations that blend and remove machine marks without too much removal. |
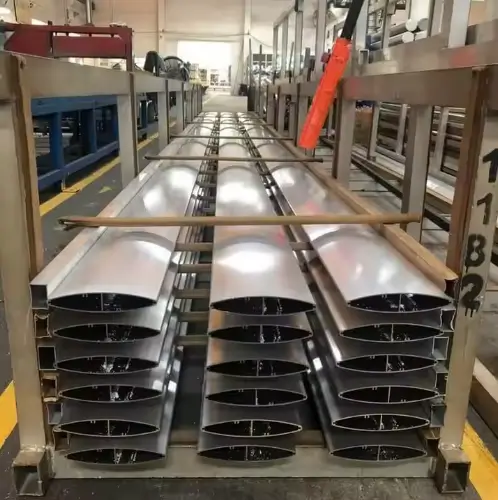
| Grinding/brushing machines | For large aluminum profiles you may use brushing and grinding equipment to remove die lines and extrusion lines. |
| Abrasive blasting / tumbling media | If the mill marks are deep, mass finishing approaches like tumbling with media or blasting can be used. |
Tool selection considerations
- The depth and visibility of the mill marks
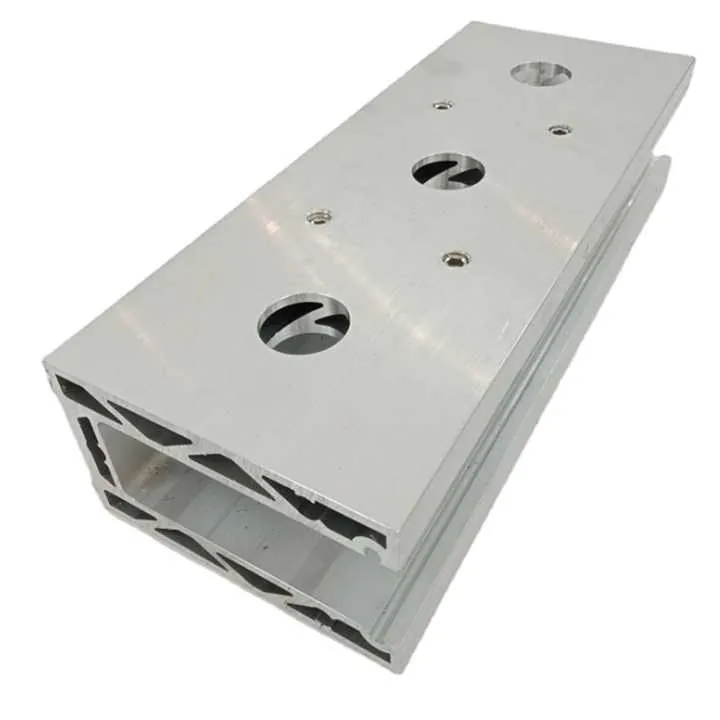
- The geometry of the extrusion
- 표면 마감 요구 사항
My recommendations
- Start with the least aggressive tool
- Use brushing/grinding machines for high volumes
- Apply consistent motion and pressure
- Secure the extrusion to avoid damage
Surface conditioning discs are too gentle to ever remove visible mill marks on aluminum extrusion.False
Surface conditioning discs (such as Scotch‑Brite Precision) can and are used to remove visible mill marks on aluminum.
Brushing or grinding machines are suitable for large volumes of aluminum profiles to remove die lines before anodizing.True
Industry references mention brushing/grinding machines for aluminium profile surface defect removal as preparatory to coating or anodizing.
Why sanding progression improves finish quality?
Many think “one grit and done” is enough. But skipping grades leads to visible scratches and inconsistent finish. I learned it the hard way.
A proper sanding progression from coarser to finer grit smooths the surface gradually, removing previous abrasive scratches and preparing the aluminum for final finish or coating.
Sanding progression means moving step by step: e.g., 120 grit → 240 grit → 400 grit → 600 grit. Each step removes the scratch pattern left by the previous grit and refines the surface. If you skipped from 120 to 400, the longer scratch lines from 120 might remain and show through coatings or anodizing.
Why it matters for aluminum extrusions
- Aluminum is softer than steel and reacts differently to abrasion
- Final finishes like anodizing require consistent surface texture
- Skipping steps results in poor visual and structural results
Suggested progression table
| 단계 | Grit | 목적 |
|---|---|---|
| 1 | 120‑180 | Remove mill marks, die lines, heavy scratches |
| 2 | 240‑320 | Eliminate coarse grit lines, flatten surface |
| 3 | 400‑600 | Begin refining, reduce scratch visibility |
| 4 | 800‑1000 | Pre‑final fine grit, ready for polishing/coating |
흔히 저지르는 실수
- Starting with too fine a grit
- Uneven sanding in corners
- Excessive pressure while sanding
When I first finished a batch of extrusions and skipped the 240‑320 grit step, the final anodised parts still faintly showed scratch lines. My client rejected them. After re‑doing the full sequence, the results were acceptable.
Skipping from coarse grit directly to polishing will produce as good a finish as progressing through intermediate grits.False
Skipping intermediate grits leaves visible scratch patterns from the coarse grit, reducing finish quality.
Using a sanding progression helps eliminate visible scratch lines and prepares the surface properly for coating or anodizing.True
A proper sanding progression removes prior tool marks gradually and yields a more uniform surface finish.
How to avoid overpolishing extrusions?
Over‑polishing seems harmless but it can cause damage: you remove too much metal, distort features, or create uneven reflectivity. That worry is real.
You avoid over‑polishing by controlling the amount of material removed, paying attention to surface geometry, switching to non‑aggressive media when needed, and stopping when the desired finish is reached.

Over‑polishing on aluminum extrusions means you remove more material than needed. This can lead to thinning of walls, rounding of corners, or reflective hot spots. In many cases, parts fail quality checks due to over‑polishing. Dimensional tolerances are especially critical when supplying extrusions for assembly.
Risks
- Thinning of wall sections
- Loss of design features
- Inconsistent finish
- Reduced coating adhesion
Prevention steps
- Monitor wall thickness
- Switch to lighter polishing media
- Use fixtures for consistency
- Stop polishing at predefined benchmarks
Signs of over-polishing
| 표시기 | 액션 |
|---|---|
| 얇은 벽 | Stop, check tolerance |
| Uneven shine | Change tools |
| New swirl marks | Reassess process |
| Poor coating adhesion | Add texture |
Once I over‑polished a part intended for anodizing. The part looked great, but the anodizing failed due to poor adhesion. I had to rework everything using lighter abrasives and a better sanding sequence.
Over‑polishing aluminum extrusions can lead to reduced wall thickness and loss of structural features.True
Excessive material removal through polishing can thin walls and round off crisp edges, affecting fit and function.
A mirror‑finish on aluminum extrusion always improves coating adhesion and is preferred for anodizing.False
A mirror finish can reduce coating adhesion because anodizing may require some surface texture for bonding; too smooth a surface can cause peeling or poor adhesion.
Can chemical treatments enhance surface finish?
Mechanical methods are essential, but chemicals can boost your finish or correct what abrasion can’t reach. The dilemma: which chemical treatments work and when to use them.
Yes — chemical treatments such as etching, bright‑dip, passivation or conversion coating can enhance surface finish by removing microscopic marks, preparing the surface for coating or improving appearance and durability.
Chemical treatments are often used after sanding and polishing. They even out the surface, reduce micro-marks, and increase uniformity. This is especially useful when extrusions are headed for anodizing or coating.
Types of treatments
| 프로세스 | 목적 |
|---|---|
| Acid/Alkaline Etch | Removes micro imperfections |
| Bright-Dip | Enhances reflectivity |
| Conversion Coating | Improves adhesion, corrosion resistance |
| Passivation | Stabilizes surface, reduces reactivity |
혜택
- Removes remaining micro marks
- Reaches complex geometry
- Improves coating performance
- Meets demanding surface specs
고려 사항
- Chemical steps don’t replace mechanical removal
- Alloy type affects chemical response
- Safety procedures and cost must be managed
One of our projects needed “architectural anodized finish with no visible lines.” Our mechanical prep alone wasn’t enough. We added a light chemical etch step and that made all the difference in surface quality.
Chemical etching can eliminate deep mechanical mill marks on aluminum extrusions without any prior abrasive removal.False
Chemical etching may help remove micro marks but cannot reliably remove deep mechanical mill marks; abrasive removal is required first.
Using a conversion coating or passivation after mechanical finishing can improve coating adhesion and surface uniformity.True
Conversion coatings and passivation treat the surface chemically, improving adhesion and uniformity of subsequent finishes.
결론
In summary, I guide you through a practical workflow: choose the right tools to remove mill marks, progress through sanding grits to refine the surface, avoid over‑polishing by monitoring wall thickness and finish uniformity, and apply chemical treatments when specification demands a superior finish. Each step builds on the last to deliver high‑quality extrusions ready for your clients or further processing.

