
A végső útmutató a padló átmenet csíkok?

Ugly floor gaps ruin even the most beautiful renovation. Without the right transition strip, safety and style both suffer.
Floor transition strips bridge different flooring types and levels, creating smooth, safe, and visually pleasing transitions between rooms or surfaces.
They’re often overlooked, but once you learn how versatile and essential they are, you’ll never skip them again.
What types of transition strips exist?
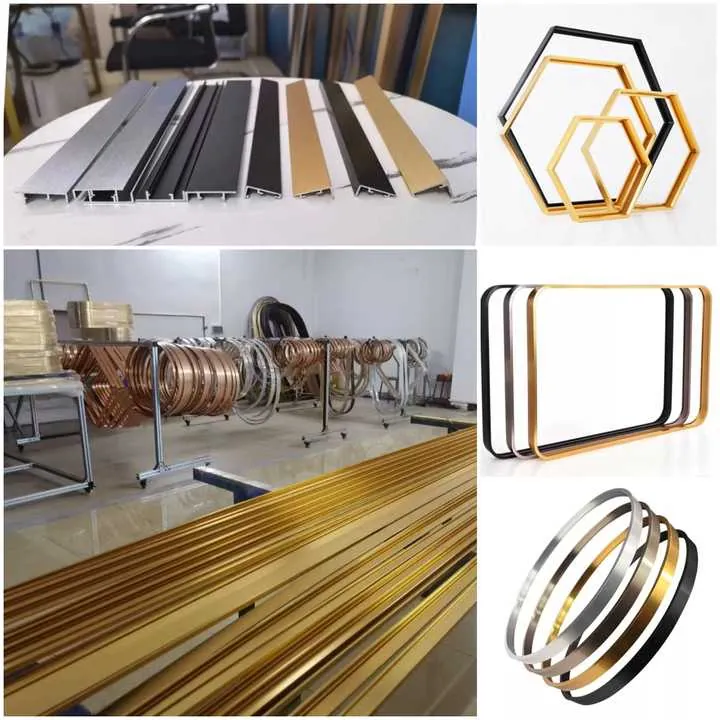
Flooring transitions are not one-size-fits-all. Different materials, thicknesses, and applications call for specific strip types.
The most common types of transition strips include T-molding, reducers, threshold strips, end caps, carpet-to-tile strips, and multi-function systems.
Each of these types serves a particular purpose depending on the flooring materials, their relative heights, and the layout of the space.
T-Molding
Best for joining two hard floors of equal height, like laminate to laminate or wood to wood. It’s shaped like a "T", fitting snugly between surfaces while allowing for expansion.
Reducers
Designed for bridging floors of unequal height, such as hardwood to vinyl or tile to concrete. They create a gentle slope to avoid trip hazards.
Threshold Strips
Gyakran használják doorways, these bridge gaps between different flooring types. Some are flat; others are beveled for elevation differences.
Végsőkupakok
Used to finish floors where they meet vertical surfaces—like fireplaces, sliding doors, or walls—without another floor next to them.
Carpet Transition Strips
These strips are used when joining carpet with tile or hardwood. They usually have teeth or tracks to hold the carpet edge tightly in place.
Multi-Function Strips (4-in-1 or 5-in-1)
Some systems offer multiple functions in one profile, allowing you to adjust the installation style depending on the situation. These are useful for DIYers or projects with many floor types.
Összefoglaló táblázat
| Transition Type | Ideális felhasználási eset | Height Level | Materials Joined |
|---|---|---|---|
| T-Molding | Equal height, hard surfaces | Same | Laminate, wood |
| Reducer | Height difference | Uneven | Hardwood to vinyl/tile |
| Threshold | Doorway transition | Either | Any to any |
| End Cap | Floor edges (fireplace, wall, etc.) | N/A | Wood, laminate |
| Carpet Strip | Carpet to hard surface | Változó | Carpet to tile/hard floor |
| 4-in-1 Strip | Versatile, multi-surface solution | Mindkettő | Mixed materials |
Reducer strips are used for transitioning between floors of equal height.Hamis
Reducers are designed for transitions between floors with height differences.
T-molding is ideal for joining two hard floors of equal thickness.Igaz
T-molding bridges hard flooring surfaces at the same level while allowing movement.
How to choose the right strip for your floor?

Choosing a transition strip without knowing your floor’s needs is like buying shoes without checking the size. You may waste money or risk safety.
To choose the right floor transition strip, you need to assess floor height differences, material types, traffic load, and visual design compatibility.
Step 1: Check Material Types
Different floors behave differently. For example:
- Laminate and hardwood expand and contract.
- Tile is rigid and set in mortar.
- Carpet needs mechanical grip.
- Vinyl is thin and flexible.
Knowing what you’re working with helps you select a strip with the right functionality and strength.
Step 2: Measure Height Difference
Transition strips are designed either for equal-height surfaces (e.g., T-molding) or differing levels (e.g., reducers, threshold strips). Measure both sides before buying.
| Floor Type A | Floor Type B | Height Gap | Strip Type |
|---|---|---|---|
| Laminate | Laminate | 0 mm | T-Molding |
| Keményfa | Vinyl | 6 mm | Reducer |
| Carpet | Tile | 5–10 mm | Carpet Transition |
| Tile | Beton | 12 mm | Threshold Strip |
Step 3: Think About Style
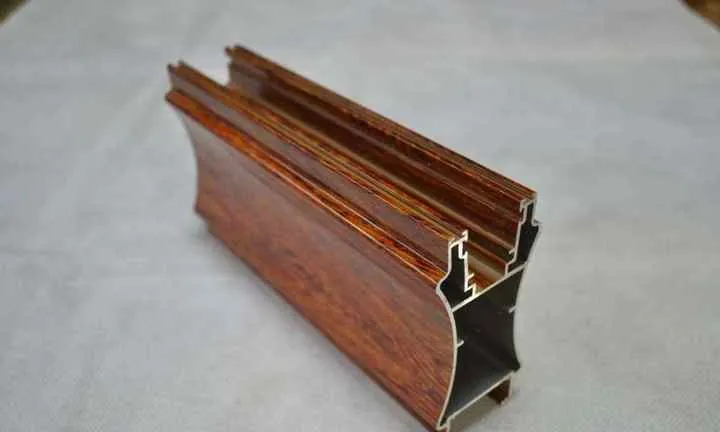
- Használja a címet. wood-tone trim for wood floors.
- Válassza ki a címet. metal for modern, high-traffic areas.
- Használja a címet. PVC or vinyl for cost-effective, hidden installations.
Step 4: Match Traffic & Moisture Exposure
High-traffic doorways need more durable materials like aluminum or anodized finish. Bathrooms or kitchens need corrosion-resistant materials like vinyl or stainless steel.
Transition strip selection should be based only on aesthetics.Hamis
Practical factors like floor height, material type, and traffic level are more important than looks.
Aluminum or PVC transition strips are ideal for high-traffic or moisture-prone areas.Igaz
These materials offer durability and corrosion resistance.
What installation steps are essential?

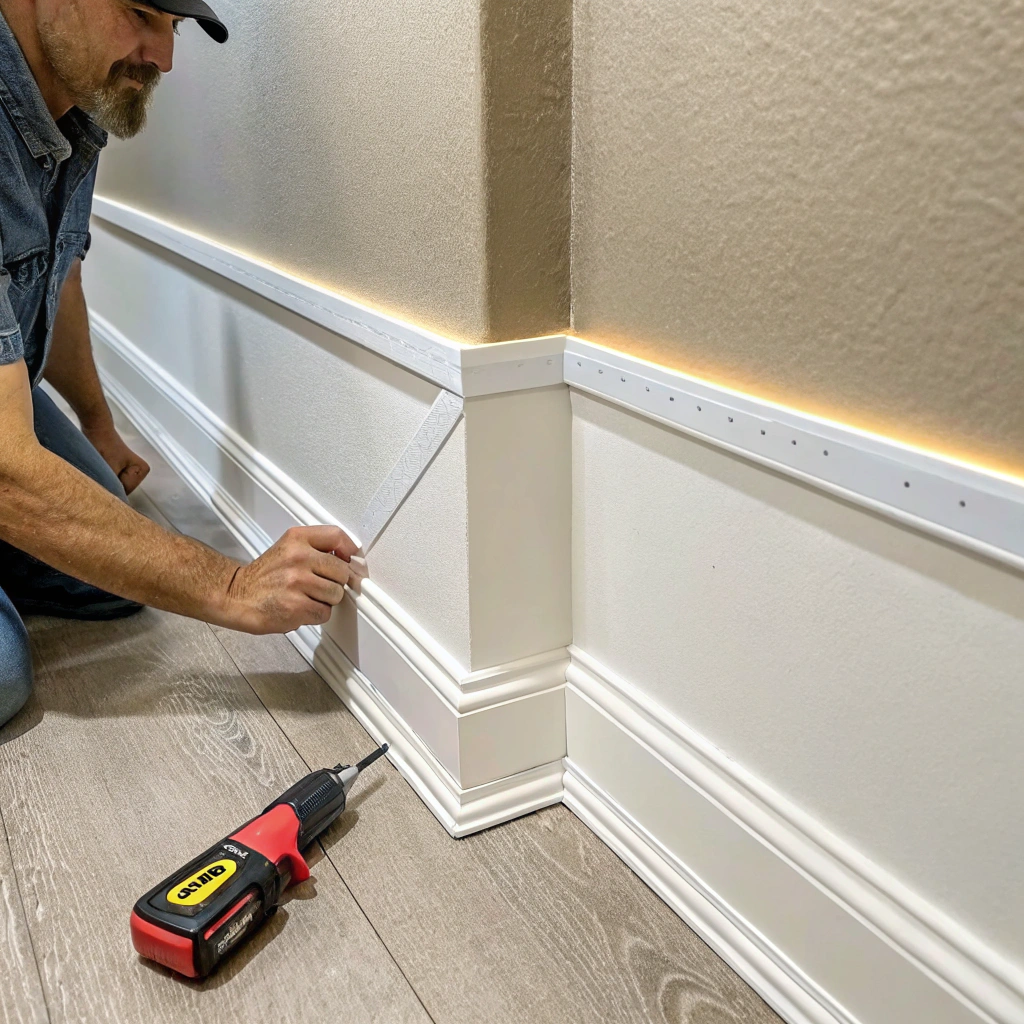
Sloppy installations lead to shifting strips, safety hazards, and ugly gaps. But getting it right only takes a few essential steps.
Proper installation involves measuring the transition gap, cutting the strip accurately, securing the base track, and allowing space for floor movement.
Step 1: Measure and Mark
Mark the exact spot between the two flooring types. Use chalk or pencil for alignment. Double-check floor levels.
Step 2: Cut the Strip
Use a miter saw or hacksaw to cut the strip to length. Be precise—uneven ends can weaken the bond or leave gaps.
Step 3: Install Mounting Track (if needed)
Some strips use a metal or plastic channel that sits between the floors and holds the trim in place. Fasten this to the subfloor using screws or adhesive.
Step 4: Snap or Fit the Strip
Depending on the system:
- Snap-fit into track
- Screw-down (for heavy-duty strips)
- Press-in-place using adhesive
Step 5: Allow for Expansion
For wood and laminate, leave 10–12 mm of clearance for floor expansion. Do not screw the trim directly to the floorboards—only the subfloor.
Step 6: Clean and Seal
Remove debris, apply a sealant if needed for wet areas, and test the stability of the strip. Make sure it’s flush to avoid trip hazards.
Common Tools Required
| Szerszám | Cél |
|---|---|
| Miter saw/hacksaw | Cut strip to size |
| Mérőszalag | Accurate length and gap measurements |
| Drill | Secure mounting track |
| Rubber mallet | Tap strip into place without damage |
| Ragasztó | Secure track or strip (optional) |
You should screw transition strips directly to floating floors.Hamis
Floating floors need room to expand; screw only into the subfloor or use mounting tracks.
Using a mounting track improves long-term stability of transition strips.Igaz
Tracks provide secure, even support and allow easier strip replacement.
How to maintain different transition strips?
Transition strips are only useful if they stay put, stay clean, and stay safe. Ignoring them leads to costly repairs—or worse, accidents.
To maintain floor transition strips, clean regularly, check for movement or damage, and reseal or tighten connections as needed.
Tisztítási tippek
- For wood: Use a dry or slightly damp cloth. Avoid harsh chemicals.
- For aluminum or metal: Wipe with non-abrasive cleaner and dry to prevent corrosion.
- For vinyl or PVC: Use mild soap and warm water.
Inspect Monthly
Check for:
- Loose edges
- Cracked or warped sections
- Rust or mold (in wet areas)
- Gaps from expansion
If you find any issues, reseat or replace the strip. Delaying repairs increases the risk of injury.
Resealing and Repairs
In bathrooms, kitchens, or basements, moisture can weaken adhesive strips. Reseal joints with waterproof caulk or replace with a more suitable material (e.g., anodized aluminum).
Maintenance Schedule Example
| Feladat | Frekvencia | Megjegyzések |
|---|---|---|
| Felület tisztítása | Weekly | Avoid excess moisture |
| Visual inspection | Havi | Look for gaps or lifting edges |
| Fastener check | Every 3–6 mo | Retighten loose screws |
| Replacement/upgrade | Every 2–5 yr | Based on traffic and wear |
Aluminum transition strips require resealing every month to prevent rust.Hamis
Anodized aluminum is corrosion-resistant and doesn’t need monthly resealing.
Damaged transition strips should be replaced promptly to avoid tripping hazards.Igaz
Loose or cracked strips can be dangerous and should be fixed quickly.
Következtetés
Transition strips are more than decorative—they protect your floors, enhance safety, and complete your design. Choose based on function, not just looks. Install them with care, and they’ll last for years, even in busy spaces.

