
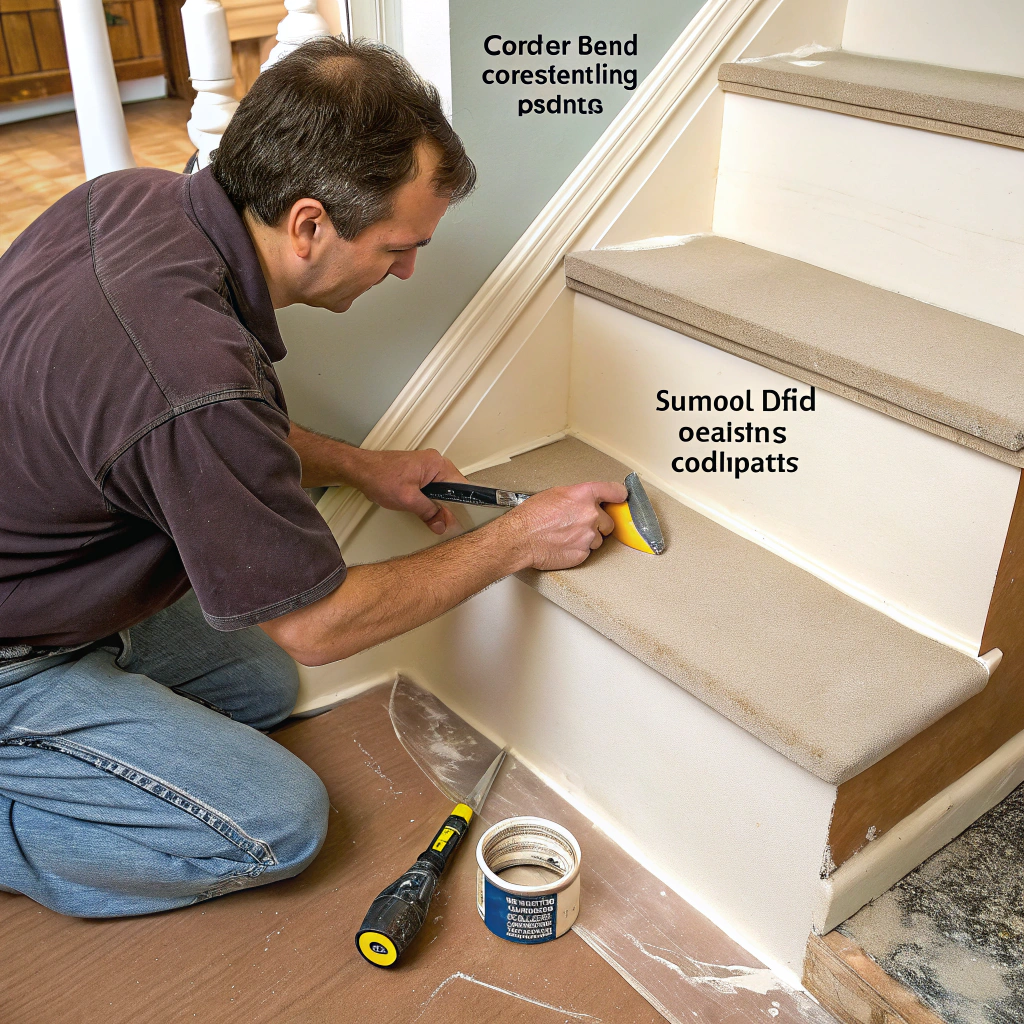
How to Install a Corner Bead for Strong Drywall Edges?
Drywall corners chip easily. Without reinforcement, even light bumps can ruin your finish.
Installing a corner bead reinforces drywall edges, creates sharp corners, and protects from everyday impact. It’s a simple upgrade that adds lasting durability.
If you’ve ever patched a broken corner again and again, you know how frustrating it can be. A properly installed corner bead stops that cycle before it starts.
What tools are required to install a corner bead correctly?
Many beginners think drywall work only needs mud and a knife. But corner beads need a few more tools to get clean, professional results.
You’ll need tin snips, a drywall knife, a mud pan, compound, a sanding block, and fasteners—either nails, screws, or spray adhesive.
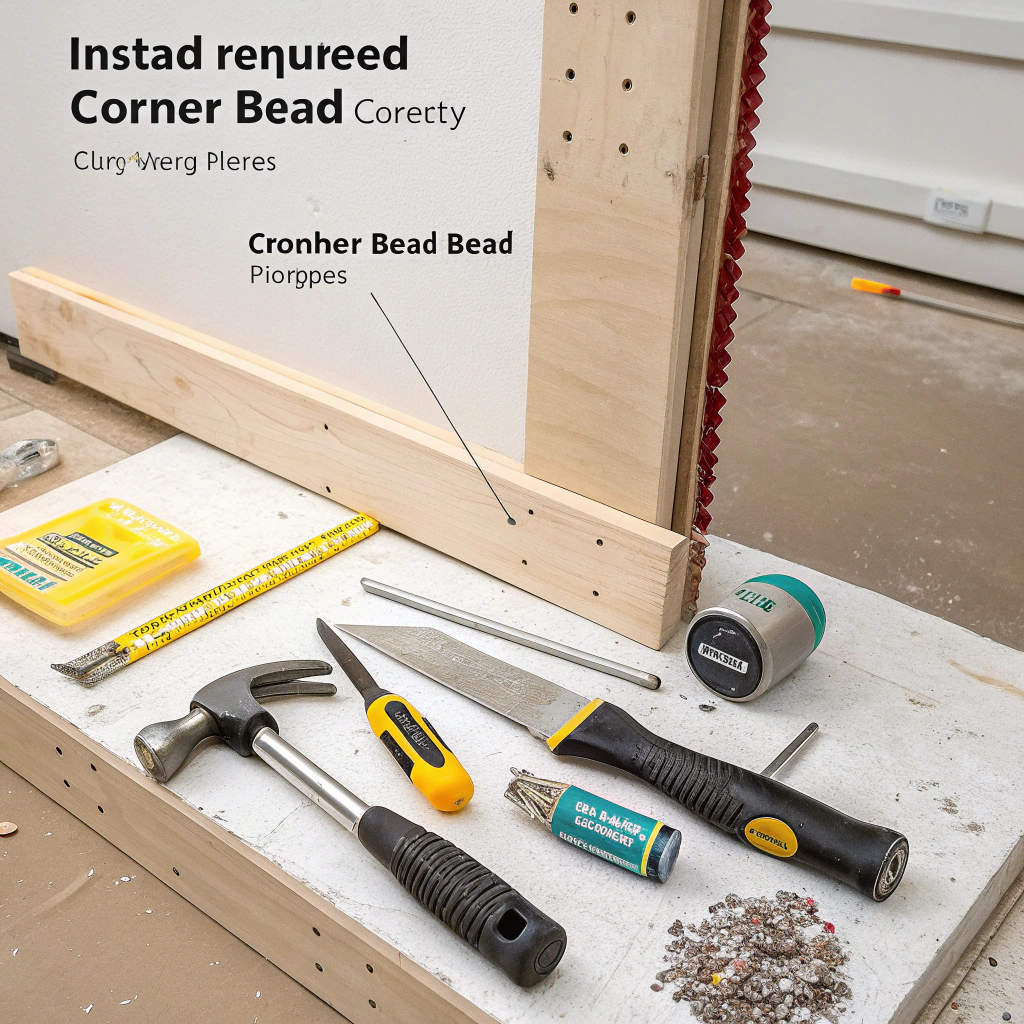
List of Essential Tools
Here’s a table with tools you’ll need for both metal and vinyl corner beads:
| Tool | Purpose |
|---|---|
| Tin Snips | Cuts metal or vinyl corner bead to size |
| Drywall Taping Knife | Spreads compound smoothly |
| Mud Pan | Holds drywall compound |
| Joint Compound | Bonds and finishes the bead |
| Sanding Block or Sponge | Smooths surface after drying |
| Hammer/Screws or Adhesive | Attaches bead to drywall |
When I first started, I didn’t use a mud pan. I kept scooping mud from the bucket. That slowed me down and made the work messier. A proper setup helps more than you think.
You need a drywall knife, mud pan, and corner bead to do a clean installation.True
These tools help apply compound and secure the corner bead evenly.
A paint roller is the best tool for applying a corner bead.False
Paint rollers are not used in corner bead installation.
How do you prep drywall before applying a corner bead?
If the wall surface isn’t ready, even the best bead won’t hold. Dirt, loose paper, or high spots can cause failure later.
Prep includes cleaning the corner, checking for evenness, and lightly scuffing the surface for better adhesion.
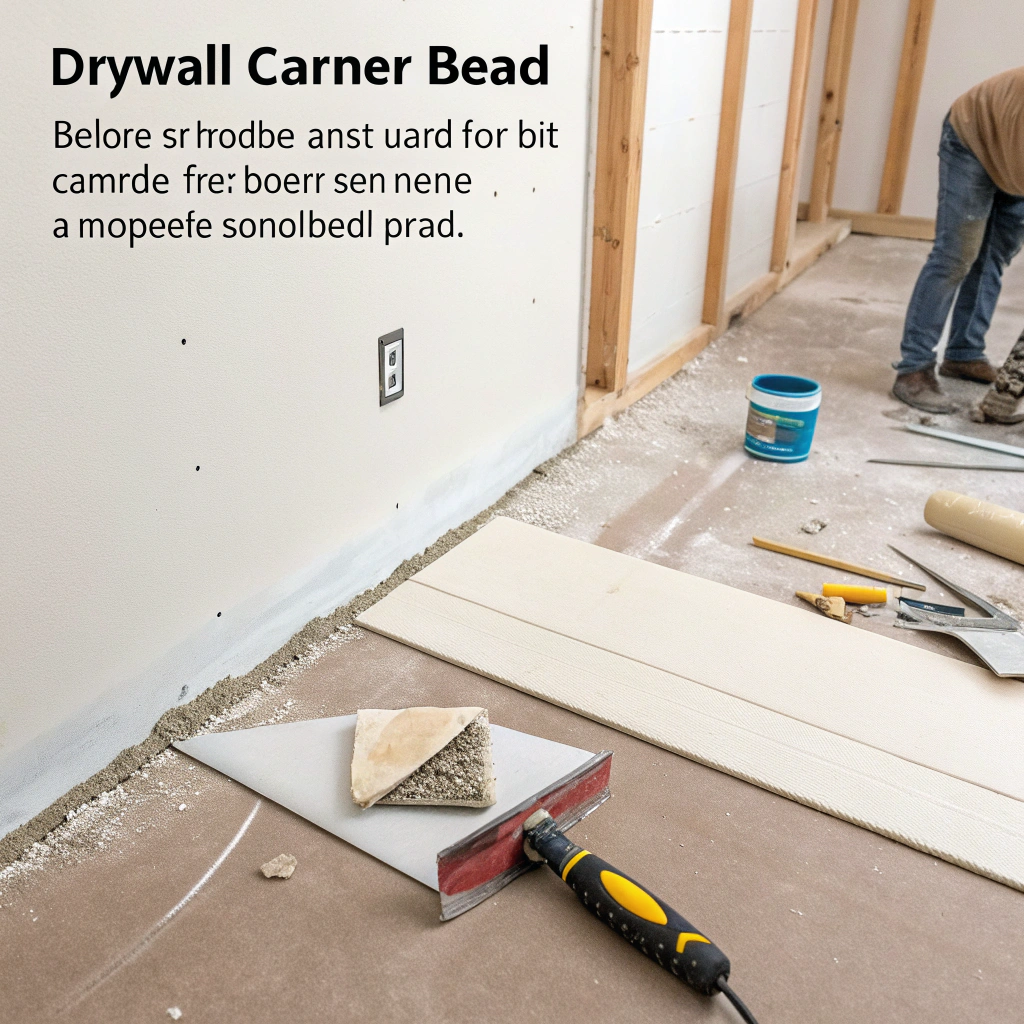
Key Prep Steps
- Clean the drywall corner — Use a dry cloth or brush to remove dust.
- Inspect the edges — Make sure there’s no loose paper or chunks.
- Pre-fill any gaps — Use joint compound to fill large gaps or damage.
- Lightly sand high spots — Uneven drywall makes the bead sit crooked.
- Measure and cut bead — Cut to fit from floor to ceiling before attaching.
A lot of people skip that last sanding step. But if the bead doesn’t lie flat, it creates a wave you’ll never hide with compound.
| Task | Why It Matters |
|---|---|
| Cleaning surface | Removes dust that weakens compound bond |
| Pre-filling holes | Ensures strong support behind the bead |
| Sanding bulges | Prevents uneven or lifted edges |
| Accurate measuring | Ensures a flush fit and no gaps |
You should clean and pre-fill the drywall corner before attaching a corner bead.True
Proper prep helps the bead sit flat and stick securely.
Corner beads can be applied directly over dusty, uneven drywall.False
Dust and bumps will reduce adhesion and cause problems later.
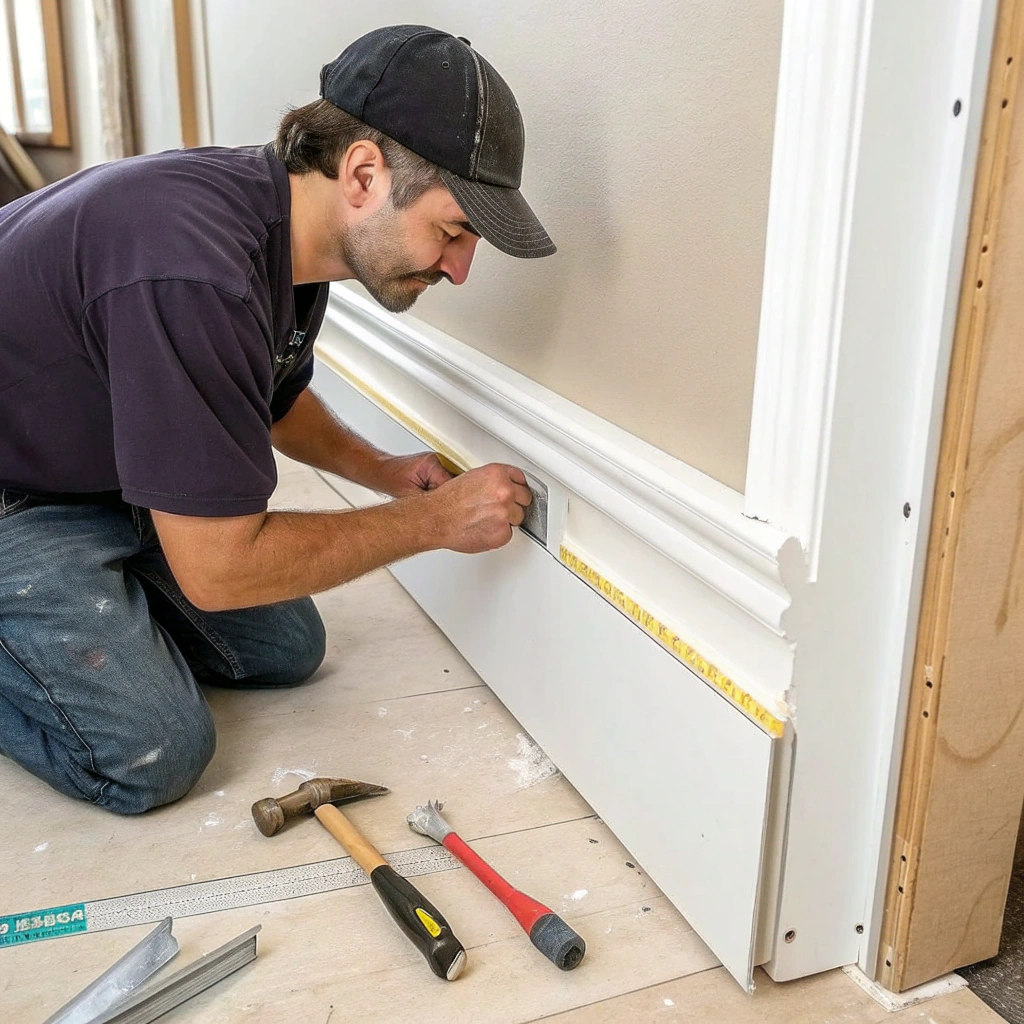
What’s the step-by-step process to attach a corner bead firmly?
Most failures happen because the bead isn’t attached tightly. If it shifts or pops later, you’ll have cracks or bubbles in the finish.
Cut the bead to length, align it flush to the corner, then attach with nails, screws, or adhesive, keeping it firmly in place.
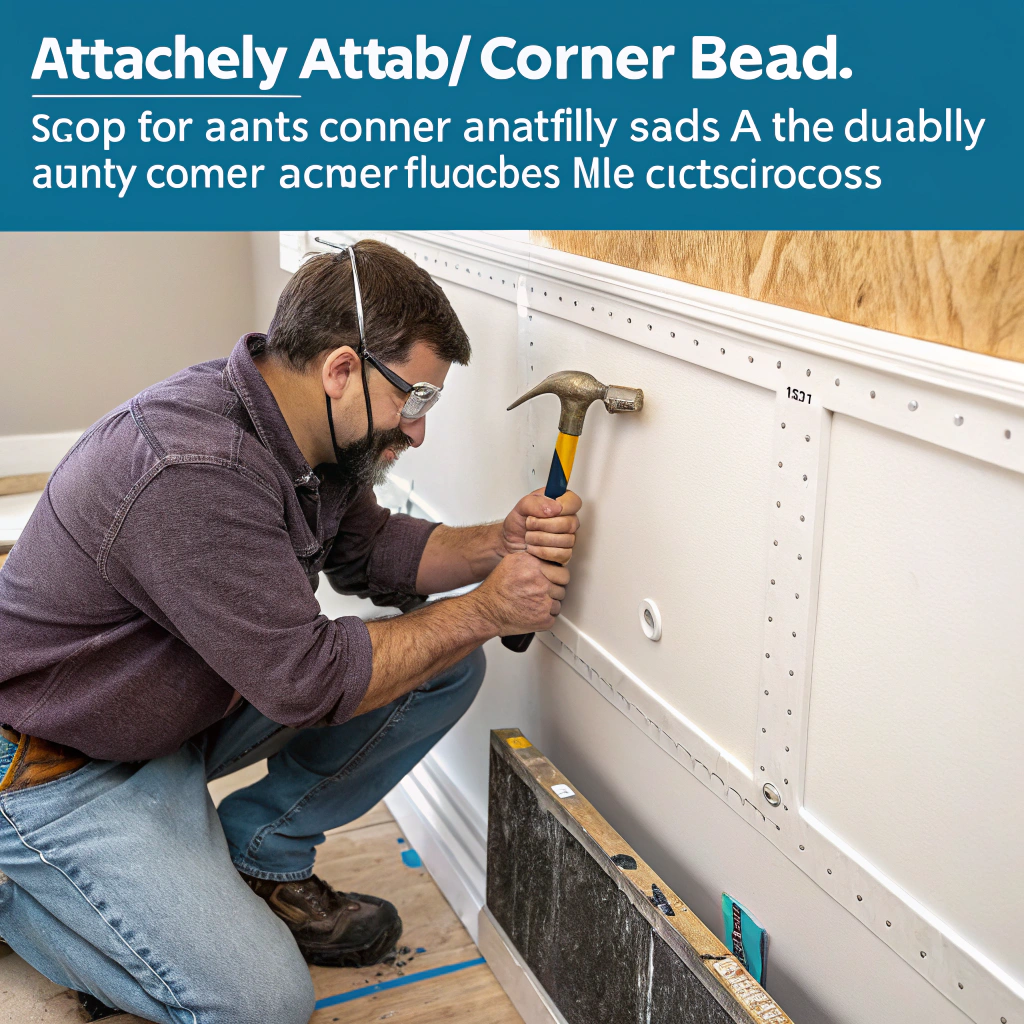
Step-by-Step Guide
- Cut to Size — Use tin snips to trim the bead to exact wall height.
- Align Bead — Hold it flush along the corner from top to bottom.
- Fasten in Place:
- Metal Beads: Nail or screw every 8–10 inches.
- Vinyl Beads: Use spray adhesive or staples.
- Double-check Fit — Make sure it’s straight, not twisted or bent.
Once attached, the bead becomes your guide for all finishing work. A small misalignment at this stage will create a wavy, amateur-looking result after finishing.
| Type of Bead | Attachment Method | Notes |
|---|---|---|
| Metal | Nails or drywall screws | Very sturdy, needs firm fixing |
| Vinyl | Adhesive or staples | Flexible, easier for curves |
You can use either screws or adhesive to fix a corner bead in place.True
Different materials allow for multiple fastening methods.
It’s best to leave the bead loose for easy adjustment during finishing.False
A loose bead will shift and ruin the finish.
How can you finish and sand corner bead for a smooth edge?
Many people overdo the mud. Others don’t wait long enough before sanding. Both create lumpy corners or scratched surfaces.
Apply thin coats of compound, feather out at least 10 inches wide, let each coat dry fully, then sand lightly with fine grit.
Steps to Smooth Finish
-
First Coat:
- Apply compound over the bead.
- Feather 3–4 inches past the bead.
- Let dry 24 hours.
-
Second Coat:
- Apply a wider coat (6–8 inches).
- Smooth with a clean knife.
- Let dry completely.
-
Final Coat:
- Feather out to 10–12 inches.
- Use minimal mud to reduce sanding later.
-
Sanding:
- Use 120–150 grit sanding sponge.
- Avoid exposing the metal or vinyl.
- Use a vacuum or tack cloth to clean dust.
This is where patience pays off. The smoother your knife work, the less sanding you’ll need. In my first job, I rushed the second coat and ended up spending two hours sanding. Lesson learned.
| Step | Key Tip |
|---|---|
| First Coat | Keep layer thin, avoid air bubbles |
| Second Coat | Apply evenly, avoid ridges |
| Third Coat | Make it as flat and wide as possible |
| Sanding | Use light pressure and a clean sponge |
Sanding too early can ruin your corner bead finish.True
Compound must fully dry before sanding to avoid peeling or scratching.
Thick compound layers help reduce sanding time.False
Thick layers take longer to dry and are harder to smooth out.
What are common mistakes when installing a corner bead and how to avoid them?
Even with good tools, small errors during installation can ruin the final look. Most issues come from rushing, skipping steps, or using the wrong materials.
Common mistakes include poor alignment, applying too much mud, not letting it dry fully, and over-sanding. Avoid these for clean, professional corners.
Common Errors and Fixes
| Mistake | Cause | How to Avoid |
|---|---|---|
| Bead not straight | Poor alignment | Use a level or eyeball carefully |
| Too much compound | Trying to fix in one coat | Apply thin, multiple layers |
| Sanded too hard | Using rough grit or too much force | Use fine sponge and light pressure |
| Not cleaning corner | Dust or loose paper | Wipe down and prep before installing |
| Bead not secure | Inadequate fastening | Use nails, screws, or proper adhesive |
I once helped a client who had bubbling around every corner in their new house. Turns out, the installer had used too much compound and didn’t let it dry. We had to scrape, patch, and redo. Don’t make that same mistake.
Over-sanding can expose the corner bead and ruin the finish.True
Sanding too much removes the protective layer and makes repainting harder.
The fastest way to install a corner bead is to skip surface prep and add extra mud.False
Skipping prep and using excess compound causes long-term problems.
Conclusion
Installing a corner bead the right way means long-lasting, strong drywall corners. With a few tools and some patience, you’ll get sharp lines, durable edges, and a professional finish that lasts.

