
How to Fit Tile Trim: A Step-by-Step Guide?
Fitting tile trim might seem small, but it makes a huge difference. Bad trim work ruins the look. Let’s fix that.
You can fit tile trim like a pro by following a simple, clear process: choose the right tools, measure properly, cut cleanly, secure firmly, and seal carefully.
If you’ve never done this before, don’t worry. I’ve broken down each step into plain English. You’ll know exactly what to do, even if you’ve never picked up a tile cutter.
What tools do I need to fit tile trim?
Most mistakes in tiling start with the wrong tools—or no tools at all. That’s why your first step matters most.
To fit tile trim properly, you’ll need a tape measure, tile cutter or hacksaw, mitre box, pencil, spirit level, adhesive, and a soft cloth.
The tools aren’t fancy, but using the right ones makes your job easier. Here’s a simple table of what I use every time:
Essential Tools for Fitting Tile Trim
| Tool | Purpose |
|---|---|
| Tape Measure | For precise measurements |
| Pencil | To mark trim for cutting |
| Tile Cutter | For straight cuts on tile trims |
| Hacksaw | For metal or plastic trims |
| Mitre Box | To help cut 45-degree angles |
| Spirit Level | Ensures everything lines up correctly |
| Adhesive | To stick the trim to the wall or tile edges |
| Soft Cloth | Wipe off excess adhesive and clean the trim |
Each one helps avoid a common mistake: uneven trim, wrong angle cuts, or poor alignment.
The tape measure makes sure your trim fits just right. The mitre box keeps your angles consistent. I always double-check with a spirit level before applying adhesive—because once it’s set, it’s hard to fix.
And yes, I’ve once installed a full corner upside down. Learned it the hard way: don’t skip the level.
Using a mitre box helps achieve clean 45-degree angles for corners.True
A mitre box holds the trim steady while cutting, which makes angled joints neater and more accurate.
You can use any household scissors to cut aluminum trim.False
Aluminum trims require a hacksaw or appropriate tile cutter; scissors won’t be strong or precise enough.
How do I measure and cut trim accurately?
You can waste expensive trim with one wrong cut. That’s why measuring and marking are just as important as cutting.
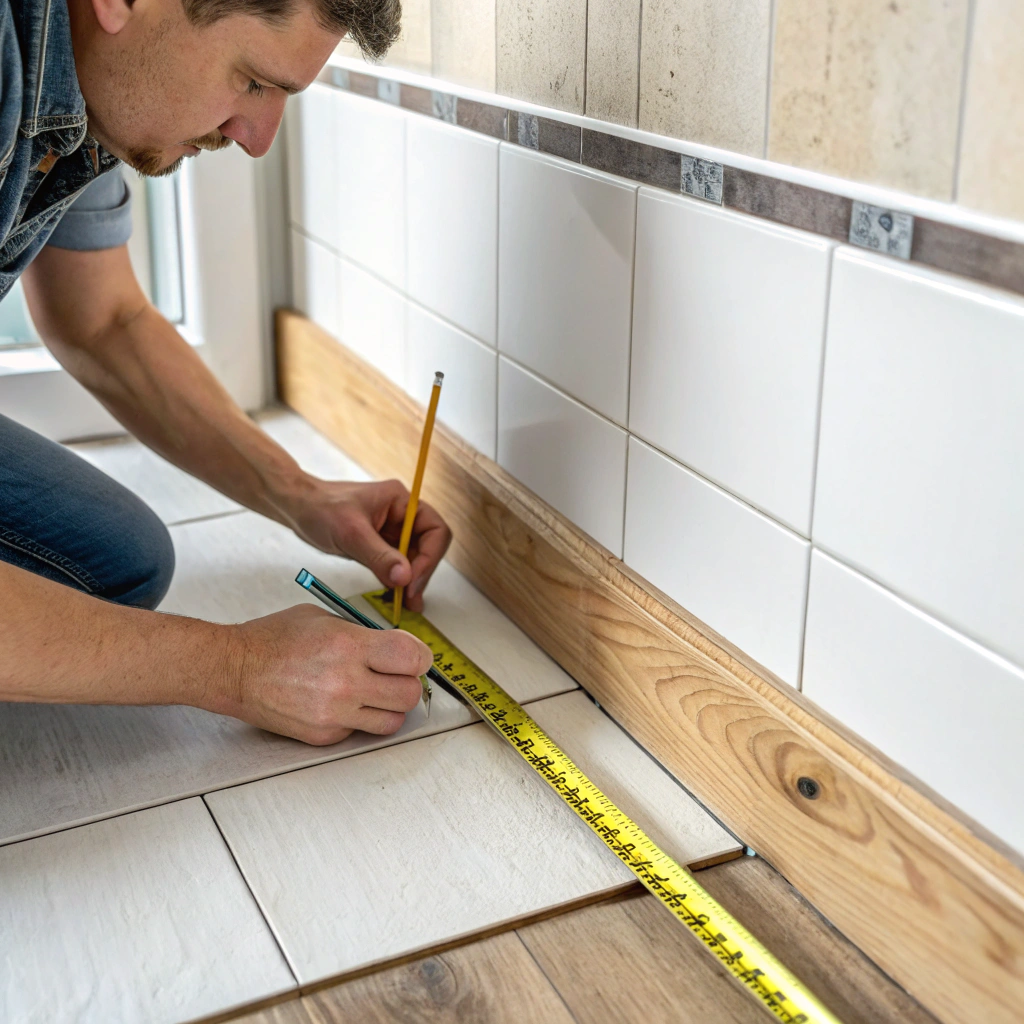
Measure twice, cut once. Use a pencil and mitre box to mark angles and lengths clearly before cutting your tile trim.
Let me walk you through the process I always use:
Step-by-Step Measurement & Cutting Guide
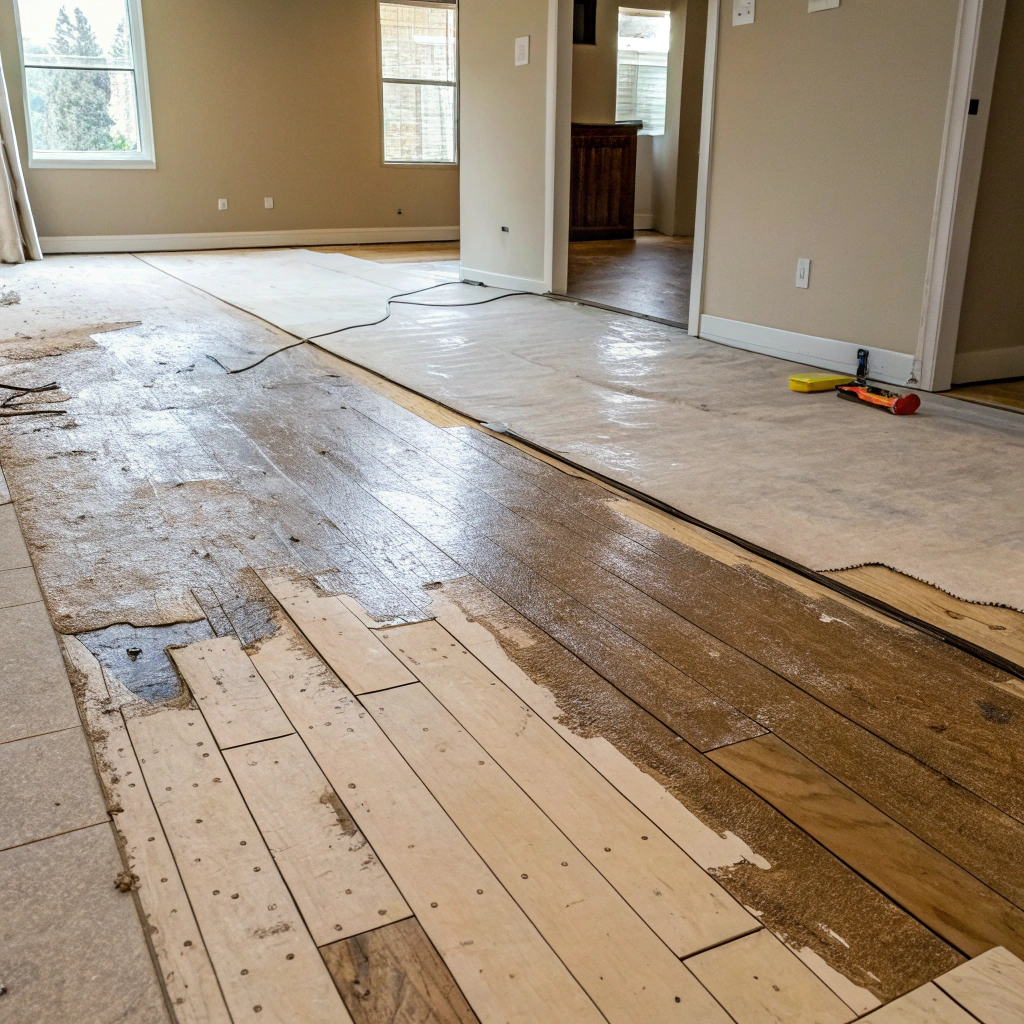
- Dry-fit your tiles first. Don’t measure the trim until you’ve laid your tiles dry without adhesive.
- Use a tape measure. Measure the exact distance from the corner or edge to where the tile stops.
- Mark with a pencil. Lightly draw a line on the trim for where you’ll cut.
- Use a mitre box for angles. Place the trim into the box and line it up with the 45-degree guide.
- Cut slowly and evenly. Whether using a tile cutter or hacksaw, don’t rush the cut.
Common Mistakes to Avoid
| Mistake | What Happens |
|---|---|
| Cutting without dry-fitting | You’ll get wrong lengths or angles |
| Skipping the mitre box | Angles won’t align; gaps appear |
| Rushing the cut | Trim breaks or edges fray |
| Not marking with pencil | You’ll guess and likely miss the mark |
Also, always cut the trim slightly longer if unsure. You can shave off a bit more, but you can’t add it back once it’s gone.
Marking your trim before cutting prevents errors and waste.True
Clear markings guide your cuts and reduce the chance of making costly mistakes.
Cutting trim without measuring first saves time.False
Guessing leads to incorrect cuts, waste, and extra work. Measurement is essential.
How do I fix tile trim securely in place?
Even the best cut trim will fail if it’s not fixed right. Adhesive choice and technique matter.
Apply adhesive along the tile edge, press the trim into place, and check alignment with a spirit level before it sets.

Here’s how I always do it:
Fixing Tile Trim the Right Way
- Clean the edge of the tile. Dirt or dust weakens the bond.
- Apply tile adhesive evenly. I use a small notched trowel to spread the adhesive along the edge.
- Position the trim. Press it gently into place, starting from one end.
- Use a spirit level. Make sure the trim lines up with the tile edge.
- Adjust quickly. Once the adhesive begins to set, movement becomes difficult.
- Clean excess adhesive. Wipe it away immediately with a damp cloth.
You should never let adhesive dry on the visible part of the trim. It will harden and become hard to remove without scratching the surface.
For tricky spots like internal or external corners, I sometimes cut two 45-degree angles to form a clean joint. It looks professional and hides imperfections better.
Using a spirit level helps keep the trim aligned during installation.True
A level ensures the trim is not tilted or misaligned, which maintains a neat and straight finish.
You should let excess adhesive dry on the trim before cleaning it.False
Dried adhesive is harder to remove and may damage the trim finish when scraped.
How do I finish and seal tile trim?
The final step is the one most people ignore. But it’s also what makes the trim look finished and last longer.
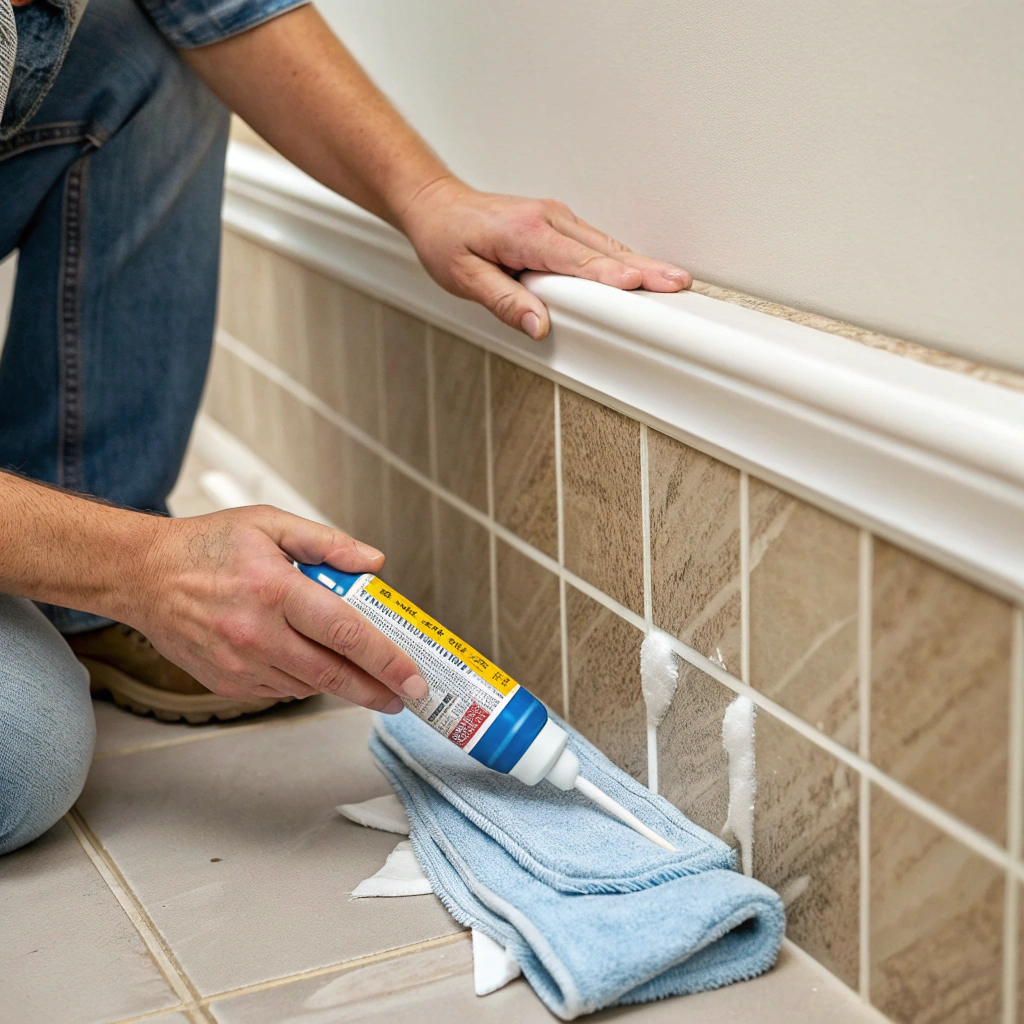
Smooth the joints, seal any gaps with silicone, and wipe the surface clean for a polished finish.

Here’s my typical process:
Steps to Finish and Seal Tile Trim
- Check for gaps. Especially at corners or joins.
- Use silicone sealant. Match the color to your grout or trim. Apply a thin bead using a caulk gun.
- Smooth the bead. I use my finger dipped in water to create a smooth line.
- Wipe excess silicone. Use a damp cloth right after smoothing.
- Inspect edges. Make sure there are no sharp bits or exposed adhesive.
This step isn’t just for looks. Silicone protects against water ingress and keeps mold from forming. Especially important in bathrooms or kitchens.
I learned the value of this step after skipping it once. The trim looked fine at first, but within weeks, water got in. The tile edge lifted slightly, and I had to redo everything.
It only takes a few extra minutes—but saves hours later.
Sealing tile trim with silicone helps prevent water damage.True
Silicone creates a barrier that stops moisture from seeping into the tile or adhesive.
You should always leave trim edges exposed for ventilation.False
Exposed edges can absorb moisture and lead to damage or mold. Sealing is necessary.
Conclusion
Fitting tile trim is not hard when you follow the right steps. Use proper tools, measure carefully, fix with care, and seal for durability. Clean lines, clean work, long-lasting results.


