
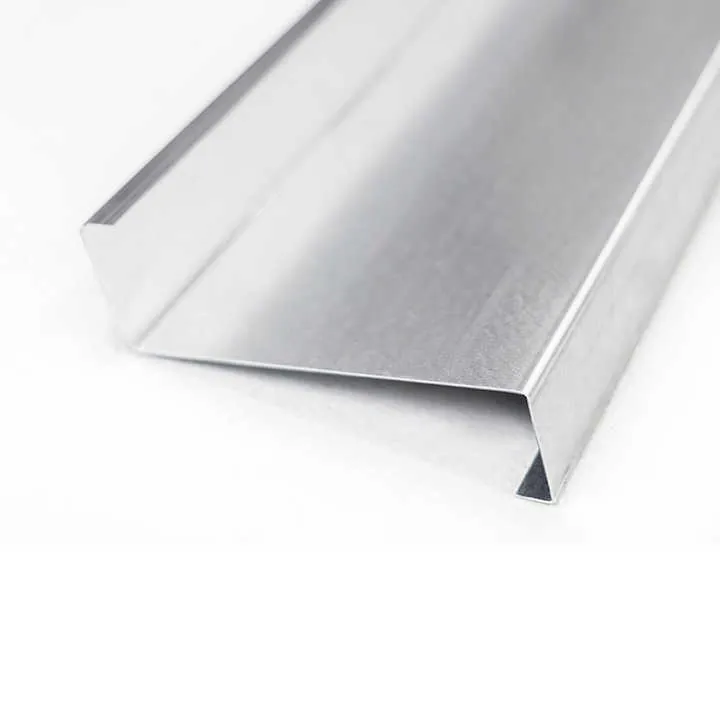
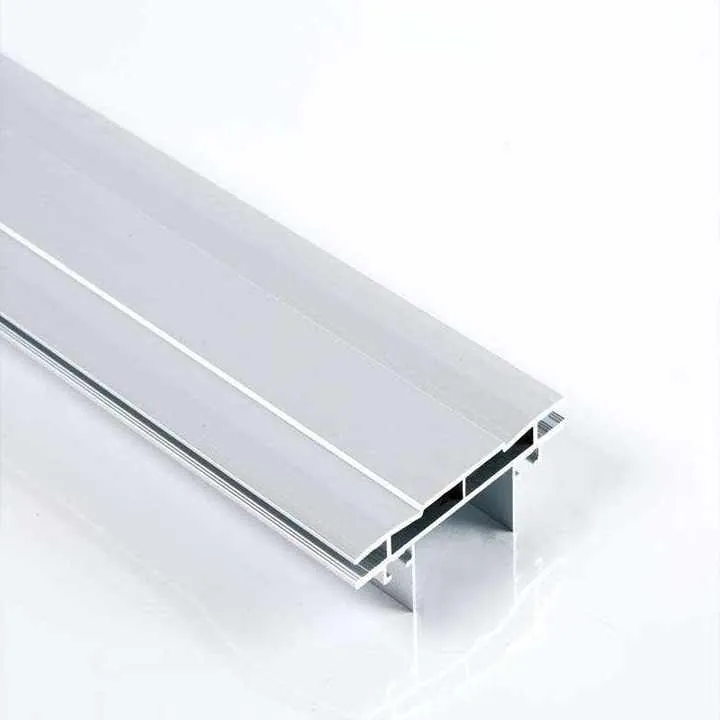
How to Ensure a Good Anodized Aluminum Trim Strip?

Getting a good anodized finish on aluminum trim strips isn’t easy. I’ve seen poor results when surface prep is skipped or sealing isn’t done. I want to help you avoid those problems.
A high-quality anodized aluminum trim strip needs careful preparation, the right anodizing method, strict quality checks, and easy but consistent maintenance.
If you’re serious about performance and looks, I’ll show you step by step what I do when I prepare, finish, check, and maintain anodized aluminum trim strips.
What surface preparation is needed for anodizing strips?
Proper surface prep is the base of any good anodized finish. I learned this the hard way. Once, I skipped just one cleaning step, and the color came out uneven. It ruined the whole batch.
To prepare aluminum for anodizing, clean it, smooth it, remove oxides, and dry it fully before the anodizing bath.
Step-by-step: How I prepare the surface
I follow four steps before anodizing any trim strip:
- Degrease – I use a neutral soap or a diluted alcohol wipe to remove oils. I never use ammonia or chlorine cleaners.
- Rinse – I wash the surface with distilled water to avoid minerals.
- Mechanical finish – I polish or sand the surface to remove marks. If I want a glossy finish, I polish more.
- Desmut – I apply a mild acid to remove oxides and dirt from the metal pores.
Here’s a table showing what each step does:
| Step | Why It Matters |
|---|---|
| Degreasing | Removes fingerprints, oils, and grease |
| Rinsing | Prevents contamination in the anodizing tank |
| Polishing | Improves the appearance of the anodized layer |
| Desmutting | Prepares the metal surface at a chemical level |
I also wear gloves every time I handle bare aluminum. Finger oils can stain the metal and affect how the anodizing layer sticks. I never skip this step.
Surface prep mistakes I avoid
- I don’t use steel wool—it leaves iron that causes black spots.
- I don’t let aluminum dry with tap water—it leaves white spots.
- I don’t touch the strip after desmutting—it introduces oils again.
Skipping surface preparation can cause defects in anodized aluminum.True
Dirt, oil, and oxides prevent uniform anodizing.
You can use any household cleaner before anodizing.False
Only non-reactive, neutral cleaners should be used.
Which anodizing method gives best finish and durability?
Anodizing isn’t just dipping aluminum into acid. It’s a precise process. There are different types, and each one gives a different look and durability.
Hardcoat anodizing (Type III) gives the strongest and most durable finish, while standard anodizing (Type II) is better for looks and color variety.

Type II vs. Type III: What I choose and when
When I want color and shine, I use Type II sulfuric acid anodizing. It gives me:
- Thin coatings (5–25 microns)
- Many color options
- Affordable cost
- Fast process
But when I need durability, like for trims in hot or coastal places, I go with Type III hardcoat anodizing:
- Thick coatings (25–100 microns)
- High wear resistance
- Good corrosion protection
- Longer lifespan
Here’s a comparison chart:
| Feature | Type II Anodizing | Type III Hardcoat Anodizing |
|---|---|---|
| Coating Thickness | 5–25 microns | 25–100 microns |
| Color Options | Wide range | Limited (dark gray, black) |
| Wear Resistance | Moderate | Very high |
| Cost | Lower | Higher |
| Best Use | Decorative trim | High-traffic or harsh areas |
I always choose based on use case. For outdoor trims, I never use Type II—it won’t last. For indoor trim or furniture, Type II is good enough.
My extra tip
If I’m coloring the aluminum, I always do it before sealing. Once sealed, the color won’t take.
Type III anodizing gives better durability than Type II.True
Type III builds a thicker, denser oxide layer.
Type II anodizing is stronger than Type III.False
Type III is specifically made for hard, long-lasting coatings.
How to verify quality of anodized trim strip?
Once anodizing is done, checking quality is just as important. I never skip this. A good-looking surface can still fail if the sealing isn’t done or if the layer is too thin.
To check anodized trim, I inspect the color, thickness, seal quality, and test for wear or corrosion resistance.

My checklist for quality control
Here’s what I do for every anodized batch:
- Visual check – I look for color consistency, surface shine, and spot-free finish.
- Touch test – The surface should feel smooth and hard, not chalky or sticky.
- Micron test – I use a coating thickness meter to check depth. Type II should be 10–25 microns. Type III should be at least 25 microns.
- Boil test – I dip a small part in boiling water for 15 minutes. If the color fades or changes, sealing failed.
- Salt spray test – For trims going to coastal areas, I run a 24-hour salt fog test to confirm corrosion resistance.
| Test | What It Checks | Pass Criteria |
|---|---|---|
| Visual check | Surface consistency | No spots, dullness, or blotches |
| Thickness test | Coating depth | 10–100 microns depending on type |
| Boil test | Proper sealing | No color fade or texture change |
| Salt test | Corrosion resistance | No pitting, rust, or flaking |
If a strip fails any test, I reject it. I don’t fix bad anodizing—I redo it. Re-anodizing often costs less than using poor-quality parts.
Sealing after anodizing helps lock in color and protect from corrosion.True
Sealing closes pores in the oxide layer.
Color fading in boiling water means good sealing.False
Color fading shows that sealing was not done or not done well.
How to maintain anodized trim for long-lasting look?
Anodized aluminum is durable, but it still needs basic care. I’ve seen well-anodized trim last over 10 years with just light cleaning.
To maintain anodized trim, clean it gently, protect it from acids, avoid scratches, and reseal it if needed.
My simple care steps
I tell clients to do this every 3–6 months:
- Wipe with soapy water – I use a soft sponge with mild detergent.
- Rinse with clean water – I always use clean tap or distilled water to remove residue.
- Dry fully – I use a lint-free cloth to avoid water marks.
- No abrasives – I never use steel wool or hard brushes.
- No harsh chemicals – I avoid acids, bleach, and ammonia.
If the surface looks faded, I re-apply a sealant spray made for anodized aluminum. It helps restore the oxide layer’s protection.
| Maintenance Task | Frequency | Tools Needed |
|---|---|---|
| Cleaning | Every 3 months | Mild soap, sponge, cloth |
| Inspection | Every 6 months | Visual check |
| Resealing (if dull) | As needed | Anodized aluminum sealant |
Anodized trim lasts longer with gentle cleaning and regular care.True
Proper maintenance keeps the oxide layer clean and intact.
Using acid cleaners makes the trim more shiny.False
Acid can damage or remove the anodized coating.
Conclusion
To get a good anodized aluminum trim strip, I always start with careful prep, pick the right anodizing type, check quality after finishing, and maintain the surface well. That’s how I keep it looking great and lasting long.


