
How to cut aluminum extrusion by hand?

I once struggled with rough, uneven cuts when trimming aluminum extrusions by hand—chips flew, edges were jagged, and I wasted time and material.
Cutting aluminum extrusion by hand is entirely feasible if I use the right tools, maintain steady pressure, properly support the profile, and use guides when needed.
In this article I will show which tools work best, why steady pressure matters, how to support correctly, and how guides can improve accuracy.
What hand tools cut extrusions cleanly?
Imagine picking up a saw and plunging into a profile only to find the metal grabbing the blade and causing wobble—you’d feel the frustration.
Hand tools such as a good‑quality hacksaw with fine teeth, a miter box, a file for deburring, and proper clamps are essential to cut aluminum extrusions cleanly by hand.

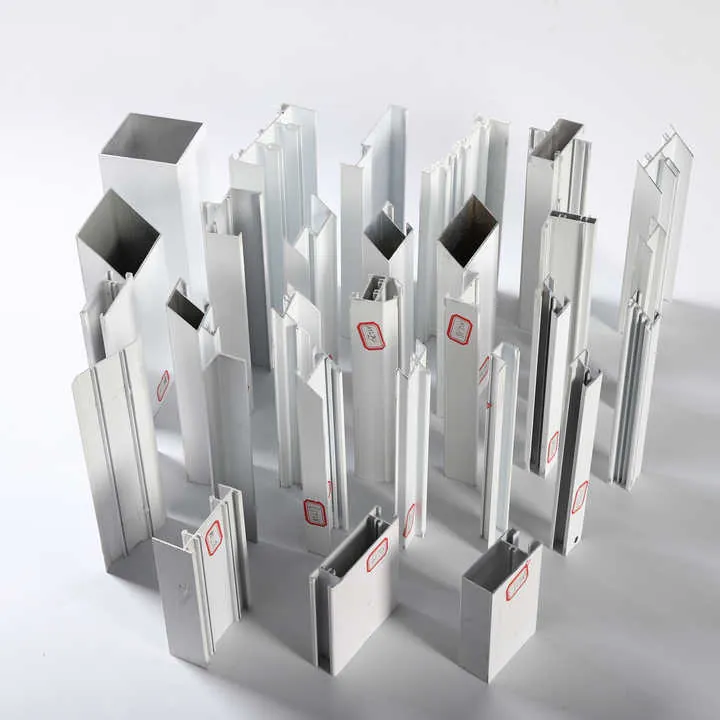
I learned this on‑site when I first attempted a manual cut in our facility. The profile was T‑slot aluminum, and I used a standard hacksaw. The result was messy. I then switched to a fine‑tooth blade rated for non‑ferrous metals, used a miter box, and clamped the piece rigidly. The improved result was clear: less wobble, cleaner finishing, and fewer chips.
Blade and tool selection
Choosing the right blade matters. A fine‑tooth blade (for example 24‑32 TPI) designed for aluminium helps produce smooth cuts and reduces chatter on the soft metal. Also, the saw frame must be stiff and comfortable. The miter box or jig must securely hold the profile at the correct angle.
Setup and clamping
The piece must be firmly clamped. I set the extrusion on a flat bench, aligned the cut line, and clamped near the mark so the profile cannot move. A stable workpiece prevents vibration and misalignment. Without proper support the saw wanders and the finish suffers.
Technique and finishing
I start the cut gently—just enough to get the blade started—then maintain full strokes and even feed. I avoid twisting the saw or pushing hard. After the cut I use a file or deburring tool to remove sharp edges and burrs, especially important on T‑slot profiles because screws and nuts may catch on burrs.
| Tool | Purpose | Why it matters |
|---|---|---|
| Hacksaw with fine blade | Cut through aluminum cleanly | Reduces chatter and risk of grabbing |
| Miter box or saw jig | Guide saw angle and alignment | Ensures square, accurate cuts |
| Clamps & flat bench | Secure profile during cut | Prevents movement, improves finish |
| File/deburring tool | Remove burrs and sharp edges post cut | Reduces risk of part damage or installation issues |
I strongly encourage planning the cut carefully. Measure twice, clamp once. Choose the blade and setup before you start cutting. Without proper planning you risk wasting material and time.
Using a standard wood saw blade produces ideal cuts in aluminum extrusionFalse
Standard wood saw blades often lack sufficient tooth configuration for clean cuts in aluminium and may grab or leave rough edges.
A hacksaw with fine teeth and proper clamping can cut aluminium extrusion by hand cleanlyTrue
With good technique, appropriate blade and setup, hand‑cutting aluminium extrusion is practical and effective.
Why maintain steady pressure when sawing?
If I push hard and erratically I’ll see the cut wander, the profile vibrate, the blade bind—and that means lost time and ruined parts.
Maintaining steady, controlled pressure when sawing aluminum extrusion helps the blade track straight, reduces vibration and burrs, and gives a cleaner, more accurate cut.
In actual practice I noticed that fluctuations in pressure translate to vibration or irregular cut paths. The aluminum is soft compared to steel and tends to “grab” the blade if I press too hard. The result: rough edges, burrs, or the profile slipping in the clamp. Steady pressure means the cutting teeth engage consistently rather than bounce.
Why this works
- Consistent engagement: The blade teeth stay in contact and cut smoothly rather than skipping.
- Reduced vibration: Vibration loosens the profile in the clamp, misaligns the blade path, and causes chatter marks.
- Better heat control: Although aluminium is less heat‑sensitive than some steels, excessive friction can still deform the edge or harden the surface locally. A steady feed helps avoid that.
- Improved accuracy: When I maintain even pressure, the cut path follows the marked line rather than veering off. The result is a square end and better fit in assembly.
When I operate our manual cutting bench I remind the technician: “Let the blade cut—guide it; don’t force it.” We start with light strokes until the saw ‘homes in’. Then maintain full strokes keeping the same rhythm. If the feed is inconsistent or pressure spikes, I stop, retract the saw, clear chips, re‑clamp and re‑start.
Applying maximum force when sawing aluminium extrusion will speed up the process with no downsidesFalse
Excessive force can cause the blade to bind, skew the cut, generate burrs, or damage the profile support.
Maintaining constant and moderate pressure when sawing improves the straightness and finishing of the cutTrue
Moderate pressure ensures steady blade engagement, less vibration, and better cut quality.
How to support the extrusion while cutting?
You might cut through the profile but if the extrusion isn’t supported properly you’ll end up with bent ends, chipped slots or misalignment.
Supporting the extrusion properly—clamping it firmly, supporting the length, and ensuring the cut end is not free to vibrate—is key to safe and accurate manual cutting.

In our manufacturing environment I create a dedicated support setup for manual cuts. One best practice I follow: the extrusion is placed on support stands at each end of the cut region; the clamp is near the cut line but not so close that it blocks the saw.
Support and clamping best practices
- Use a flat bench or support stands spaced to prevent sagging, especially for long extrusions.
- Clamp the profile near the cut line. The clamp should be rigid so the piece cannot shift during cutting.
- If the profile is long, support the free end on a roller or stand so that it doesn’t droop or flex.
- Avoid over‑clamping that distorts the profile shape. Aluminum extrusions can deform under excessive clamping force.
- Align the profile so the marked cut line is square relative to the saw. If the base isn’t aligned, the cut will misalign too.
- Clean away chips, swarf or debris that might interfere with clamps or supports.
My practical workflow
When I’m ready to cut, I set the extrusion on two supports: one at the mark and another further along. I clamp the profile at the mark, ensuring no movement. I check the alignment visually and ensure the saw blade will travel freely without hitting fixtures. After the cut I move the profile, mark the next length, re‑clamp and proceed.
| Support element | Purpose | Key tip |
|---|---|---|
| Bench or stand | Holds the profile level | Use two supports spaced appropriately |
| Clamp near cut line | Prevents movement during cutting | Use one sturdy clamp, avoid warping profile |
| Roller or support | Supports free end to prevent sag during cut | Especially for long or heavy extrusions |
| Alignment check | Ensures cut is square to profile axis | Sight the profile edge and blade path |
You can leave the extrusion unsupported during a hand saw cut if you clamp at the cut line onlyFalse
Leaving a long extrusion unsupported allows droop or vibration during cutting, which can cause misalignment or poor finish.
Supporting both sides of the extrusion and clamping near the cut line improves cut accuracy and finishTrue
Proper support prevents sagging, vibration, misalignment and ensures the saw cut is square and clean.
Can guides improve manual‑cut accuracy?
If I’m making multiple cuts or need high precision, free‑handing with a hacksaw might not be enough. That’s when guides come into their own.
Yes—using guides like a miter box, angle bracket, cut jig or saw guide rail can significantly improve the accuracy and repeatability of manual cuts on aluminum extrusion.
In one project I built a simple jig that clamped the profile and had a fixed stop for length. Operators reported consistent results with variation within 0.5 mm across a batch of twenty cuts. Without a guide the variation was over 2 mm.
Types of guides
- Miter box: Holds the profile and guides the saw at a fixed angle (typically 90°) for square cuts.
- Saw guide rail: A straight bar clamped parallel to the cut line. The saw rides along it to keep the path straight.
- Cut jig/fixture: Custom fixture for the specific profile, including stops for lengths, clamps, and saw entry channels.
- Angle bracket stop: A simple bracket fixed to the bench at the start of the cut—ensures consistent length placement of the profile.

