How to Anodize Aluminum?
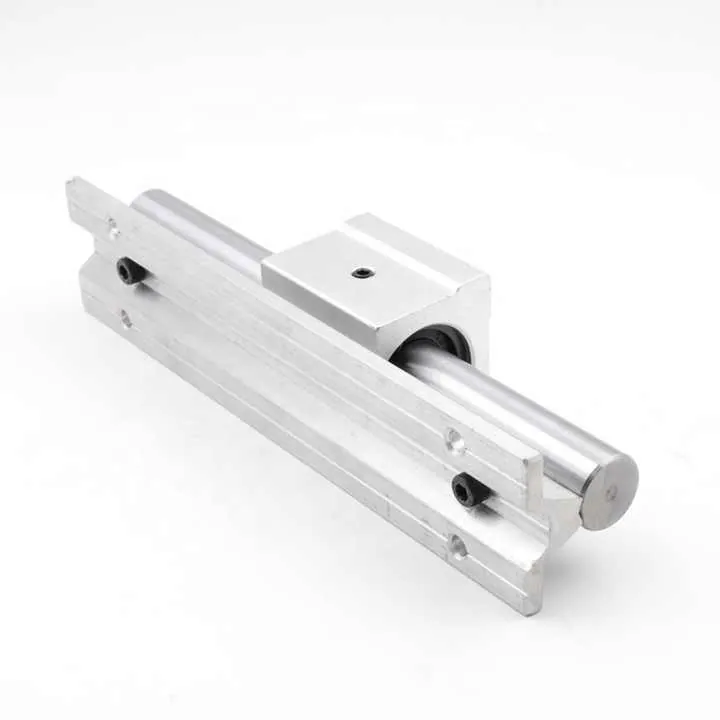
I once thought anodizing aluminum was a job only factories could do. But after studying the steps, I learned that with the right setup, anyone can understand how it works.
Anodizing aluminum is a multi-step electrochemical process that thickens the natural oxide layer, improving corrosion resistance, durability, and finish.
Once I understood the full process—from cleaning to sealing—I could finally appreciate why it’s so widely used in aerospace, construction, and consumer electronics.
What Are the Steps to Anodize Aluminum?
When I first looked into anodizing, it seemed confusing. Too many chemicals, steps, and wires. But then I broke it down into simple phases.
The anodizing process includes cleaning, etching, desmutting, anodizing in an acid bath, optional coloring, and sealing.
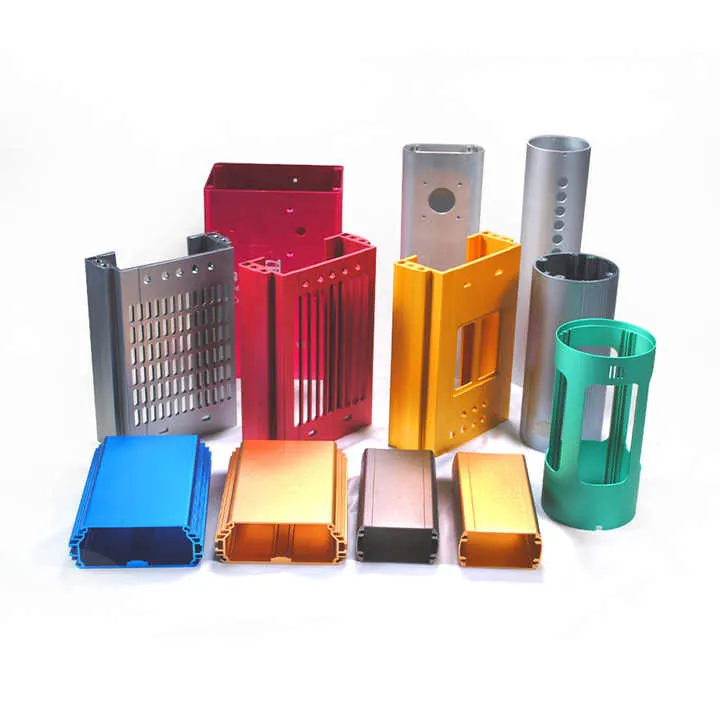
Here’s a step-by-step overview of what I do when preparing and anodizing an aluminum part.
1. Cleaning
I start by cleaning the aluminum surface to remove grease, dirt, or any oxidation. I usually use a degreaser or a mild alkaline cleaner. This step is critical because any leftover residue can ruin the anodized finish.
- Common cleaners: dish soap, Simple Green, or trisodium phosphate
- Rinse thoroughly with clean water
2. Etching
Next, I etch the aluminum using a sodium hydroxide solution. Etching removes a thin layer of the surface and helps even out scratches or defects.
- Solution: 5–10% NaOH (lye) mixed with water
- Time: 3–5 minutes
- Always rinse after etching
Etching creates a slightly matte surface and gives the anodized layer a uniform base.
3. Desmutting
After etching, there’s often a black or gray residue (smut) left behind. I dip the part in a nitric acid solution to dissolve this residue.
- Solution: 20–30% nitric acid mixed with water
- Time: 1–2 minutes
- Rinse thoroughly
This step is especially important for aluminum alloys that contain copper, silicon, or zinc.
4. Anodizing (Electrolysis Phase)
Here’s the real heart of the process. I submerge the cleaned part in a sulfuric acid electrolyte and pass DC current through it. The aluminum part becomes the anode (+), and a lead or aluminum cathode (–) completes the circuit.
- Solution: 15–20% sulfuric acid + distilled water
- Voltage: 12–18 volts (DC)
- Current: 0.03–0.06 amps per square inch
- Time: 30–90 minutes
- Temperature: 15–25°C (60–75°F) for most finishes
Oxygen released during electrolysis reacts with the aluminum to form a porous oxide layer. This layer is what gets dyed or sealed later.
5. Optional Coloring
If I want a specific color, I dye the part immediately after anodizing. The dye enters the porous surface and bonds chemically.
- Dyes: aniline, metal-salt-based, or fabric dyes
- Time: 5–15 minutes in heated dye bath
- Rinse well before sealing
6. Sealing
To lock the dye or clear finish in place and protect the oxide layer, I seal the part by immersing it in hot water or a nickel acetate solution.
- Boiling water method: 20–30 minutes
- Cold nickel seal: faster but less durable
This final step is crucial for corrosion resistance and finish durability.
Anodizing Process Summary Table
| Step | Purpose | Solution or Tool Used |
|---|---|---|
| Cleaning | Remove grease, dirt | Degreaser, detergent |
| Etching | Remove surface flaws | NaOH (lye) solution |
| Desmutting | Dissolve alloy residues | Nitric acid solution |
| Anodizing | Create porous oxide layer | Sulfuric acid + DC current |
| Coloring | Optional: add color to oxide layer | Dyes (aniline, metal-salt, etc.) |
| Sealing | Close pores, protect surface | Boiling water or nickel seal |
The anodizing process includes cleaning, etching, desmutting, anodizing, and sealing.True
Each step builds on the last to ensure strong, even, and durable anodized finishes.
Anodizing is only one step involving electricity.False
It’s a full process with multiple chemical treatments before and after electricity is applied.
What Solutions Are Used in Aluminum Anodizing?
When I first read about anodizing, I got overwhelmed by the chemical names. But it turns out the list isn’t that long—and most are easy to find.
The key solutions in anodizing include sulfuric acid for anodizing, sodium hydroxide for etching, nitric acid for desmutting, and water for sealing.
Here’s a list of what I use:
1. Sulfuric Acid (h-sO?)
This is the standard electrolyte for Type II anodizing. I dilute it with distilled water to about 15–20% by volume.
- Creates porous oxide layer
- Requires stable temperature control
- Available at chemical supply stores
2. Sodium Hydroxide (NaOH)
This is used to etch the aluminum. It breaks down the oxide layer and surface scratches.
- Highly caustic
- Used in oven cleaners and drain cleaners
- Best used at 5–10% dilution
3. Nitric Acid (HNO?)
Used to desmut aluminum after etching, especially alloys with copper or zinc.
- Dissolves remaining non-aluminum residues
- Strong oxidizer
- Must be handled carefully
4. Nickel Acetate or Boiling Water
For sealing, I use either:
- Boiling distilled water (95–100°C) for 20–30 minutes
- Cold nickel seal (75–90°F) with shorter treatment times
Both close the pores and improve corrosion resistance.
Chemical Solutions Table
| Solution | Purpose | Safe Handling Tip |
|---|---|---|
| Sulfuric Acid | Main anodizing bath | Always add acid to water, not reverse |
| NaOH | Etching | Wear gloves and eye protection |
| Nitric Acid | Desmutting | Use in a well-ventilated space |
| Nickel Acetate | Sealing | Avoid inhalation of vapors |
Sulfuric acid is the main electrolyte used in aluminum anodizing.True
It helps form the thick, porous oxide layer during electrolysis.
Vinegar is a substitute for sulfuric acid in anodizing.False
Vinegar (acetic acid) is too weak to generate the proper oxide layer.
How Long Should Aluminum Stay in the Acid Bath?
The first time I anodized aluminum, I didn’t know how long to leave it. I guessed—and the result was uneven. Later, I learned each part size and goal affects the timing.
For standard anodizing (Type II), aluminum should stay in the acid bath for 30 to 90 minutes, depending on current density and desired oxide thickness.
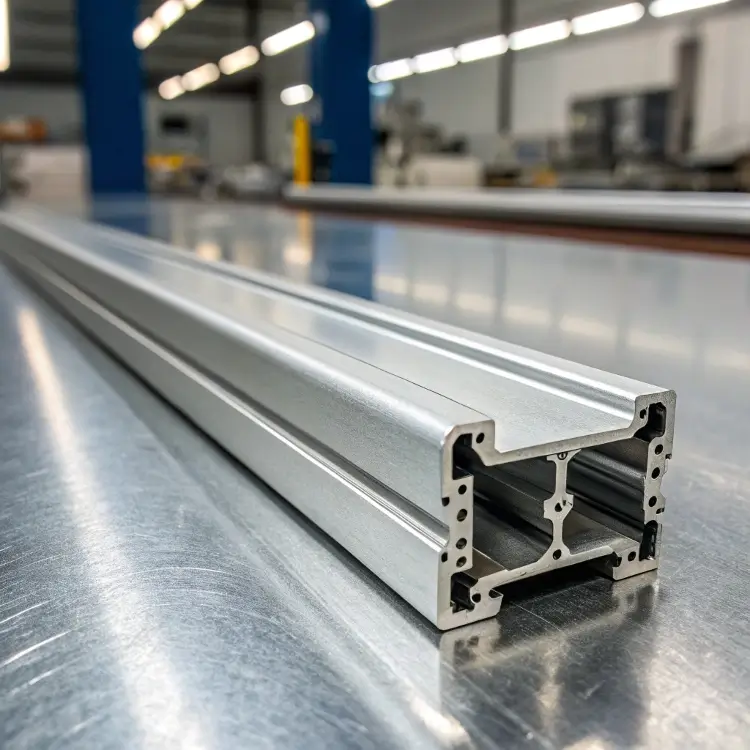
Here’s how I decide how long to anodize:
- Thin coatings (5–10 microns): 30 minutes
- Standard coatings (10–25 microns): 45–60 minutes
- Hard coatings (Type III, 25–100 microns): up to 2 hours at lower temperatures
Factors Affecting Time
- Current Density: More current means faster oxide growth. I use about 0.03 amps per square inch.
- Acid Strength: Stronger acid can speed up the process.
- Temperature: Lower temps slow the reaction but improve layer hardness.
For small parts, I often start at 45 minutes and check the finish before sealing.
Aluminum typically anodizes for 30 to 90 minutes in an acid bath.True
This time allows proper oxide layer growth based on part size and current.
The longer aluminum stays in acid, the thinner the oxide layer.False
Longer times produce thicker oxide coatings, not thinner.
How to Achieve Clear Anodized Finish?
I always liked the clean, brushed look of natural aluminum. I wondered how to keep that appearance without color.
To achieve a clear anodized finish, I use high-purity aluminum, a controlled sulfuric acid bath, and a proper sealing method without dyes.
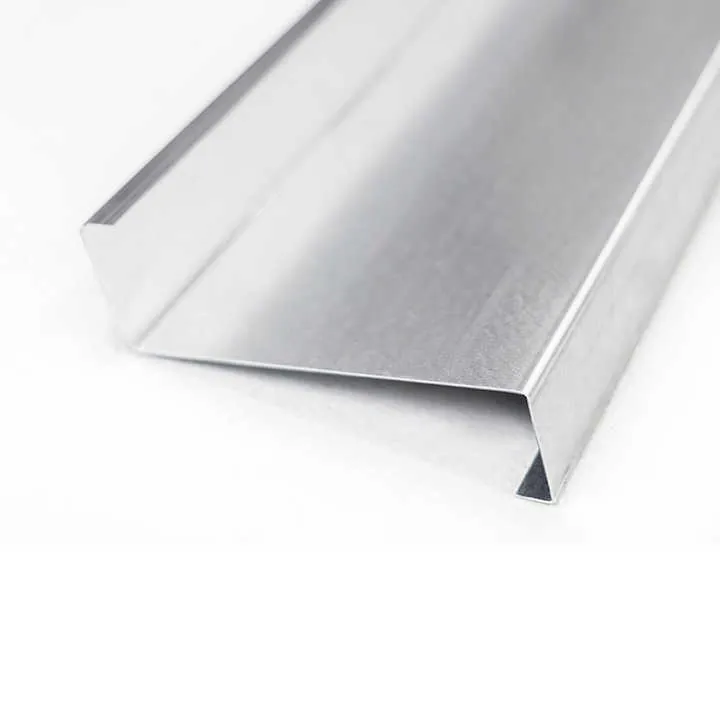
Here’s what I focus on:
1. Use High-Purity Aluminum
Alloys with less copper, silicon, or zinc give better results. I prefer:
- 6063 (excellent finish)
- 5052 (good strength and appearance)
Avoid 2024 or 7075, which darken when anodized.
2. Consistent Surface Preparation
Before anodizing, I mechanically polish or brush the aluminum if I want a satin or reflective surface. Then I clean and etch as usual.
3. Control Bath Temperature and Voltage
I keep the bath cool (~18°C / 65°F) and steady at 12–15 volts. This forms a clear, fine-pored oxide layer.
4. Don’t Use Dye
I skip the coloring phase entirely. The oxide layer will appear natural silver-gray. If polished before, it stays bright.
5. Seal the Surface
I seal in boiling water or nickel acetate. This closes the pores and prevents dirt from entering later.
Clear Anodizing Checklist
| Step | Key Action |
|---|---|
| Metal choice | Use high-purity aluminum |
| Surface finish | Polish or brush before anodizing |
| Anodizing bath | Sulfuric acid, 12–15V, ~18°C |
| Skip coloring | No dyes—keep natural silver look |
| Sealing | Boil in water for 30 mins |
Clear anodized aluminum is achieved by skipping the dyeing step.True
Natural anodizing leaves a silver-gray finish when no coloring is added.
You must dye the aluminum to get a clear anodized finish.False
Clear anodizing means no dyes are added; it's the natural oxide appearance.
Conclusion
I now understand that anodizing aluminum is more than dipping metal in acid. It’s a precise, multi-step process that transforms the surface. With the right cleaning, anodizing solution, timing, and sealing, I can control both how it looks and how it performs. Whether I want a clear finish or bold color, the process stays the same—careful, clean, and consistent.


