
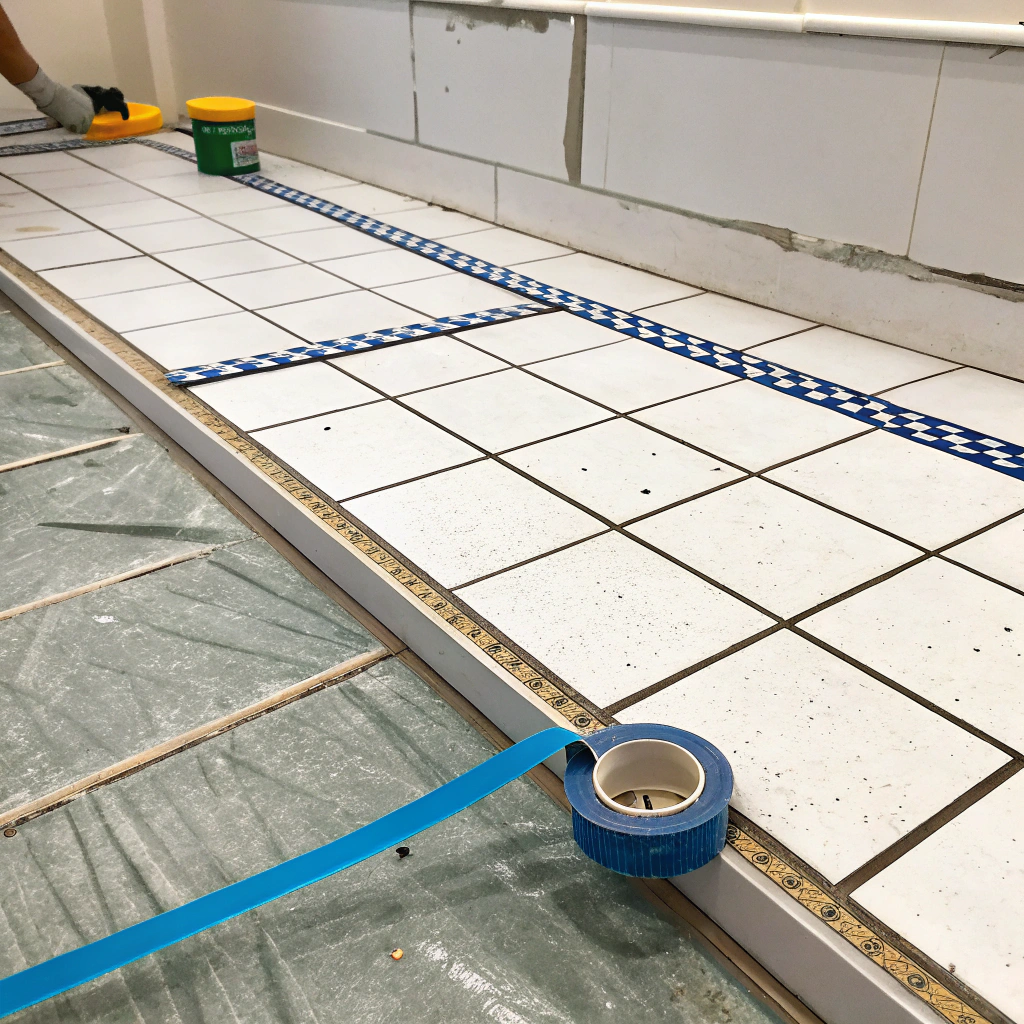
How To Fit Tile Trim Around Corners?

When I first started tiling, corners scared me. The trim wouldn’t line up. The cuts looked off. But now I know—it’s all about method and tools.
To fit tile trim around corners, you need clean cuts, right angles, and the right tools. Inside and outside corners follow different steps.
Corners are not the enemy. Once you learn how to shape the trim, everything fits better. Keep reading. I’ll show you the tools, the steps, and the mistakes to avoid.
What tools are needed to cut tile trim cleanly around corners?
I remember trying to cut tile trim with kitchen scissors. The edge cracked, and it was useless. That’s when I learned—tile trim needs proper tools.
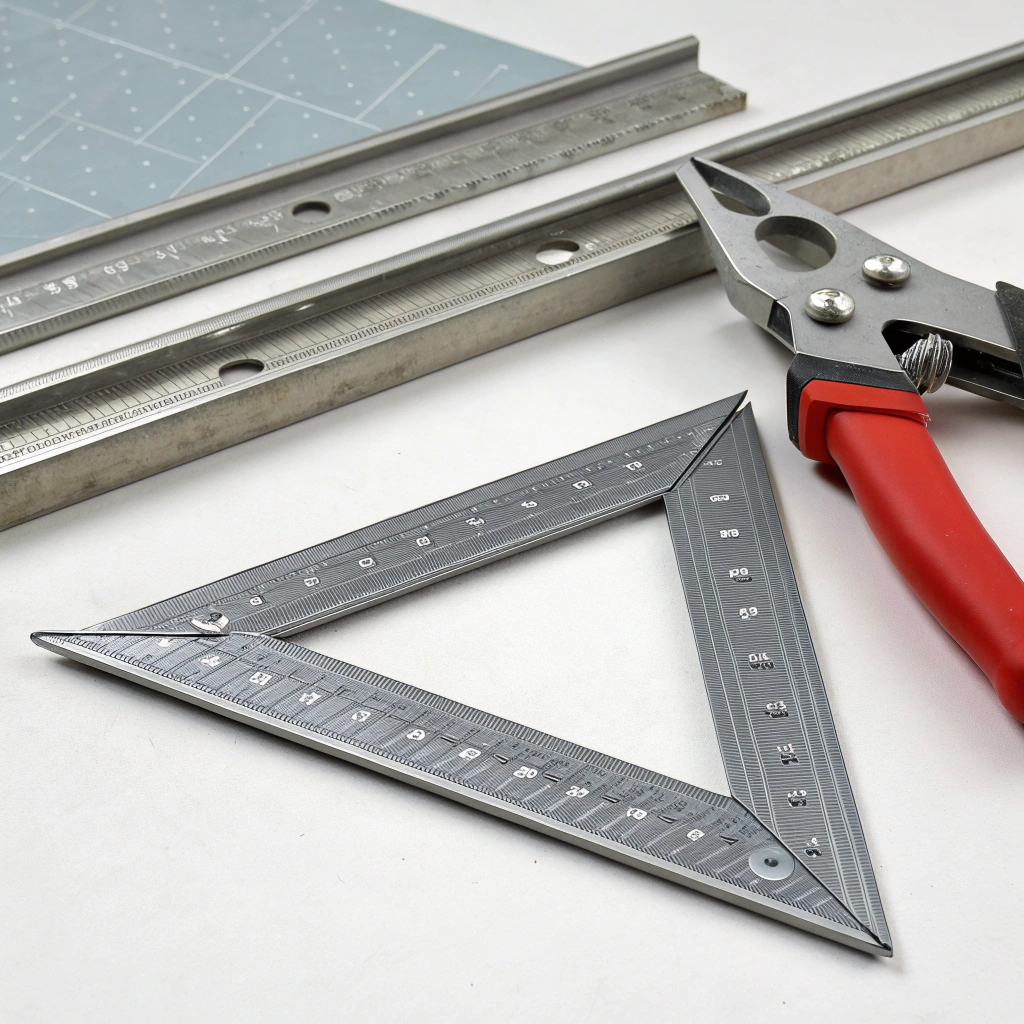
You need a mitre box, a fine-toothed saw or angle grinder, a metal file, and measuring tools to cut tile trim cleanly.

Without the right tools, even a small mistake ruins the fit. Below is a full list of what I use.
Tool Table
| Tööriistad | Eesmärk |
|---|---|
| Mitre Box | Guides straight 45° angle cuts |
| Fine-toothed Saw | Best for cutting plastic (PVC) trim |
| Angle Grinder | Best for cutting metal trims cleanly |
| Trim Snips | Used to bend or trim lightweight metal |
| Metal File / Sandpaper | Smooths sharp edges after cutting |
| Mõõtelint | For accurate length and corner measurements |
| Pencil or Marker | For marking cut lines |
| Notched Trowel | For spreading adhesive evenly |
Each trim material reacts differently. PVC cuts easy. Aluminum needs more care. I always test a small piece first.
Once I have my tools ready, I follow a set process—especially when corners are involved.
What is the step-by-step method to miter tile trim at inside corners?
Inside corners used to confuse me. Should I overlap? Cut both sides? Eventually, I found the answer.
To miter tile trim at inside corners, cut each trim piece at 45°, then fit them together to form a tight joint.
Here’s how I do it. I use plain steps that work every time.
Steps to Miter Inside Corners
- Measure the space from the corner to where the trim ends.
- Mark the trim with a pencil. Be exact. Include the depth of the corner.
- Place the trim in the mitre box. Set it to a 45° angle.
- Use a fine saw to cut the trim along the guide.
- Repeat the cut with the second piece of trim, in the opposite direction.
- File the edges to remove burrs or rough spots.
- Dry fit both pieces before adding adhesive. The joint should be tight.
- Kandke liim behind the trim with a notched trowel.
- Press into place and leave a 2 mm gap for grout if needed.
Notes from My Experience
- Use painter’s tape to hold trim in place while drying.
- Always cut a few mm longer and trim down if needed.
- Don’t rush—accurate cuts save time later.
When I cut fast, my corners open up later. A slow cut makes all the difference. I double check my angles. Especially on inside corners.
You can install tile trim at inside corners without cutting it.Vale
Inside corners must be cut to fit correctly, typically using 45° miters. Leaving them uncut creates overlaps or gaps.
Using a mitre box ensures precise 45° cuts for inside corners.Tõsi
Mitre boxes guide your saw to keep the angle consistent, which is critical for tight-fitting corner joints.
How do you adjust tile trim for outside corner joints?
Outside corners used to look messy. Trim would stick out or leave gaps. Then I learned there are two solid methods.
You can either miter the tile trim at 45° angles or notch and bend the trim to wrap around outside corners.
Outside corners need more care. The finish is visible, and gaps are obvious. I always check twice before cutting.
Two Methods for Outside Corners
1. Mitered Trim Joints
- Mark and cut both trim pieces at 45°, just like with inside corners.
- Use a mitre box or angle grinder for clean angles.
- Dry fit to check the joint.
- Apply adhesive and press both pieces in.
2. Notch and Bend Method
- Use trim snips to cut two 45° angle lines on one trim piece (forming a triangle shape).
- Remove the triangle-shaped notch.
- Gently bend the trim around the corner.
- Smooth edges with file.
When to Use Each Method
| Meetod | Best For |
|---|---|
| Mitered Joint | Clean, sharp corners (visible areas) |
| Notch and Bend | Flexible trim, uneven surfaces |
I prefer mitered corners when the trim is in plain view. For bathroom walls or backsplashes with thin aluminum trim, bending works better. I only bend soft metals or PVC.
You should always bend trim for outside corners.Vale
While bending works, mitering provides a cleaner and more professional finish for most trim installations.
Notching the trim before bending helps prevent it from cracking.Tõsi
Removing a triangle from the back of the trim reduces stress when bending and helps the trim hold shape.
What are common mistakes when fitting tile trim at corners?
I’ve made every mistake possible—cut too short, used wrong saw, forgot the grout gap. I don’t want you to repeat them.
The most common mistakes are wrong angles, skipping dry fitting, using the wrong tool, and forgetting to leave room for grout.
Here’s a table with common mistakes I’ve seen and made.
Mistake Table
| Viga | Why It Happens | Kuidas vältida |
|---|---|---|
| Mis-cut angles | Wrong position in mitre box | Always double-check direction |
| Using dull blade | Poor cutting edge | Replace blade often |
| No dry fit | Cuts look fine but don’t align | Always test before gluing |
| No file or sanding | Sharp or uneven edge | Smooth after every cut |
| No grout gap | Tiles push trim out later | Leave 2 mm between trim and tile |
| Wrong depth trim | Tile sticks out | Match trim depth to tile + glue |
| Weak adhesive | Trim falls off | Use proper tile adhesive |
Mistakes cost time and money. I’ve learned that measuring twice and cutting once saves hours later. I now dry fit every single piece.
Sometimes, just a small sanding can fix a near-miss. But if I cut it too short? That trim’s going in the trash.
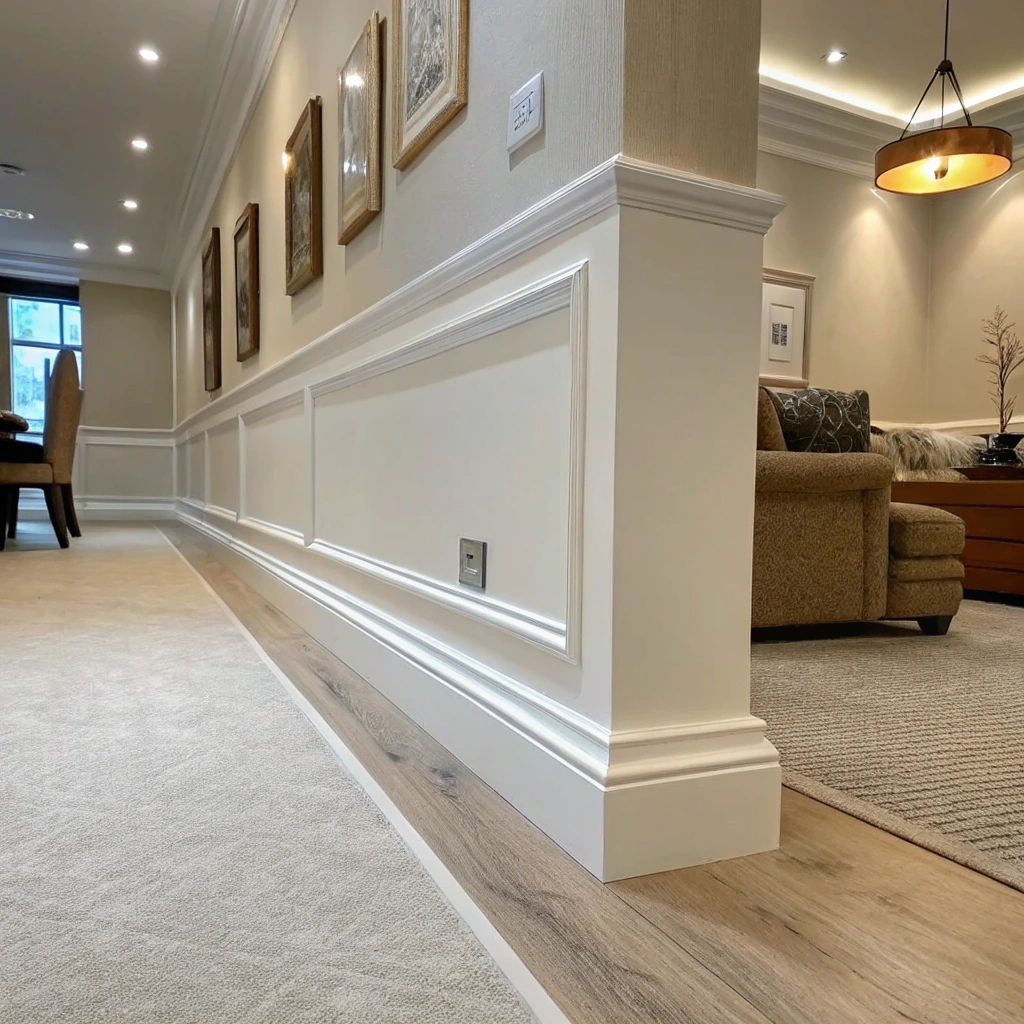
Kokkuvõte
I’ve walked you through tools, steps, angles, and mistakes. You now know how to handle both inside and outside corners. Take your time, make clean cuts, and the corners will look like a pro did it.


