
How to Complete Extruded Aluminum Enclosure?
Last year I designed a sensor housing using aluminum extrusion. While the profile was ready in days, the real challenge was turning it into a finished enclosure—with cutouts, surface treatment, and assembly.
To complete an extruded aluminum enclosure, you must finish machining, apply surface treatment, and assemble end panels and hardware in precise steps.
Let’s walk through the full process—from raw extrusion to a fully usable enclosure with electronics ready to install.
What steps finish an extruded aluminum enclosure?
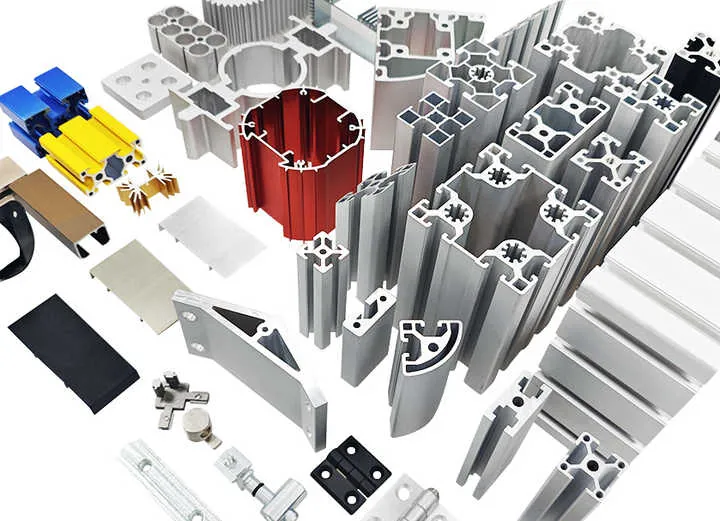
Many people think an aluminum enclosure is just about cutting to length—but a finished part involves several production steps.
The key stages include cutting, deburring, drilling or milling features, applying surface finish, assembling panels, and quality checking.
Enclosure Completion Workflow
| Step | Description |
|---|---|
| 1. Cut to Length | Precision saw cutting with tolerance (±0.2 mm typical) |
| 2. Deburring | Smooth edges to protect users and avoid fit issues |
| 3. Machining | Add holes, vents, ports with CNC or manual milling |
| 4. Surface Finishing | Apply anodize, powder coat, or brushing |
| 5. Assembly | Mount end caps, slide-in PCBs, install fasteners |
| 6. Quality Inspection | Check fit, finish, dimensions, mechanical strength |
I had to redo a batch after skipping the deburring stage. The panels didn’t align, and sharp edges scratched a customer’s PCB.
How to machine cutouts and holes in the enclosure?

Cutouts make space for connectors, screens, buttons, and mounting. Done wrong, they ruin the entire part. Done right, they integrate seamlessly.
CNC milling is the best method for precision cutouts in aluminum. Holes and slots must match PCB locations and use tolerances suitable for fasteners or ports.
Machining Techniques
-
CNC Milling
- Most accurate for USB ports, display windows, and vents
- Use 1–2 mm clearance for ports
-
Drilling
- Ideal for screw holes and pilot guides
- Use step drill for countersinks or mounting holes
-
Punching (for thin wall)
- High volume production
- Requires hard tooling
-
Manual Dremel / Jigsaw
- Prototyping only
- Needs file clean-up
Tips for Machining Cutouts
- Always clamp securely to avoid vibration.
- Use coolant to prevent edge burrs or melted finishes.
- Mark cut positions with templates or laser markers.
- For thin sections, back with sacrificial support to avoid warping.
Once we added USB-C ports with a CNC machine using 2.0 mm end mills. We left 0.2 mm tolerance all sides—fit was perfect with the connector clips.
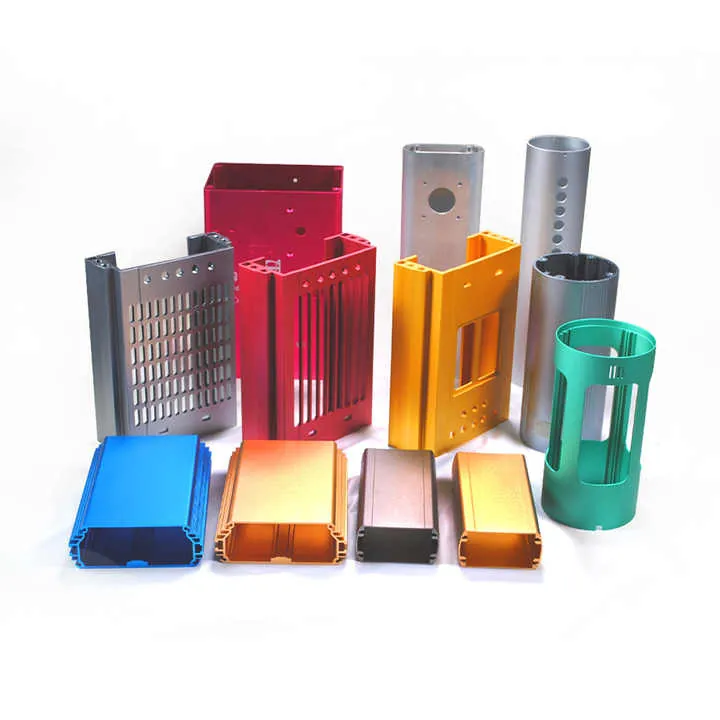
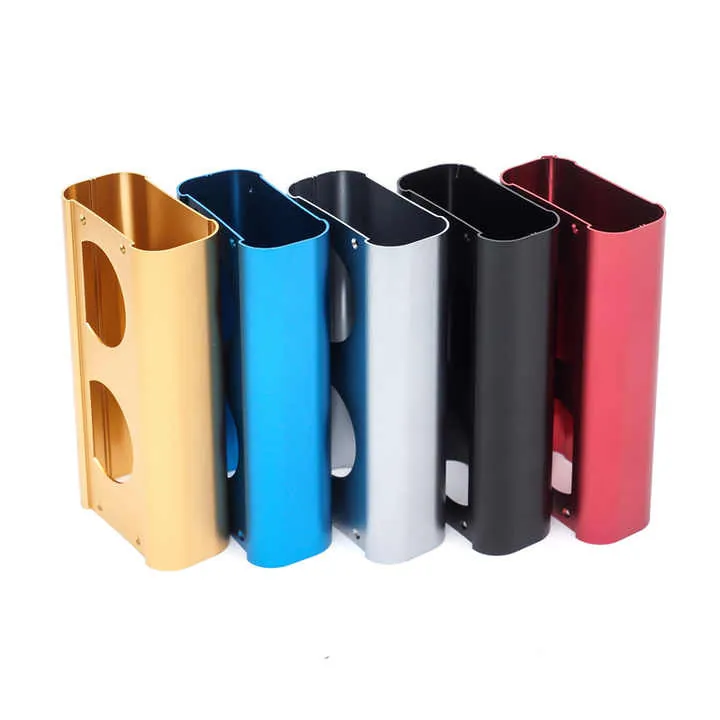
What surface finishes suit enclosures?
Surface finish does more than look good—it protects, insulates, and adds branding value.
Best options for aluminum enclosures include anodizing, powder coating, brushing, and chemical film (Alodine). Each provides different appearance and protection.
Finishing Options Table
| Finish Type | Appearance | Protection Level | Notes |
|---|---|---|---|
| Anodized (Type II) | Matte, colored | Medium | Good wear resistance; color fade under UV |
| Hard Anodized | Dark gray/black | High | Best for rugged use (outdoor or military) |
| Powder Coating | Gloss/matte/full color | Very High | Durable; masks scratches; needs pre-cleaning |
| Brushed Aluminum | Directional lines | Low | Cosmetic; may need clear coat |
| Alodine / Chem Film | Yellow or clear tint | Low/Moderate | Good for EMI; needs topcoat if exposed |
Surface Finish Benefits
- Durability: Anodizing or powder resist abrasion.
- EMI Shielding: Bare or Alodine is conductive.
- Aesthetics: Colored anodizing enhances appearance.
- Branding: Logos can be laser-etched post-finish.
For one IoT housing, we chose Type II black anodize. It resisted outdoor oxidation and looked professional—even two years later in the field.
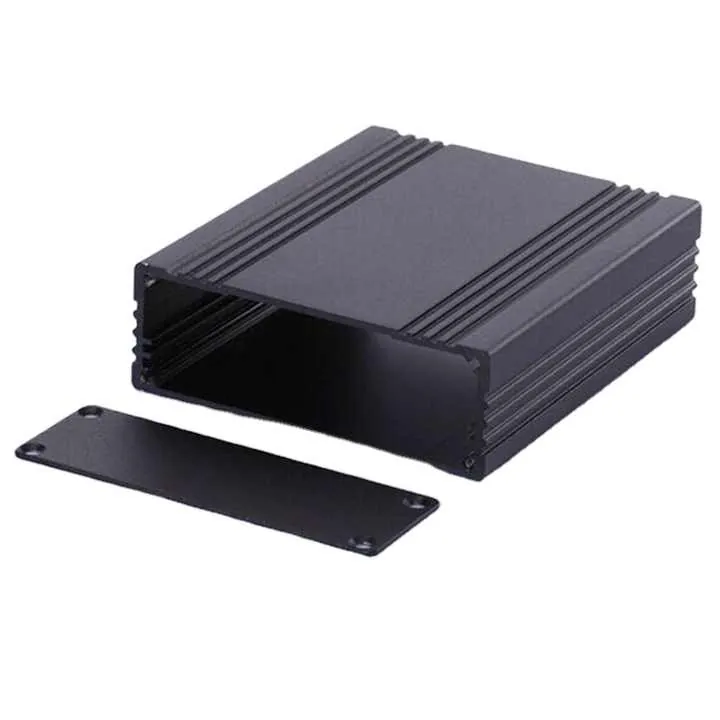
How to assemble extrusion enclosure with panels and fasteners?
After cutting and finishing, final assembly brings the enclosure to life. Good design makes assembly easy; poor design causes misalignment or rattling.
Aluminum extrusion enclosures are typically assembled with front/rear panels, screws, slide-in rails, and sealing gaskets where needed.
Assembly Steps
-
Install PCBs
- Slide into internal rails or mount using stand-offs.
-
Fit Front/Rear Panels
- Usually die-cast or CNC-milled; may include connectors and LEDs.
-
Insert Gaskets (if used)
- For IP65 or weatherproof use; place around panel perimeter.
-
Use Captive Screws
- Attach panels to main body using M3 or M4 stainless steel fasteners.
-
Apply Threadlock (optional)
- Prevent loosening due to vibration or transport.
-
Final Tightening and Check
- Use torque driver for consistent torque.
Assembly Design Tips
| Feature | Recommendation |
|---|---|
| Screw Threads | Use stainless M3/M4; thread into steel inserts |
| Panel Fit | Maintain ±0.2 mm tolerance |
| Seals | Use silicone or rubber gaskets for ingress protection |
| Cable Routing | Add cable strain relief or grommet holes |
| PCB Mount | Use tapped bosses or internal slots |
We designed a slot-in track for a display board. It slid into the main profile without fasteners, saving both time and risk of ESD during assembly.
Conclusion
Finishing an extruded aluminum enclosure involves more than just the profile—it’s about cutting, machining, finishing, and smart assembly. You need precision tools, careful tolerance control, and finishing options suited to the product’s function. Whether it’s a rugged box or sleek electronics case, your enclosure’s performance depends on every detail.
True/False Questions
Anodizing is a suitable finish for aluminum enclosures exposed to outdoor environmentsTrue
Anodizing forms a protective oxide layer that resists corrosion and fading in moderate exposure.
Manual drilling is more accurate than CNC milling for USB port cutoutsFalse
Manual drilling lacks the precision and repeatability required for tight-tolerance connector openings.


